Skip to content










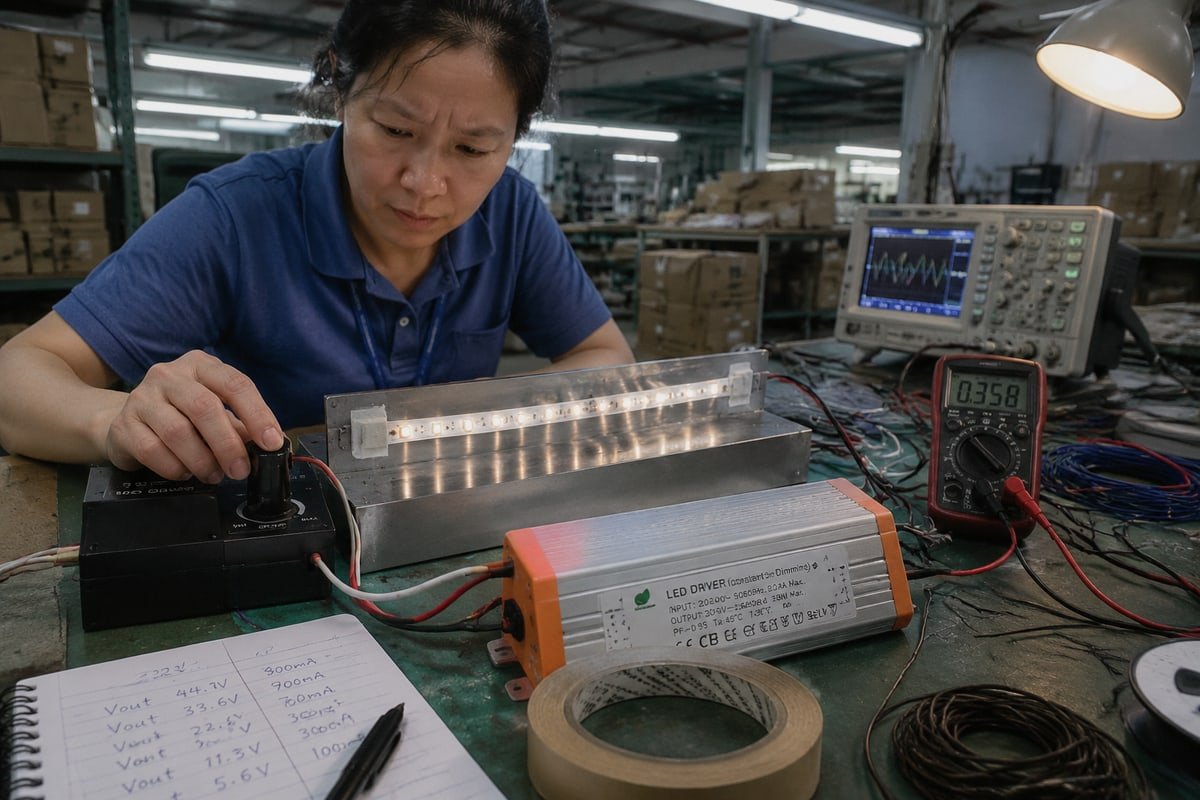
แถบ LED กระพริบกับไดรเวอร์ CV TRIAC เป็นปัญหาที่เราพบบ่อยที่สุดเมื่อเทียบกับข้อร้องเรียนอื่นๆ ที่เราเก็บบันทึกไว้ที่โรงงานไดรเวอร์ของเรา มันทำให้ผู้ติดตั้งหงุดหงิด ทำลายความมั่นใจในโปรเจกต์ และทำให้คำสั่งซื้อซ้ำหยุดชะงัก.
แถบ LED กระพริบกับไดรเวอร์ CV TRIAC เมื่อตัวหรี่ไฟ วงจรอินพุตของไดรเวอร์ และโหลด LED ไม่เข้ากันอย่างเหมาะสม TRIAC ตัดรูปคลื่น AC และไดรเวอร์ที่เข้ากันไม่ได้จะไม่สามารถรักษาการควบคุม DC ให้คงที่ได้—โดยเฉพาะที่ระดับการหรี่ต่ำ โหลดต่ำ หรือการจับคู่แบบ leading-edge/trailing-edge ที่ผิด.
คำตอบนั้นฟังดูง่าย แต่รายละเอียดสำคัญ ด้านล่างนี้ ผมจะแจกแจงสาเหตุที่แท้จริง วิธีแก้ไขที่ได้ผล และวิธีตรวจสอบคุณภาพผลิตภัณฑ์ก่อนที่คุณจะซื้อเป็นจำนวนมาก.
อะไรทำให้แถบ LED ของฉันกระพริบเมื่อฉันใช้ไดรเวอร์ CV TRIAC?
ปีที่แล้วทีม QC ของเราตรวจสอบข้อร้องเรียนเรื่องการกระพริบของลูกค้าในสิงคโปร์จนพบสาเหตุหลักหนึ่งเดียว: วงจร อินพุตสเตจ 1 ของไดรเวอร์ไม่สามารถยึด TRIAC ให้ล็อกอยู่ได้ กรณีนั้นเป็นตัวกำหนดเนื้อหาทั้งส่วนนี้.
การกระพริบเกิดขึ้นเมื่อรูปคลื่นที่ถูกตัดเฟส อินพุตสเตจของไดรเวอร์ วงจรควบคุม DC และโหลด LED หลุดออกจากความสอดคล้องกัน ตัวกระตุ้นทั่วไปรวมถึงการขาดกระแสโฮลดิ้ง ความจุอินพุตที่มากเกินไป ความไม่ตรงกันของ leading-edge/trailing-edge การทำงานวนซ้ำของระบบป้องกัน hiccup และโหลดที่ต่ำกว่าข้อกำหนดโหลดขั้นต่ำของไดรเวอร์.
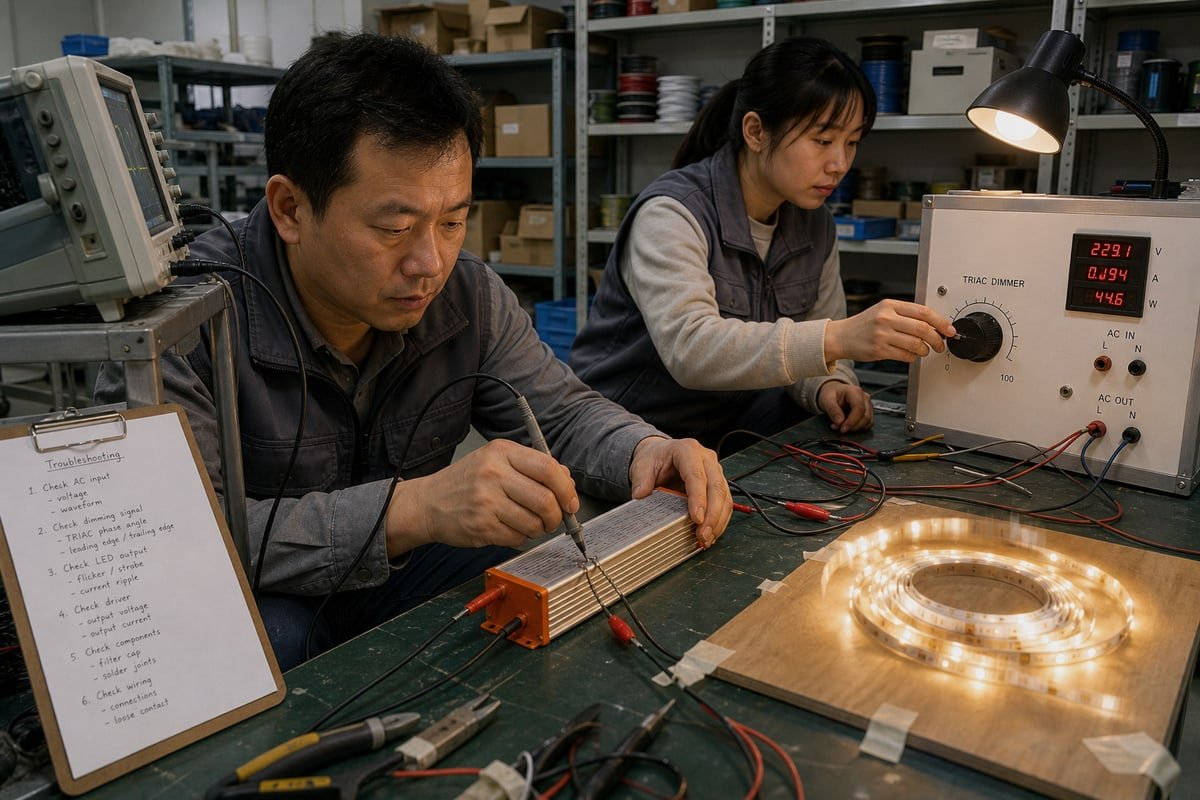
คนส่วนใหญ่มองว่านี่คือ “ความเข้ากันไม่ได้ของ TRIAC” การมองแบบนั้นคลุมเครือเกินกว่าจะแก้ไขอะไรได้ ห่วงโซ่ที่แท้จริงคือ: รูปคลื่นที่ถูกตัดเฟส → อินพุตสเตจของไดรเวอร์ → การควบคุม DC และวงจรควบคุม → โหลด LED การกระพริบปรากฏขึ้นเมื่อจุดใดจุดหนึ่งในห่วงโซ่นั้นพัง.
สาเหตุที่ถูกมองข้ามมากที่สุด: กระแสโฮลดิ้ง
TRIAC ต้องการกระแสไหลผ่านเพียงพอเพื่อให้ล็อกอยู่ได้ในแต่ละครึ่งรอบของ AC ไดรเวอร์ที่มีกระแสอินพุตน้อยหรือไม่เป็นเชิงเส้นสูงอาจทำให้ TRIAC ปิดเร็วเกินไปหรือจุดไฟไม่สม่ำเสมอ ปัญหานี้แย่ลงใกล้ช่วงล่างสุดของช่วงการหรี่ เพราะ หน้าต่างการนำไฟฟ้า 2 สั้นอยู่แล้ว นั่นคือเหตุผลที่การกระพริบมักปรากฏเฉพาะเมื่อความสว่างต่ำกว่าประมาณ 20% เท่านั้น ระบบทำงานปกติที่กำลังเต็ม แล้วก็กะพริบ ป๊อป หรือสั่นไหวเมื่อคุณหรี่ลง.
รายการกลไกการกระพริบทั้งหมด
ในห้องแล็บของเรา เราจัดประเภทข้อร้องเรียนการกระพริบเป็นกลไกด้านล่าง แต่ละแบบมีวิธีแก้ที่ต่างกัน การระบุให้ถูกต้องช่วยประหยัดเวลาได้หลายสัปดาห์.
| กลไก | สิ่งที่เกิดขึ้นจริง | อาการทั่วไป |
|---|---|---|
| การขาดกระแสโฮลดิ้ง | ไดรเวอร์ดึงกระแสน้อยเกินไปที่จะยึด TRIAC ให้ล็อก | กะพริบหรือป๊อปที่ระดับการหรี่ต่ำ |
| ความไม่ตรงกันของ leading/trailing edge | ไดรเวอร์ไม่สามารถถอดรหัสรูปแบบการตัดเฟสของตัวหรี่ไฟได้ | กระพริบทั่วทั้งช่วง |
| การสั่นพ้องของฟิลเตอร์ EMI ที่อินพุต | ตัวเก็บประจุอินพุตสั่นพ้องทุกครั้งที่ TRIAC กระตุ้น | สั่นไหวหรือฮัมใกล้ช่วงกลาง |
| การกระวนกระวายของการตรวจจับจุดศูนย์ | ไดรเวอร์อ่านจังหวะของรูปคลื่นที่ถูกตัดผิด | กระพริบแบบสุ่ม ไม่สม่ำเสมอ |
| การทำงานวนซ้ำของระบบป้องกัน hiccup | ระบบป้องกันโอเวอร์โหลดรีสตาร์ทไดรเวอร์ซ้ำๆ | กะพริบเปิด-ปิดช้า เป็นจังหวะ |
| รูปแบบการรบกวนระหว่างริปเปิลกับ PWM | ริปเปิลจาก AC ที่ถูกเรียงกระแสรบกวนความถี่ PWM ภายใน | เอฟเฟกต์ค่อยๆ ไหลหรือสโตรบช้า |
| การเลื่อนเนื่องจากความร้อน | เกณฑ์การล็อกเปลี่ยนเมื่อชิ้นส่วนร้อนขึ้น | กระพริบที่เริ่มหลังเครื่องอุ่น |
| มลพิษฮาร์มอนิก | โหลดไม่เชิงเส้นอื่นๆ เจาะรอยบนรูปคลื่น AC ในวงจรย่อย | กระพริบเฉพาะเมื่ออุปกรณ์อื่นทำงาน |
| แรงดันตกบนสาย DC | สายไฟเล็กเกินไปหรือระยะยาวเกินไปทำให้เกิดการแกว่งของแรงดันตก | กระพริบที่ปลายสุดของแถบ |
| ความไม่ตรงกันของอิมพีแดนซ์สะท้อน | ความเหนี่ยวนำปรสิตของแถบรบกวนวงจรควบคุมเอาต์พุต | ไม่เสถียรกับแถบที่ยาวมาก |
สังเกตว่ามีเพียงบางส่วนเท่านั้นที่เป็นปัญหาจากตัวหรี่ไฟ หลายอย่างเป็นปัญหาการจ่ายไฟที่มองเห็นได้ชัดเจนเมื่อการหรี่ไฟดึงส่วนเผื่อของระบบออกไป.
ฉันจะแก้ไขการกะพริบในโปรเจกต์ไฟแถบ LED แบบหรี่แสงด้วย TRIAC ของฉันได้อย่างไร?
ลูกค้าในเวียดนามเคยส่งไดรเวอร์ที่ “เสีย” สามตัวกลับมาที่โรงงานของเรา ทั้งสามตัวผ่านการทดสอบบนโต๊ะของเราทั้งหมด ปัญหาจริงของเขาคือแรงดันตกบนแถบยาวที่หน้างาน.
แก้ไขการกะพริบโดยทดสอบตามลำดับ: ข้ามตัวหรี่ ตรวจสอบว่าแรงดันและวัตต์ของไดรเวอร์ตรงกับแถบ ยืนยันว่าโหลดขั้นต่ำของตัวหรี่ได้รับการตอบสนอง ขันการเชื่อมต่อทุกจุดให้แน่น วัดแรงดันตกตลอดแนวแถบ และสุดท้ายเปลี่ยนไดรเวอร์เป็นรุ่น CV ที่รองรับการตัดเฟส.
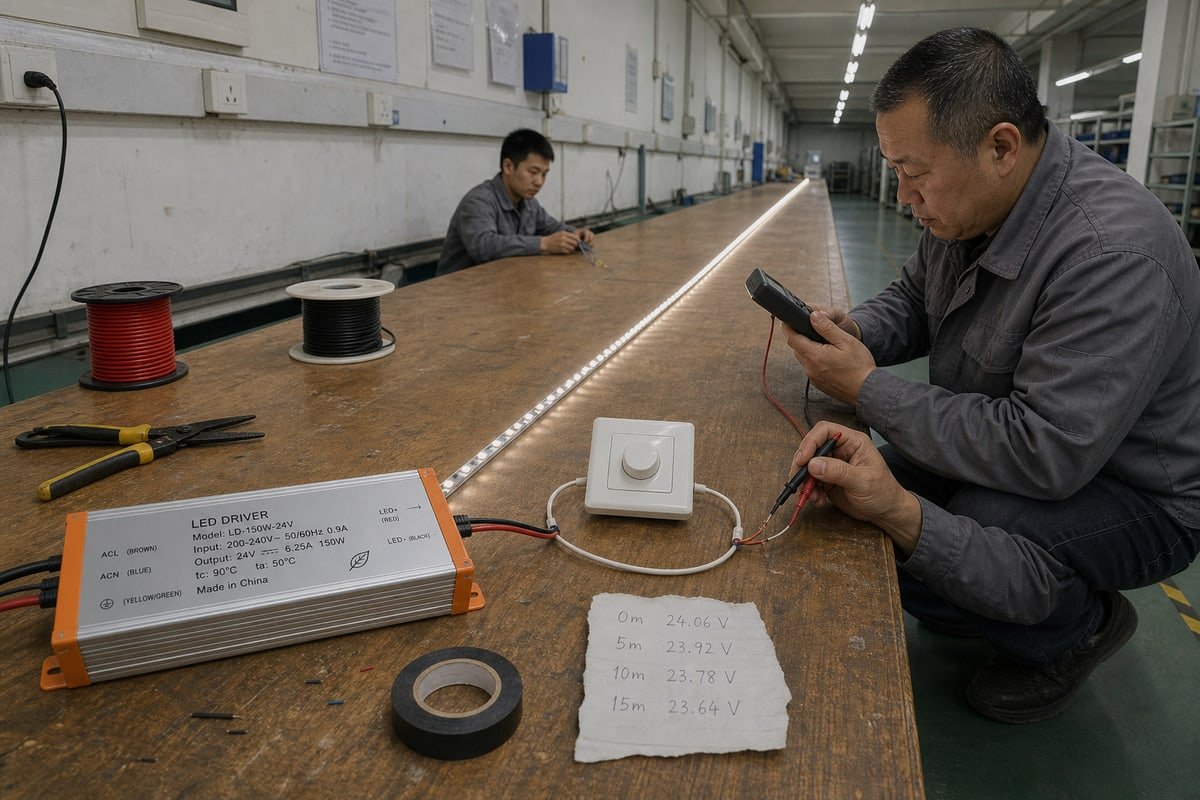
วิธีที่เร็วที่สุดในการแก้ไขการกะพริบคือหยุดเดาและเริ่มกำจัดสาเหตุ ความแตกต่างที่สำคัญคือระหว่างการกะพริบที่เกิดจากตัวหรี่กับการกะพริบที่เกิดจากการจ่ายไฟ ทั้งสองมีลักษณะเหมือนกันกับตา แต่ต้องแก้ต่างวิธี นี่คือลำดับการกำจัดสาเหตุที่เราแนะนำให้ลูกค้าวิศวกรของเรา.
- ข้ามตัวหรี่. เดินสายไดรเวอร์ตรงเข้ากับไฟหลัก หากการกะพริบหายไป ปัญหาอยู่ที่ ห่วงโซ่การหรี่แสง 3. หากยังคงอยู่ ให้ตรวจสอบการจ่ายไฟแทน.
- ตรวจสอบความเข้ากันได้ทางไฟฟ้า. ยืนยันว่าหม้อแปลง LED แรงดันต่ำจ่ายไฟ 12V หรือ 24V ที่ถูกต้อง และวัตต์ครอบคลุมแถบโดยมีพื้นที่เหลือ ไดรเวอร์ที่ทำงานเต็มกำลังอาจเข้าสู่โหมดป้องกันการสะดุด ซึ่งดูเหมือนการกะพริบเป็นจังหวะ.
- ตรวจสอบโหลดขั้นต่ำของตัวหรี่. ตัวหรี่ติดผนังหลายรุ่นต้องการวัตต์ขั้นต่ำในการทำงาน แถบสั้นที่ความสว่างต่ำอาจต่ำกว่าเกณฑ์นั้น ทำให้ตัวหรี่เปิดปิดเป็นรอบ.
- ตรวจสอบการเชื่อมต่อทุกจุด. ขั้วหลวม จุดต่อที่กัดกร่อน และคอนเนกเตอร์คลิปราคาถูกทำให้เกิดการสัมผัสที่ไม่ต่อเนื่อง ซึ่งเลียนแบบปัญหาตัวหรี่ได้อย่างสมบูรณ์แบบ.
- วัดแรงดันที่ปลายทั้งสองด้านของแถบ. หากคุณเห็นแรงดันตกมากกว่าประมาณ 0.5V จากต้นถึงปลาย แรงดันตกมีส่วนทำให้เกิดการกะพริบ ลดความยาวแถบ เพิ่มขนาดสายไฟ หรือจ่ายไฟจากทั้งสองปลาย.
- เปลี่ยนไดรเวอร์เป็นขั้นตอนสุดท้าย. หากขั้นตอนที่หนึ่งถึงห้าผ่านและการกะพริบยังคงอยู่ ให้เปลี่ยนไดรเวอร์เป็นรุ่นที่ระบุอย่างชัดเจนว่ารองรับการตัดเฟสและยืนยันความเข้ากันได้กับรุ่นตัวหรี่ของคุณ.
การทำตามลำดับนี้สำคัญมาก ในบันทึกการบริการหลังการขายของเรา “ความเสียหายของไดรเวอร์” ส่วนใหญ่กลายเป็นปัญหาการเดินสาย การกำหนดขนาดโหลด หรือโหลดขั้นต่ำของตัวหรี่ ซึ่งไดรเวอร์ใหม่ไม่สามารถแก้ไขได้.
สวิตช์หรี่ไฟ TRIAC ตัวใดที่เข้ากันได้จริงกับไดรเวอร์ LED แรงดันคงที่ (CV) ของฉัน?
การเลือกระหว่างตัวหรี่แบบตัดเฟสหน้าและรุ่นตัดขอบท้ายเป็นการแลกเปลี่ยนที่วิศวกรของเราพิจารณาตลอดเวลา: ความน่าเชื่อถือในการล็อกกระแสเทียบกับประสิทธิภาพปลายต่ำที่ราบรื่น.
ตัวหรี่ TRIAC ที่เข้ากันได้ต้องตรงกับวิธีการหรี่ที่ไดรเวอร์ประกาศไว้—ตัดขอบนำ ตัดขอบตาม หรือทั้งสอง—ตรงกับโปรไฟล์กระแสอินพุตของไดรเวอร์ และมีพิกัดโหลดขั้นต่ำที่แถบที่เชื่อมต่อสามารถตอบสนองได้ ยืนยันการจับคู่กับรายการตัวหรี่ที่ทดสอบแล้วของผู้ผลิตไดรเวอร์เสมอ.
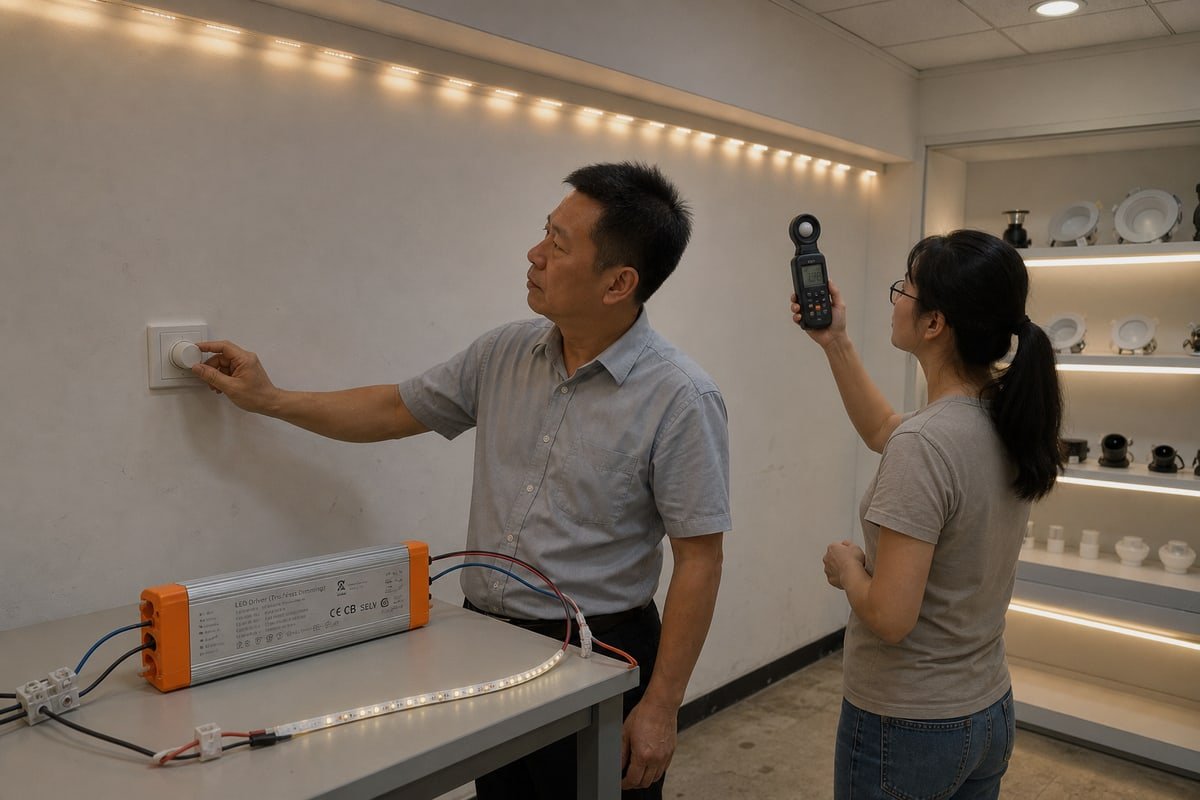
ความเข้ากันได้ของสวิตช์หรี่คือจุดที่โครงการส่วนใหญ่ผิดพลาด ดังนั้นเริ่มต้นด้วย การเปรียบเทียบการตัดขอบนำกับการตัดขอบตาม. เทคโนโลยีทั้งสองตัดรูปคลื่น AC ต่างกัน และไดรเวอร์ที่ออกแบบมาสำหรับแบบหนึ่งอาจทำงานผิดปกติกับอีกแบบหนึ่ง.
| ปัจจัย | การตัดขอบนำ (เฟสหน้า) | การตัดขอบตาม (ชนิด ELV) |
|---|---|---|
| วิธีตัดรูปคลื่น | ตัดด้านหน้าของแต่ละครึ่งรอบ | ตัดด้านหลังของแต่ละครึ่งรอบ |
| เป้าหมายการออกแบบดั้งเดิม | โหลดหลอดไส้และโหลดแม่เหล็ก | โหลดอิเล็กทรอนิกส์แรงดันต่ำ |
| ความไวต่อกระแสโฮลด์ | สูง—ต้องการกระแสคงที่เพื่อรักษาการล็อก | ต่ำ—ใช้ทรานซิสเตอร์ ไม่ใช่ TRIAC แบบล็อก |
| ข้อกำหนดโหลดขั้นต่ำ | มักจะ 25W ขึ้นไป | โดยปกติต่ำกว่ามาก |
| พฤติกรรมการหรี่ปลายต่ำ | มีแนวโน้มที่จะดับและกะพริบ | โดยทั่วไปราบรื่นและเงียบกว่า |
| การจับคู่ที่ดีที่สุด | ไดรเวอร์ที่ระบุอย่างชัดเจนว่ารองรับการตัดขอบนำ | การออกแบบไดรเวอร์ที่หรี่แบบ ELV ได้ |
ตอนนี้ให้ฉันกล่าวถึงข้อโต้แย้งทั่วไปของผู้ซื้อ วิศวกรบางคนบอกฉันว่า การหรี่แบบ TRIAC ไม่เหมาะสมโดยเนื้อแท้สำหรับแถบ LED และมีเพียงโซลูชัน MOSFET หรือการตัดขอบตามเท่านั้นที่จะไร้การกะพริบ ฉันเข้าใจที่มาของมุมมองนี้—ตัวหรี่หลอดไส้รุ่นเก่ากับ หน่วยจ่ายไฟแรงดันคงที่ 4 ทั่วไปกะพริบอย่างรุนแรง แต่ข้อสรุปนั้นล้าสมัยแล้ว ไดรเวอร์ที่สเตจอินพุตถูกออกแบบมาเพื่อถอดรหัสอินพุตที่ตัดเฟส นำเสนอกระแสที่เสถียรให้กับ TRIAC และควบคุมอย่างสะอาดที่ระดับการหรี่ลึกสามารถทำงานได้ดีมากกับ 领先边缘硬件 5. 。真正的范围从“闪烁的旧通用设置”延伸到“经过工程设计的TRIAC兼容系统,后者不会闪烁。”
我们给分销商的实用规则:切勿单独验证调光器。将调光器、驱动器和灯带作为一个系统验证,并在指定任何产品前,向供应商索取其经过测试的兼容性列表。.
ฉันจะเลือกไดรเวอร์ CV TRIAC ที่เชื่อถือได้เพื่อป้องกันการกะพริบในคำสั่งซื้อจำนวนมากได้อย่างไร?
多年来向欧洲和东南亚出口驱动器的经验中,有一个教训让我印象深刻:数据表上写着24V恒压并不能说明调光性能。.
选择明确标注为24V恒压、TRIAC/相位切割可调光的驱动器——而不仅仅是恒压。验证前沿和后沿支持、最小和最大负载、低端调光稳定性、输入电流行为、CE、CB和SELV等安全标志,然后在承诺前对完整的调光器-驱动器-灯带组合进行样品测试。.
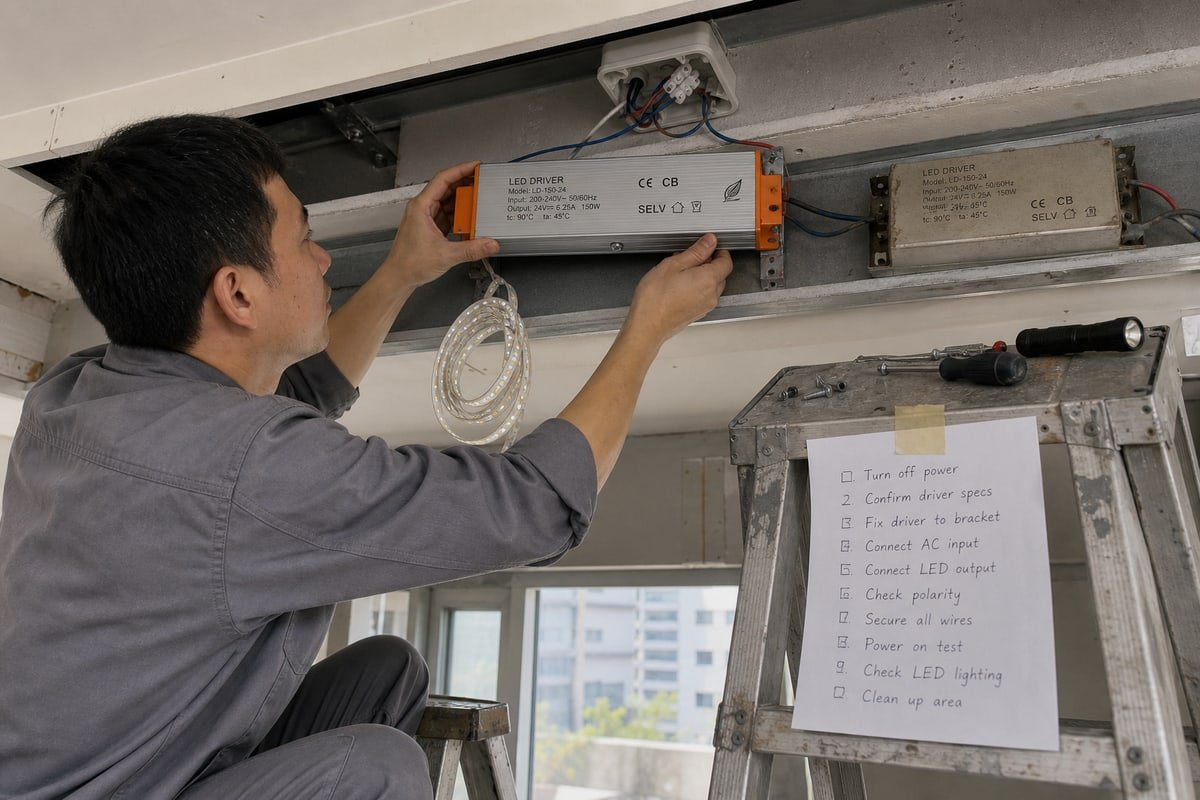
这里有一个隐藏问题,让买家损失最多钱。一条24V LED灯带在电气上可能与24V恒压驱动器完全兼容,但在调光时仍会闪烁。电压兼容性和调光兼容性是两回事。A 传统恒压电源 在正常操作中可能产生出色的24V直流电,但其输入电路可能完全不适合相位切割波形。将其接在TRIAC调光器后面并不会神奇地使其成为TRIAC可调光驱动器。规格必须写明类似“24V恒压、TRIAC/相位切割可调光”——而不是简单写“24V恒压电源。”
向每个供应商提出的六个问题
在任何批量订购前,我们告诉买家不要只问“是否TRIAC可调光?”而要问这六个问题:
- 它是为前沿、后沿还是两者设计的?
- 驱动器的最小和最大负载是多少?
- 驱动器的输入电流波形是什么?
- 它能在你预期的最小调光水平下保持稳定调节吗?
- LED灯带是否实际消耗足够功率以满足驱动器的工作范围?
- 调光器本身是否有最小负载要求?
批量订购资格检查清单
| 检查点 | สิ่งที่ต้องตรวจสอบ | 危险信号 |
|---|---|---|
| 调光标签 | 明确标明TRIAC/相位切割可调光 | 仅说恒压 |
| 安全标志 | 外壳上印有CE、CB和SELV | 证书缺失或无法验证 |
| 热设计 | 铝制外壳带散热槽 | 密封塑料无散热路径 |
| 无闪烁声明 | 询问0–100%调光是否适用于你的调光器和负载 | 声明未附带经过测试的调光器列表 |
| 低端测试 | 在真实最小亮度下进行样品测试 | 仅在满输出下测试 |
| 保修条款 | 书面保修涵盖调光故障 | 保修排除调光行为 |
在硬件方面,物理制造质量能告诉你很多。我们自己的产品使用带肋状散热槽的拉丝铝外壳,因为热驱动器中的热漂移可能改变锁定行为并产生仅在预热后出现的闪烁。同时,将“0–100%无闪烁”营销视为兼容性声明,而非普遍保证——它仅在声明的负载范围内与经过测试的调光器配合时成立。我最强的B2B心得:不要仅仅因为CV驱动器接受TRIAC调光器就将其认定为TRIAC可调光。真正的测试是完整的调光器、驱动器和LED灯带组合是否在你所需的整个调光范围内保持稳定。.
บทสรุป
闪烁是系统不匹配,而非神秘现象。匹配调光器、驱动器和灯带;测试完整链路;只从验证完整组合的供应商处购买。.
เชิงอรรถ
- 解释输入级在TRIAC功率控制中的功能。. ↩︎
- 相位控制与导通定时的技术解释。. ↩︎
- 美国能源部的原始URL已失效;这是更新后的权威页面,解释LED闪烁基础知识和系统组件。. ↩︎
- มาตรฐานคำสั่งแรงดันไฟฟ้าต่ำของสหภาพยุโรปสำหรับอุปกรณ์ไฟฟ้าแรงดันคงที่. ↩︎
- มาตรฐาน NEMA เกี่ยวกับความเข้ากันได้ของการหรี่แสงสำหรับระบบไฟโซลิดสเตต. ↩︎