Skip to content










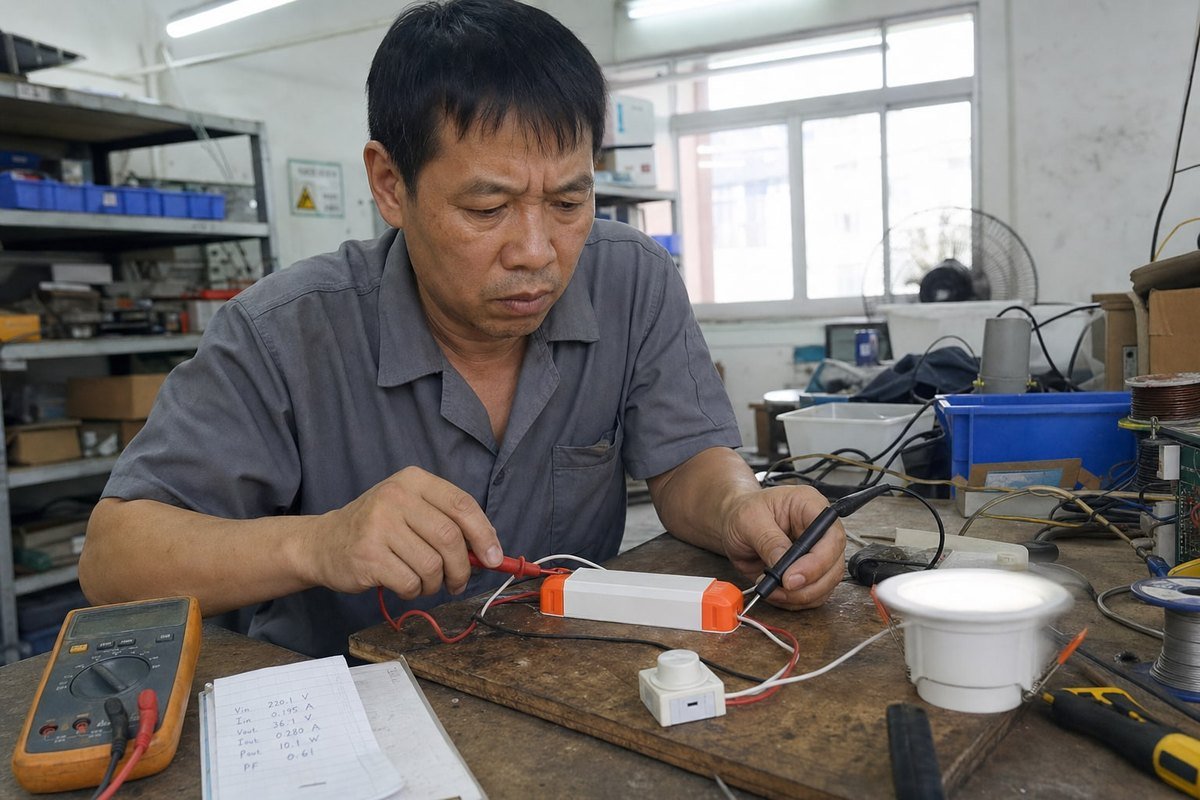
Flicker complaints can sink a lighting project fast. LED lights that flicker with CC TRIAC drivers are the single most common return reason we investigate. The frustrating part? The driver often tests fine on our bench, yet flickers badly on the customer’s dimmer. That mismatch is exactly what I want to unpack here, so you can stop the problem before it reaches your customers.
LED lights flicker with CC TRIAC drivers because phase-cut dimmers were designed for resistive incandescent loads. Low LED current falls below the TRIAC’s holding current, the input capacitor charges in bursts, and EMI filter ringing confuses retriggering—causing the TRIAC to unlatch and the driver to restart visibly.
That is the short answer. But if you buy or design LED drivers for a living, you need more than a summary. Let me walk you through the causes, the fixes, and the tests we run before any driver leaves our factory.
What causes flickering when I pair CC drivers with TRIAC dimmers?
A few years back, one of our French buyers sent me a video of a downlight strobing at 20% brightness. The fixture was fine. The driver was fine. The pairing was the problem, and that story repeats itself weekly in our support inbox.
Flicker occurs because the TRIAC dimmer needs continuous latching and holding current to stay conducting, while a constant-current driver draws pulsed, capacitive current. When the driver’s draw dips below the holding threshold, the TRIAC unlatches mid-cycle, the driver loses power, restarts, and the LED visibly flashes.

The root of the issue is a communication failure between two devices built on different assumptions. A TRIAC dimmer performs phase-cut dimming: it chops off part of each AC half-cycle and delivers the rest to the load. An incandescent filament is purely resistive, so it draws smooth current the moment the TRIAC fires. The TRIAC latches, stays above its holding current 1, and everything works.
A constant-current LED driver behaves nothing like a filament. It rectifies the chopped AC, charges an input capacitor 2 in sharp bursts, and then regulates a fixed current to the LED string. Between those charging bursts, the current the dimmer sees can collapse to almost nothing.
The step-by-step flicker mechanism
- The dimmer chops the waveform and fires the TRIAC.
- The driver’s input capacitor draws a sharp inrush spike.
- The current then drops below the TRIAC’s holding current.
- The TRIAC unlatches early or retriggers erratically within the same half-cycle.
- The driver’s internal supply rail sags, the control IC resets, and output current drops.
- The LED flashes or pulses—often as a visible stroboscopic effect.
Secondary contributors we see in the lab
Beyond the core holding-current mismatch, our engineers regularly trace flicker to these secondary causes:
| Cause | What Happens | Where It Shows Up |
|---|---|---|
| EMI filter ringing | Steep TRIAC voltage rise excites the input filter; oscillation misfires the dimming detection | Random flicker at mid-dim |
| Weak bleeder circuit | Not enough current drawn during off-time to keep the TRIAC latched | Flicker at low dim levels |
| Control IC power starvation | Short conduction angles starve the IC supply; driver enters hiccup mode | Blinking near minimum brightness |
| Mains DC offset | Asymmetric firing between half-cycles | Visible 50/60 Hz modulation |
| Long output cables | Parasitic capacitance destabilizes the current loop at low duty cycles | Shimmer during deep dimming |
Modern TRIAC dimmable constant-current drivers—including the compact units we build—address these issues with active bleeder circuits, damped EMI filtering 3, and phase-detection logic tuned for chopped waveforms. But even the best driver cannot fix every dimmer, which brings us to compatibility.
How can I choose compatible TRIAC dimmers to avoid flicker in my CC LED driver designs?
Compatibility questions dominate the technical calls I take with buyers. When we ship drivers to Europe, we always ask which dimmer brands the project specifies—because dimmer switch compatibility decides success more than any single driver spec.
Choose dimmers from your driver manufacturer’s tested compatibility list, match leading edge vs trailing edge topology to the driver design, verify the dimmer is rated for LED loads, and confirm the connected LED wattage sits comfortably within the dimmer’s minimum and maximum load window.

Not all phase-cut dimmers behave the same way, and the first split you must understand is leading edge vs trailing edge.
Forward phase vs reverse phase: know your topology
Forward phase dimmers (leading-edge, TRIAC-based) cut the beginning of each half-cycle. The voltage snaps on abruptly, which creates inrush spikes 4 and can excite EMI filter ringing. Reverse phase dimmers (trailing-edge, MOSFET-based) cut the end of the half-cycle. The voltage rises gently, which is friendlier to capacitive driver inputs—but a driver tuned for forward phase detection may misread a reverse phase signal entirely.
| Feature | Forward Phase (Leading Edge) | Reverse Phase (Trailing Edge) |
|---|---|---|
| Switching device | TRIAC | MOSFET/IGBT |
| Voltage rise | Abrupt, steep dV/dt | Gradual, soft |
| Holding current needed | Yes, critical | No |
| Minimum load requirement | Often 25–60W | Usually much lower |
| Best paired with | Drivers with strong bleeder circuits | Capacitive LED driver inputs |
| Typical failure mode | Flicker, drop-out at low dim | Misdetection if driver expects leading edge |
A practical selection checklist
From our export experience, this is the sequence I recommend to buyers like you:
- Start with the compatibility list. We test our drivers against popular dimmer models and publish results. A tested pair removes most guesswork.
- Check the dimmer’s LED rating. Legacy incandescent dimmers often state a 25W–60W minimum load requirement. Three 8W LED fixtures may not satisfy it.
- Derate the dimmer for LED loads. A 400W incandescent dimmer often handles only about 10% of that in LED wattage because of inrush spikes.
- Match the topology. Confirm whether your driver expects forward phase or reverse phase signals 5 before specifying the wall control.
- Ask about the dimming curve. A driver and dimmer with mismatched curves may not flicker, but they will dim poorly—dead travel at the top, sudden cutoff at the bottom.
One more tip from our factory floor: if a project mixes fixture types on one dimmer circuit, test the full mixed load, not one fixture at a time. Interactions between drivers on the same phase-cut line cause flicker that single-unit tests never reveal.

What minimum load or holding current issues should I check to prevent flicker?
There is a trade-off we weigh in every driver design: how much bleeder current to burn. Too little, and the TRIAC drops out at low dim. Too much, and efficiency suffers and the driver runs hot. Getting this balance right is where CC TRIAC driver design gets genuinely hard.
Check that total LED load meets the dimmer’s minimum load requirement, that the driver’s input current stays above the TRIAC’s holding current at all conduction angles, and that the bleeder circuit maintains latching current during the critical milliseconds after the TRIAC fires.
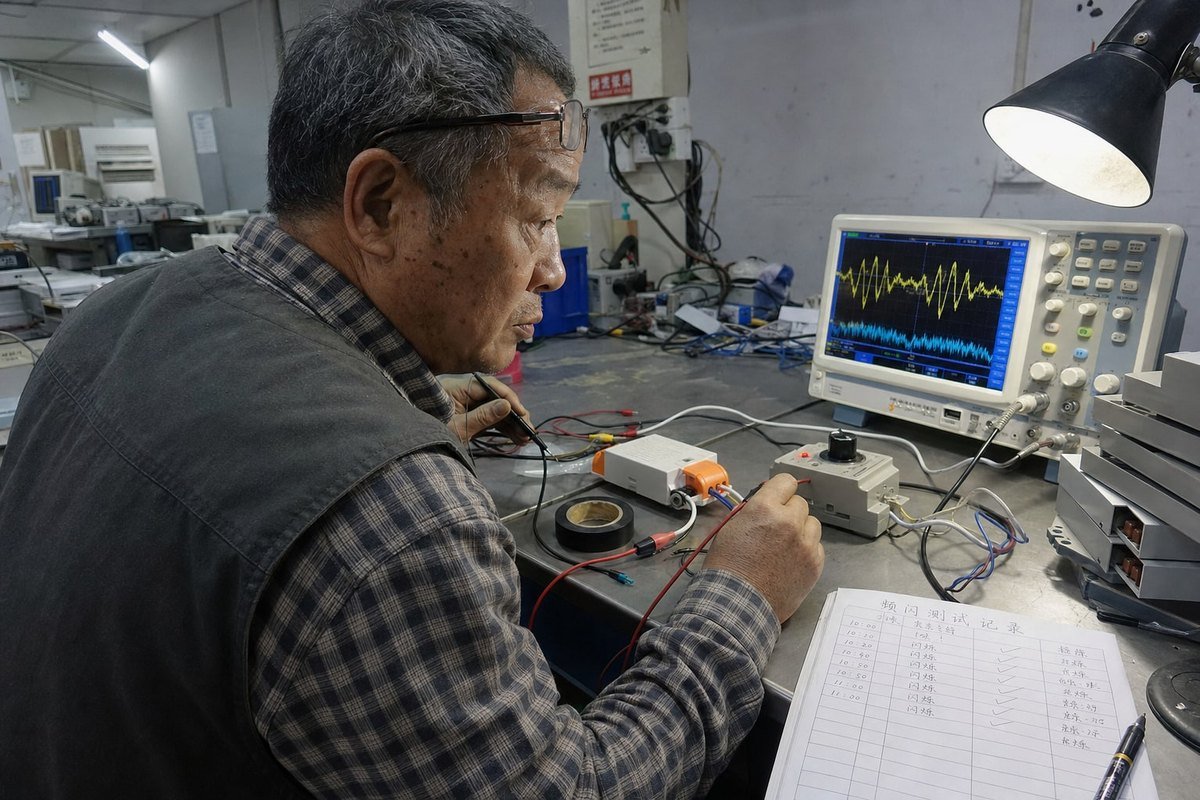
Two related but distinct current thresholds govern TRIAC behavior, and confusing them causes design mistakes.
Latching current vs holding current
Latching current is what the TRIAC needs immediately after triggering to stay on once the gate pulse ends. Holding current is the smaller value it needs throughout conduction to remain on. Latching and holding current specs vary by TRIAC model 6, but typical values run from a few milliamps to over 50 mA. An incandescent bulb blows past both instantly. A dimmed LED driver may fail either one—latching failure causes misfires right after triggering, while holding failure causes early drop-out later in the half-cycle.
The math that matters at low dim
Flicker worsens at deep dimming for a simple energy reason. At a short conduction angle, the driver receives only a thin slice of each half-cycle. Less energy per cycle means lower average input current, which is exactly when the TRIAC is most likely to lose its holding current. This is why the hallmark symptom of a mismatch is instability below roughly 20% brightness while full brightness looks perfect.
| Check Item | What to Verify | Warning Sign |
|---|---|---|
| Dimmer minimum load | Total LED wattage vs. dimmer spec | Load under the stated minimum |
| TRIAC holding current | Driver input current at minimum dim | Current dips below ~10–50 mA |
| Bleeder circuit type | Active (switched) vs passive (resistive) | Passive bleeder plus deep dimming spec |
| Thermal behavior | Bleeder timing at operating temperature | Flicker appearing only after warm-up |
| Leakage current path | Driver restart cycling with dimmer at minimum | Slow on-off blinking when nearly off |
Why active bleeders changed the game
Older designs used a fixed resistive bleeder that wasted power at every dim level. Our current designs use active bleeder circuits that draw supplemental current only during the vulnerable window after TRIAC firing and at low conduction angles. One lesson we learned the hard way: bleeder timing drifts with temperature. A driver that passes a cold bench test can flicker after thirty minutes inside a warm ceiling fixture. We now soak-test drivers at elevated temperature before approving any dimming design, because thermal drift in the bleeder is one of the sneakiest flicker sources in the field.
How do I test and troubleshoot flicker problems before mass production?
A buyer once asked me why we insist on a full dimmer sweep test when the sample “already worked” in his office. Two months later, his production batch met a different dimmer brand on site—and our sweep data saved the project. Testing before mass production is cheap insurance.
Test each driver-dimmer pair across the full dimming range with an oscilloscope on input current and a flicker meter on light output. Verify stable latching at minimum dim, check warm-up behavior, sweep multiple dimmer brands, and confirm no hiccup restarts at any conduction angle.

Let me share the workflow we follow in our QC lab, adapted so you can run it before signing off on a production batch.
A seven-step pre-production test protocol
- Bench the exact pairing. Test the specific dimmer model, driver model, and LED load the project will use. Substitutes hide problems.
- Sweep the full dimming range slowly. Move from 100% down to minimum over 30 seconds. Watch for shimmer, flashing, or dead zones—especially in the bottom quarter of travel.
- Scope the input current. Put a current probe 7 on the AC input. Look for early TRIAC drop-out (current collapsing mid-half-cycle) and for double-triggering caused by EMI filtering ringing.
- Measure light flicker directly. Use a flicker meter or a high-frame-rate camera to quantify percent flicker and flicker index 8 at several dim levels. The stroboscopic effect can be invisible to the naked eye yet obvious to a camera or to sensitive occupants.
- Run a thermal soak. Operate at minimum dim inside an enclosure at realistic ambient temperature for at least an hour. Recheck stability warm.
- Test minimum and maximum fixture counts. One driver on a dimmer behaves differently than ten. Test both extremes of the planned circuit.
- Check the off state. With the dimmer fully off, confirm the LED stays dark. Ghosting or periodic blinking indicates leakage current slowly charging the driver’s capacitor and triggering restart cycling.
Reading the symptoms
Different flicker signatures point to different causes. Flicker only near minimum brightness usually means holding current or dimming-range mismatch—not wiring. Flicker at all levels suggests topology mismatch or filter oscillation. Blinking with the dimmer off means leakage. Flicker after warm-up points to thermal drift. And do not forget the balancing view: some field flicker traces back to voltage fluctuations, loose neutral wiring, or shared circuits with AFCI/GFCI breakers reacting to harmonic noise. Rule those out before blaming the driver-dimmer pair.
Conclusion
Flicker with CC TRIAC drivers is rarely an LED defect. It is a dimmer-driver mismatch you can prevent with topology matching, bleeder-aware design, and disciplined pre-production testing. If you want help pairing drivers and dimmers for your next project, our team at boqi is glad to share our compatibility data.
Footnotes
- Describes the minimum current required to keep a TRIAC in the conducting state. ↩︎
- Technical documentation on capacitor components responsible for pulsed current draw in LED drivers. ↩︎
- Authoritative Wikipedia entry explaining electromagnetic interference and suppression techniques. ↩︎
- Reliable Wikipedia source defining inrush current and its impact on electrical components. ↩︎
- Technical overview of trailing-edge dimming technology used for capacitive LED loads. ↩︎
- Explains the fundamental semiconductor component used in phase-cut dimming circuits. ↩︎
- Industry leader’s guide to tools used for measuring input current waveforms in troubleshooting. ↩︎
- Government resource defining metrics for measuring and quantifying light flicker in LED systems. ↩︎