Chuyển đến nội dung










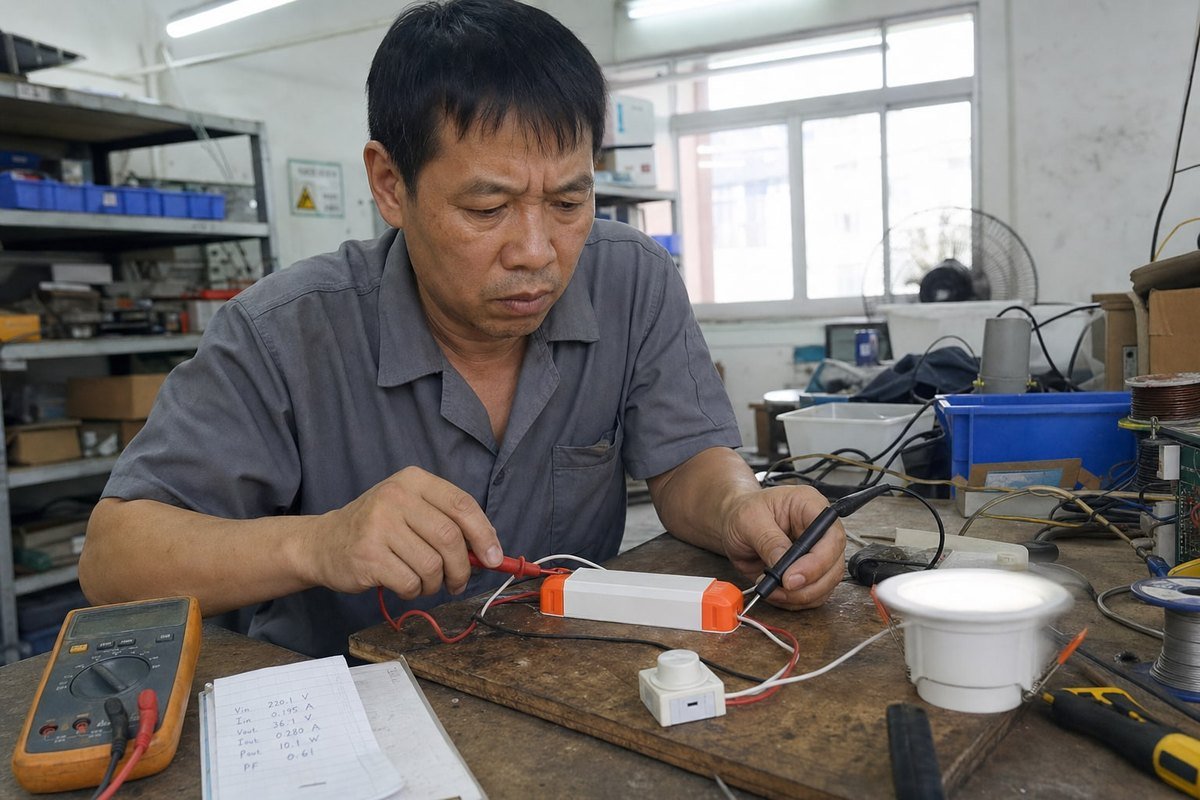
Khiếu nại về nhấp nháy có thể làm hỏng dự án chiếu sáng nhanh chóng. Đèn LED nhấp nháy với driver CC TRIAC là lý do trả hàng phổ biến nhất mà chúng tôi điều tra. Phần khó chịu? Driver thường kiểm tra tốt trên bàn thử của chúng tôi, nhưng lại nhấp nháy tệ trên bộ điều chỉnh độ sáng của khách hàng. Sự không khớp đó chính là điều tôi muốn phân tích ở đây, để bạn có thể ngăn chặn vấn đề trước khi nó đến tay khách hàng.
Đèn LED nhấp nháy với driver CC TRIAC vì bộ điều chỉnh độ sáng cắt pha được thiết kế cho tải điện trở như đèn sợi đốt. Dòng điện LED thấp giảm xuống dưới dòng giữ của TRIAC, tụ điện đầu vào nạp theo từng đợt, và dao động của bộ lọc EMI gây nhiễu việc kích lại—làm cho TRIAC ngắt và driver khởi động lại một cách nhìn thấy được.
Đó là câu trả lời ngắn gọn. Nhưng nếu bạn mua hoặc thiết kế driver LED để kiếm sống, bạn cần nhiều hơn một bản tóm tắt. Hãy để tôi hướng dẫn bạn qua các nguyên nhân, các giải pháp khắc phục, và các bài kiểm tra chúng tôi chạy trước khi bất kỳ driver nào rời khỏi nhà máy của chúng tôi.
Điều gì gây ra hiện tượng nhấp nháy khi tôi kết hợp bộ điều khiển CC với bộ điều chỉnh độ sáng TRIAC?
Vài năm trước, một trong những người mua hàng người Pháp của chúng tôi đã gửi cho tôi một video về đèn downlight nhấp nháy ở độ sáng 20%. Thiết bị chiếu sáng thì tốt. Driver thì tốt. Sự kết hợp mới là vấn đề, và câu chuyện đó lặp lại hàng tuần trong hộp thư hỗ trợ của chúng tôi.
Nhấp nháy xảy ra vì bộ điều chỉnh độ sáng TRIAC cần dòng kích và dòng giữ liên tục để duy trì dẫn điện, trong khi driver dòng không đổi kéo dòng điện dạng xung, điện dung. Khi dòng điện kéo của driver giảm xuống dưới ngưỡng giữ, TRIAC ngắt giữa chu kỳ, driver mất nguồn, khởi động lại, và đèn LED nhấp nháy nhìn thấy được.
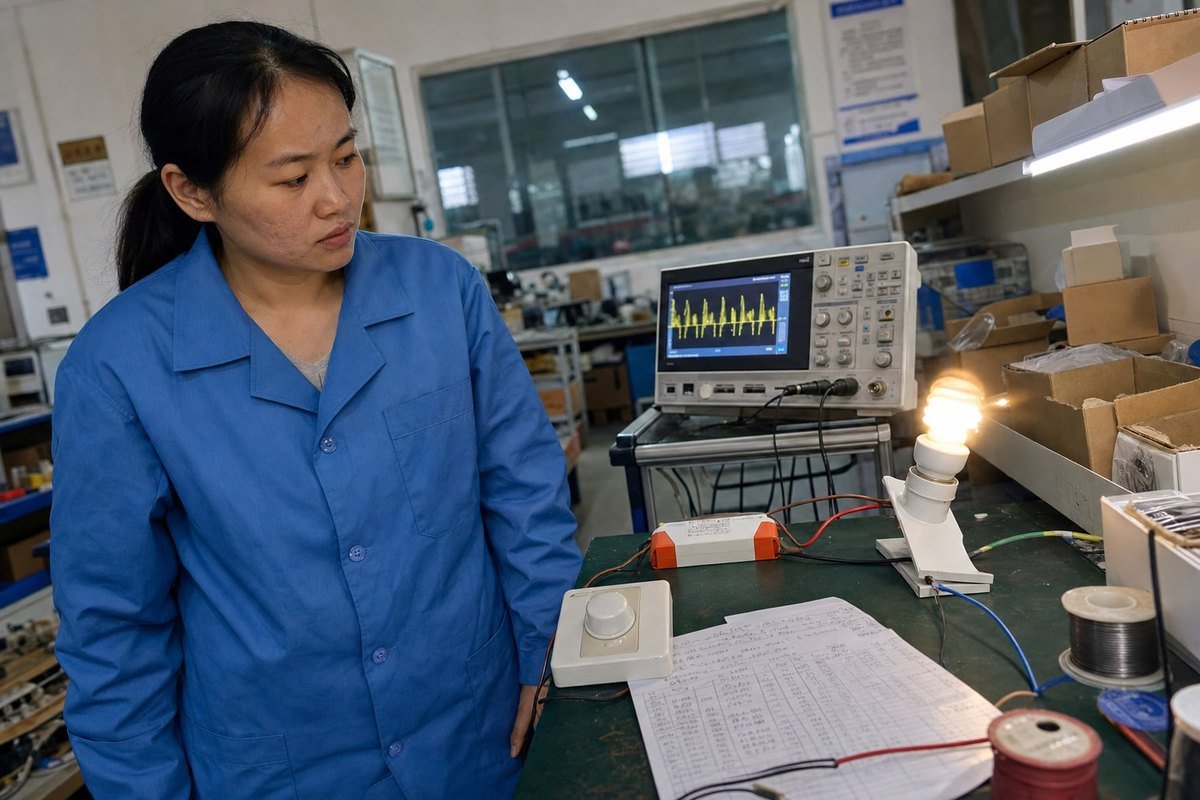
Gốc rễ của vấn đề là sự thất bại trong giao tiếp giữa hai thiết bị được xây dựng trên các giả định khác nhau. Bộ điều chỉnh độ sáng TRIAC thực hiện điều chỉnh độ sáng cắt pha: nó cắt bỏ một phần của mỗi nửa chu kỳ AC và cung cấp phần còn lại cho tải. Dây tóc đèn sợi đốt là thuần điện trở, vì vậy nó kéo dòng điện mượt mà ngay khi TRIAC kích. TRIAC kích, duy trì trên dòng giữ 1, và mọi thứ hoạt động.
Driver LED dòng không đổi không hoạt động giống như dây tóc. Nó chỉnh lưu AC đã cắt, nạp tụ điện đầu vào 2 theo các đợt sắc nét, và sau đó điều chỉnh dòng điện cố định cho chuỗi LED. Giữa các đợt nạp đó, dòng điện mà bộ điều chỉnh độ sáng thấy có thể sụp đổ gần như bằng không.
Cơ chế nhấp nháy từng bước
- Bộ điều chỉnh độ sáng cắt dạng sóng và kích TRIAC.
- Tụ điện đầu vào của driver kéo một xung dòng điện tăng vọt sắc nét.
- Dòng điện sau đó giảm xuống dưới dòng giữ của TRIAC.
- TRIAC ngắt sớm hoặc kích lại không ổn định trong cùng một nửa chu kỳ.
- Nguồn cung cấp nội bộ của driver sụt giảm, IC điều khiển đặt lại, và dòng điện đầu ra giảm.
- Đèn LED nhấp nháy hoặc xung—thường là hiệu ứng nhấp nháy nhìn thấy được.
Các yếu tố phụ mà chúng tôi thấy trong phòng thí nghiệm
Ngoài sự không khớp dòng giữ cốt lõi, các kỹ sư của chúng tôi thường xuyên truy vết nhấp nháy đến các nguyên nhân phụ sau:
| Nguyên nhân | Điều gì xảy ra | Nơi nó xuất hiện |
|---|---|---|
| Dao động bộ lọc EMI | Sự tăng điện áp TRIAC dốc kích thích bộ lọc đầu vào; dao động gây kích sai việc phát hiện điều chỉnh độ sáng | Nhấp nháy ngẫu nhiên ở mức điều chỉnh giữa |
| Mạch bleeder yếu | Không đủ dòng điện kéo trong thời gian tắt để giữ TRIAC kích | Nhấp nháy ở mức điều chỉnh thấp |
| IC điều khiển thiếu nguồn | Góc dẫn ngắn làm thiếu nguồn IC; driver vào chế độ hiccup | Nhấp nháy gần độ sáng tối thiểu |
| Độ lệch DC nguồn điện | Kích không đối xứng giữa các nửa chu kỳ | Điều chế 50/60 Hz nhìn thấy được |
| Cáp đầu ra dài | Điện dung ký sinh làm mất ổn định vòng dòng điện ở chu kỳ làm việc thấp | Lung linh khi điều chỉnh sâu |
Các driver dòng không đổi điều chỉnh độ sáng TRIAC hiện đại—bao gồm các đơn vị nhỏ gọn chúng tôi sản xuất—giải quyết các vấn đề này với mạch bleeder hoạt động, bộ lọc EMI có giảm chấn , và logic phát hiện pha được tinh chỉnh cho dạng sóng cắt. Nhưng ngay cả driver tốt nhất cũng không thể sửa mọi bộ điều chỉnh độ sáng, điều này đưa chúng ta đến vấn đề tương thích. 3, Nhấp nháy với bộ điều chỉnh độ sáng TRIAC thường là sự thất bại tương thích giữa bộ điều chỉnh độ sáng và driver, không phải là đèn LED bị lỗi.
Làm thế nào tôi có thể chọn bộ điều chỉnh độ sáng TRIAC tương thích để tránh nhấp nháy trong thiết kế driver LED dòng không đổi (CC) của tôi?
Chọn bộ điều chỉnh độ sáng từ danh sách tương thích đã kiểm tra của nhà sản xuất driver, khớp cấu trúc cạnh dẫn so với cạnh trễ với thiết kế driver, xác minh bộ điều chỉnh độ sáng được đánh giá cho tải LED, và xác nhận công suất LED kết nối nằm thoải mái trong cửa sổ tải tối thiểu và tối đa của bộ điều chỉnh độ sáng.
Chọn bộ điều chỉnh độ sáng từ danh sách tương thích đã được kiểm tra của nhà sản xuất driver, khớp cấu trúc leading edge (cạnh dẫn) hoặc trailing edge (cạnh trễ) với thiết kế driver, xác minh bộ điều chỉnh độ sáng được đánh giá cho tải LED, và xác nhận công suất LED kết nối nằm thoải mái trong khoảng tải tối thiểu và tối đa của bộ điều chỉnh độ sáng.
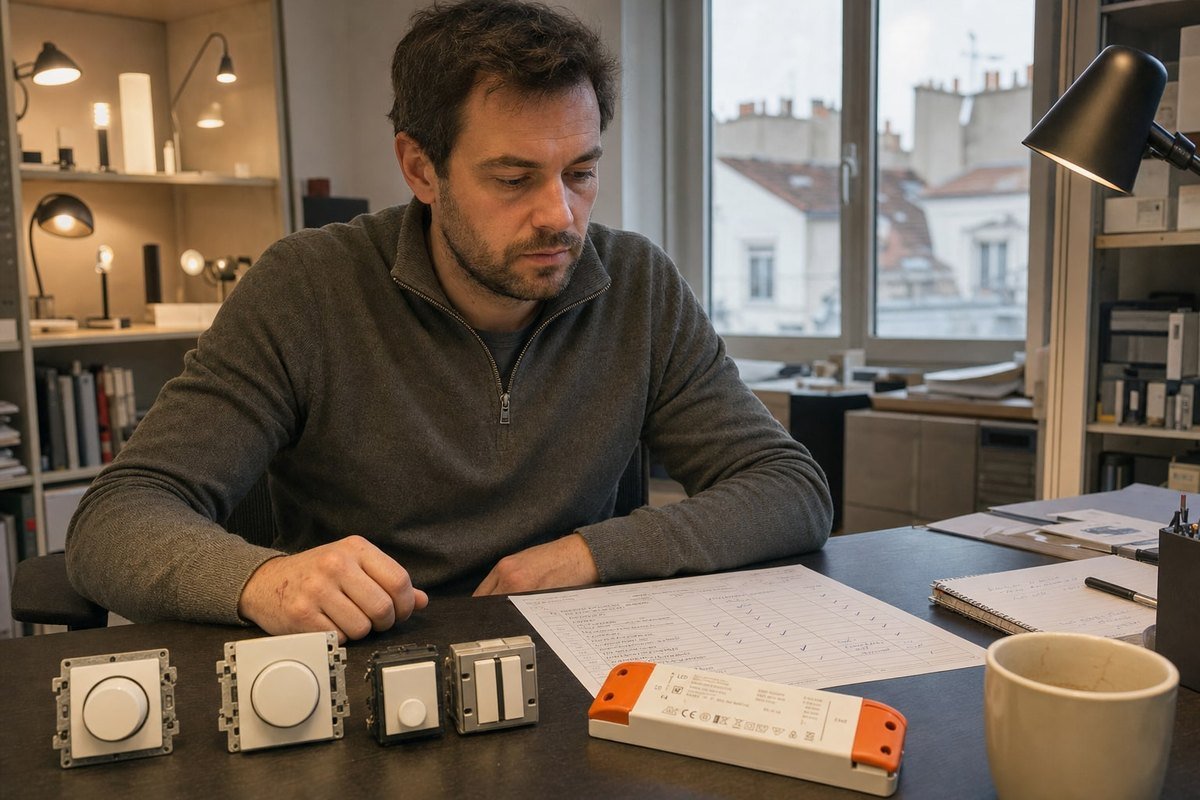
Không phải tất cả bộ điều chỉnh độ sáng cắt pha đều hoạt động giống nhau, và sự khác biệt đầu tiên bạn cần hiểu là cạnh dẫn (leading edge) so với cạnh trễ (trailing edge).
Pha thuận so với pha nghịch: hiểu rõ cấu trúc của bạn
Bộ điều chỉnh độ sáng pha thuận (cạnh dẫn, dựa trên TRIAC) cắt phần đầu của mỗi nửa chu kỳ. Điện áp bật lên đột ngột, tạo ra các xung dòng khởi động 4 và có thể kích thích hiện tượng rung của bộ lọc EMI. Bộ điều chỉnh độ sáng pha nghịch (cạnh trễ, dựa trên MOSFET) cắt phần cuối của nửa chu kỳ. Điện áp tăng lên nhẹ nhàng, thân thiện hơn với đầu vào điện dung của driver—nhưng một driver được hiệu chỉnh để phát hiện pha thuận có thể hiểu sai hoàn toàn tín hiệu pha nghịch.
| Tính Năng | Pha thuận (Cạnh dẫn) | Pha nghịch (Cạnh trễ) |
|---|---|---|
| Thiết bị chuyển mạch | TRIAC | MOSFET/IGBT |
| Tăng điện áp | Đột ngột, dV/dt dốc | Từ từ, mềm mại |
| Cần dòng duy trì | Có, rất quan trọng | Không |
| Yêu cầu tải tối thiểu | Thường 25–60W | Thường thấp hơn nhiều |
| Kết hợp tốt nhất với | Driver có mạch xả (bleeder) mạnh | Đầu vào điện dung của driver LED |
| Chế độ hỏng điển hình | Nhấp nháy, tụt áp ở mức độ sáng thấp | Phát hiện sai nếu driver mong đợi cạnh dẫn |
Danh sách kiểm tra lựa chọn thực tế
Từ kinh nghiệm xuất khẩu của chúng tôi, đây là trình tự tôi khuyên dùng cho người mua như bạn:
- Bắt đầu với danh sách tương thích. Chúng tôi kiểm tra driver của mình với các mẫu bộ điều chỉnh độ sáng phổ biến và công bố kết quả. Một cặp đã được kiểm tra sẽ loại bỏ hầu hết sự phỏng đoán.
- Kiểm tra định mức LED của bộ điều chỉnh độ sáng. Bộ điều chỉnh độ sáng đèn sợi đốt cũ thường ghi yêu cầu tải tối thiểu 25W–60W. Ba đèn LED 8W có thể không đáp ứng được yêu cầu này.
- Giảm định mức bộ điều chỉnh độ sáng cho tải LED. Bộ điều chỉnh độ sáng 400W cho đèn sợi đốt thường chỉ xử lý được khoảng 10% công suất đó ở watt LED do các xung dòng khởi động.
- Khớp cấu trúc pha. Xác nhận driver của bạn mong đợi tín hiệu pha thuận hay tín hiệu pha nghịch 5 trước khi chỉ định bộ điều khiển treo tường.
- Hỏi về đường cong điều chỉnh độ sáng. Driver và bộ điều chỉnh độ sáng có đường cong không khớp có thể không nhấp nháy, nhưng chúng sẽ điều chỉnh độ sáng kém—vùng chết ở mức cao, cắt đột ngột ở mức thấp.
Một mẹo nữa từ xưởng của chúng tôi: nếu một dự án kết hợp nhiều loại đèn trên một mạch điều chỉnh độ sáng, hãy kiểm tra toàn bộ tải hỗn hợp, không phải từng đèn một. Sự tương tác giữa các driver trên cùng một đường cắt pha gây ra nhấp nháy mà kiểm tra đơn lẻ không bao giờ phát hiện được.

Tôi nên kiểm tra những vấn đề về tải tối thiểu hoặc dòng giữ nào để ngăn chặn hiện tượng nhấp nháy?
Có một sự đánh đổi mà chúng tôi cân nhắc trong mọi thiết kế driver: lượng dòng xả (bleeder) cần tiêu thụ là bao nhiêu. Quá ít, TRIAC sẽ tụt áp ở mức độ sáng thấp. Quá nhiều, hiệu suất giảm và driver chạy nóng. Cân bằng đúng điểm này chính là nơi thiết kế driver CC TRIAC thực sự trở nên khó khăn.
Kiểm tra rằng tổng tải LED đáp ứng yêu cầu tải tối thiểu của bộ điều chỉnh độ sáng, rằng dòng đầu vào của driver luôn ở trên dòng duy trì của TRIAC ở mọi góc dẫn, và rằng mạch xả duy trì dòng khóa (latching) trong những mili giây quan trọng sau khi TRIAC kích hoạt.
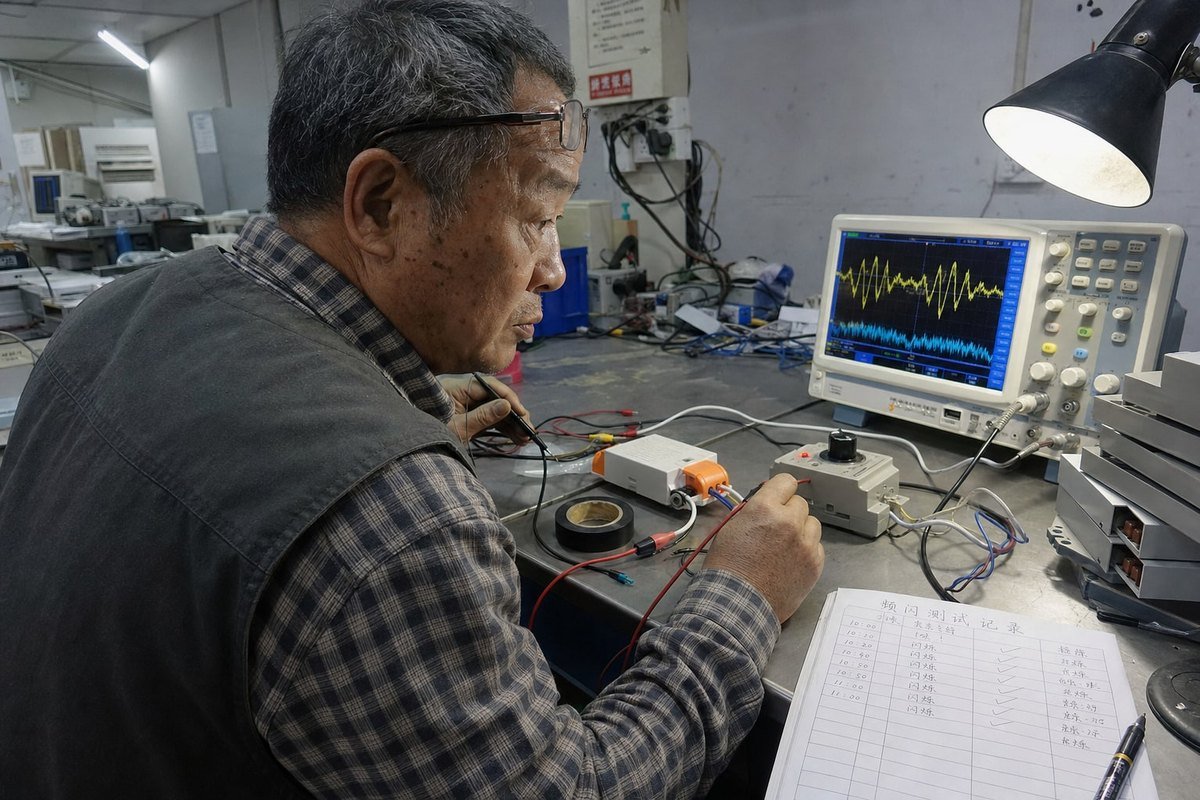
Hai ngưỡng dòng điện liên quan nhưng khác biệt chi phối hành vi của TRIAC, và nhầm lẫn chúng gây ra sai lầm thiết kế.
Dòng khóa (latching current) so với dòng duy trì (holding current)
Dòng khóa là dòng TRIAC cần ngay sau khi kích hoạt để duy trì dẫn khi xung cổng kết thúc. Dòng duy trì là giá trị nhỏ hơn mà nó cần trong suốt quá trình dẫn để tiếp tục ở trạng thái bật. Thông số dòng khóa và dòng duy trì khác nhau tùy theo mẫu TRIAC 6, nhưng giá trị điển hình dao động từ vài miliampe đến hơn 50 mA. Bóng đèn sợi đốt vượt qua cả hai ngay lập tức. Một driver LED đã điều chỉnh độ sáng có thể thất bại ở một trong hai—thất bại dòng khóa gây ra kích hoạt sai ngay sau khi kích hoạt, trong khi thất bại dòng duy trì gây ra tụt áp sớm ở phần sau của nửa chu kỳ.
Phép toán quan trọng ở mức độ sáng thấp
Nhấp nháy trở nên tồi tệ hơn khi điều chỉnh độ sáng sâu vì một lý do năng lượng đơn giản. Ở góc dẫn ngắn, driver chỉ nhận được một phần mỏng của mỗi nửa chu kỳ. Ít năng lượng hơn mỗi chu kỳ nghĩa là dòng đầu vào trung bình thấp hơn, chính là lúc TRIAC có khả năng mất dòng duy trì cao nhất. Đây là lý do triệu chứng đặc trưng của sự không tương thích là sự không ổn định dưới khoảng 20% độ sáng trong khi độ sáng đầy đủ trông hoàn hảo.
| Hạng Mục Kiểm Tra | Những gì cần kiểm tra | Cảnh báo |
|---|---|---|
| Tải tối thiểu của bộ điều chỉnh độ sáng | Tổng công suất LED so với thông số kỹ thuật của bộ điều chỉnh độ sáng | Tải dưới mức tối thiểu đã nêu |
| Dòng giữ TRIAC | Dòng đầu vào của driver ở mức điều chỉnh tối thiểu | Dòng điện giảm xuống dưới khoảng 10–50 mA |
| Loại mạch bleeder | Chủ động (chuyển mạch) so với thụ động (điện trở) | Bleeder thụ động kết hợp với thông số điều chỉnh sâu |
| Hành vi nhiệt | Thời gian hoạt động của bleeder ở nhiệt độ vận hành | Nhấp nháy chỉ xuất hiện sau khi khởi động nóng |
| Đường dẫn dòng rò | Chu kỳ khởi động lại của driver khi bộ điều chỉnh ở mức tối thiểu | Nhấp nháy chậm khi gần tắt |
Tại sao bleeder chủ động đã thay đổi cuộc chơi
Các thiết kế cũ sử dụng bleeder điện trở cố định gây lãng phí điện năng ở mọi mức điều chỉnh. Các thiết kế hiện tại của chúng tôi sử dụng mạch bleeder chủ động chỉ hút dòng bổ sung trong khoảng thời gian dễ tổn thương sau khi TRIAC kích hoạt và ở góc dẫn thấp. Một bài học chúng tôi học được một cách khó khăn: thời gian hoạt động của bleeder trôi theo nhiệt độ. Một driver vượt qua bài kiểm tra bàn nguội có thể nhấp nháy sau ba mươi phút bên trong hộp đèn trần nóng. Chúng tôi hiện kiểm tra ngâm driver ở nhiệt độ cao trước khi phê duyệt bất kỳ thiết kế điều chỉnh độ sáng nào, vì trôi nhiệt trong bleeder là một trong những nguồn nhấp nháy khó phát hiện nhất tại hiện trường.
Làm thế nào để tôi kiểm tra và khắc phục sự cố nhấp nháy trước khi sản xuất hàng loạt?
Một người mua từng hỏi tôi tại sao chúng tôi nhấn mạnh vào bài kiểm tra quét toàn bộ bộ điều chỉnh khi mẫu “đã hoạt động” trong văn phòng của anh ấy. Hai tháng sau, lô sản xuất của anh ấy gặp một thương hiệu bộ điều chỉnh khác tại công trường—và dữ liệu quét của chúng tôi đã cứu dự án. Kiểm tra trước khi sản xuất hàng loạt là bảo hiểm rẻ.
Kiểm tra từng cặp driver-bộ điều chỉnh độ sáng trên toàn dải điều chỉnh bằng máy hiện sóng trên dòng điện đầu vào và máy đo nhấp nháy trên đầu ra ánh sáng. Xác minh khả năng khóa ổn định ở mức tối thiểu, kiểm tra hành vi khởi động nóng, quét nhiều thương hiệu bộ điều chỉnh độ sáng, và xác nhận không có khởi động lại giật cục ở bất kỳ góc dẫn nào.

Hãy để tôi chia sẻ quy trình làm việc mà chúng tôi tuân theo trong phòng thí nghiệm QC của mình, được điều chỉnh để bạn có thể chạy trước khi phê duyệt một lô sản xuất.
Quy trình kiểm tra tiền sản xuất bảy bước
- Đặt cặp thiết bị chính xác lên bàn thử. Kiểm tra mẫu bộ điều chỉnh độ sáng cụ thể, mẫu driver và tải LED mà dự án sẽ sử dụng. Các sản phẩm thay thế che giấu vấn đề.
- Quét toàn bộ dải điều chỉnh từ từ. Di chuyển từ 100% xuống mức tối thiểu trong 30 giây. Quan sát hiện tượng lung linh, nhấp nháy hoặc vùng chết—đặc biệt ở phần tư dưới của hành trình.
- Quan sát dòng đầu vào bằng máy hiện sóng. Đặt một đầu dò dòng điện 7 trên đầu vào AC. Tìm hiện tượng TRIAC ngắt sớm (dòng điện sụp đổ giữa nửa chu kỳ) và kích hoạt kép do tiếng chuông của bộ lọc EMI.
- Đo nhấp nháy ánh sáng trực tiếp. Sử dụng máy đo nhấp nháy hoặc camera tốc độ cao để định lượng phần trăm nhấp nháy và chỉ số nhấp nháy 8 ở nhiều mức điều chỉnh. Hiệu ứng nhấp nháy có thể vô hình với mắt thường nhưng rõ ràng với camera hoặc người nhạy cảm.
- Chạy kiểm tra ngâm nhiệt. Vận hành ở mức điều chỉnh tối thiểu bên trong hộp kín ở nhiệt độ môi trường thực tế trong ít nhất một giờ. Kiểm tra lại độ ổn định khi nóng.
- Kiểm tra số lượng đèn tối thiểu và tối đa. Một driver trên một bộ điều chỉnh hoạt động khác với mười driver. Kiểm tra cả hai thái cực của mạch dự kiến.
- Kiểm tra trạng thái tắt. Với bộ điều chỉnh tắt hoàn toàn, xác nhận đèn LED vẫn tối. Hiện tượng mờ ảo hoặc nhấp nháy định kỳ cho thấy dòng rò đang sạc từ từ tụ điện của driver và kích hoạt chu kỳ khởi động lại.
Đọc các triệu chứng
Các dấu hiệu nhấp nháy khác nhau chỉ ra các nguyên nhân khác nhau. Nhấp nháy chỉ gần mức sáng tối thiểu thường có nghĩa là dòng giữ hoặc sai lệch dải điều chỉnh—không phải lỗi dây điện. Nhấp nháy ở mọi mức gợi ý sai lệch cấu trúc hoặc dao động bộ lọc. Nhấp nháy khi bộ điều chỉnh tắt có nghĩa là rò rỉ. Nhấp nháy sau khi khởi động nóng chỉ ra trôi nhiệt. Và đừng quên góc nhìn cân bằng: một số nhấp nháy tại hiện trường bắt nguồn từ dao động điện áp, dây trung lỏng hoặc mạch dùng chung với bộ ngắt AFCI/GFCI phản ứng với nhiễu sóng hài. Loại trừ những yếu tố đó trước khi đổ lỗi cho cặp driver-bộ điều chỉnh.
Phần kết luận
Nhấp nháy với driver CC TRIAC hiếm khi là lỗi LED. Đó là sự không tương thích giữa bộ điều chỉnh và driver mà bạn có thể ngăn ngừa bằng cách khớp cấu trúc, thiết kế có nhận thức về bleeder và kiểm tra tiền sản xuất kỷ luật. Nếu bạn cần trợ giúp ghép driver và bộ điều chỉnh cho dự án tiếp theo, đội ngũ của chúng tôi tại boqi sẵn lòng chia sẻ dữ liệu tương thích của chúng tôi.
Chú thích
- Mô tả dòng điện tối thiểu cần thiết để giữ TRIAC ở trạng thái dẫn. ↩︎
- Tài liệu kỹ thuật về các thành phần tụ điện chịu trách nhiệm hút dòng xung trong driver LED. ↩︎
- Bài viết Wikipedia có thẩm quyền giải thích nhiễu điện từ và kỹ thuật khử nhiễu. ↩︎
- Nguồn Wikipedia đáng tin cậy định nghĩa dòng khởi động và tác động của nó lên các thành phần điện. ↩︎
- Tổng quan kỹ thuật về công nghệ điều chỉnh độ sáng cạnh sau được sử dụng cho tải LED điện dung. ↩︎
- Giải thích linh kiện bán dẫn cơ bản được sử dụng trong mạch điều chỉnh độ sáng cắt pha. ↩︎
- Hướng dẫn của nhà lãnh đạo ngành về các công cụ dùng để đo dạng sóng dòng điện đầu vào trong việc xử lý sự cố. ↩︎
- Tài nguyên của chính phủ định nghĩa các chỉ số để đo lường và định lượng hiện tượng nhấp nháy ánh sáng trong hệ thống LED. ↩︎