Skip to content









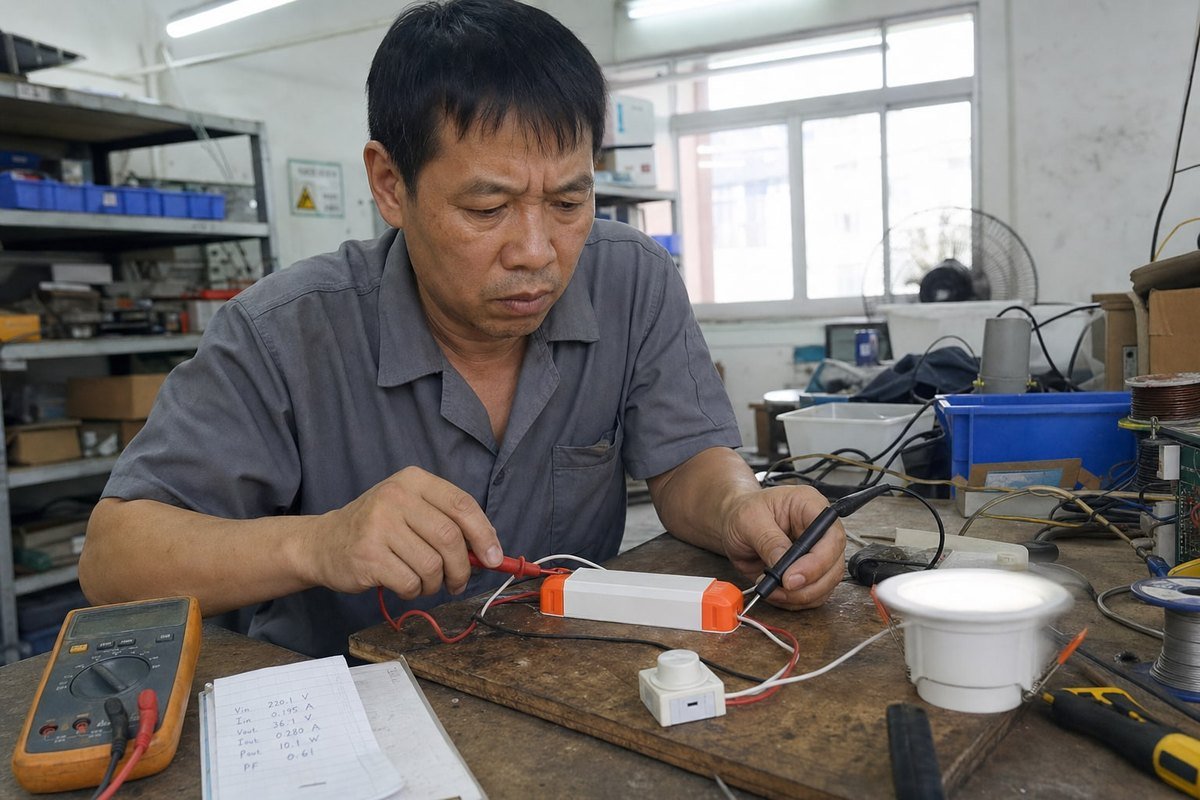
يمكن أن تغرق شكاوى الوميض مشروع الإضاءة بسرعة. أضواء LED التي تومض مع مشغلات CC TRIAC هي السبب الأكثر شيوعًا للإرجاع الذي نحققه. الجزء المحبط؟ غالبًا ما يعمل المشغل بشكل جيد على طاولة الاختبار لدينا، ومع ذلك يومض بشكل سيئ على خافت الإضاءة لدى العميل. هذا التباين هو بالضبط ما أريد توضيحه هنا، حتى تتمكن من إيقاف المشكلة قبل أن تصل إلى عملائك.
تومض أضواء LED مع مشغلات CC TRIAC لأن خافتات الطور المقطوع صُممت لأحمال متوهجة مقاومة. تيار LED المنخفض ينخفض عن تيار الإمساك للـ TRIAC، ومكثف الإدخال يشحن في دفعات، ورنين مرشح EMI يربك إعادة التشغيل—مما يسبب فك قفل الـ TRIAC وإعادة تشغيل المشغل بشكل مرئي.
هذه هي الإجابة المختصرة. لكن إذا كنت تشتري أو تصمم مشغلات LED كمهنة، فأنت بحاجة إلى أكثر من ملخص. دعني أوضح لك الأسباب والإصلاحات والاختبارات التي نجريها قبل أن يغادر أي مشغل مصنعنا.
ما الذي يسبب الوميض عندما أقوم بإقران مشغلات التيار الثابت (CC) مع مخفتات الإضاءة TRIAC؟
قبل بضع سنوات، أرسل لي أحد المشترين الفرنسيين لدينا فيديو لمصباح سقفي يومض عند سطوع 20%. التركيب كان سليمًا. المشغل كان سليمًا. الاقتران كان هو المشكلة، وهذه القصة تتكرر أسبوعيًا في صندوق دعمنا الوارد.
يحدث الوميض لأن خافت TRIAC يحتاج إلى تيار قفل وإمساك مستمر للبقاء موصلًا، بينما يسحب مشغل التيار الثابت تيارًا نابضًا وسعويًا. عندما ينخفض سحب المشغل عن عتبة الإمساك، يفك الـ TRIAC قفله في منتصف الدورة، ويفقد المشغل الطاقة، ويعيد التشغيل، ويومض الـ LED بشكل مرئي.
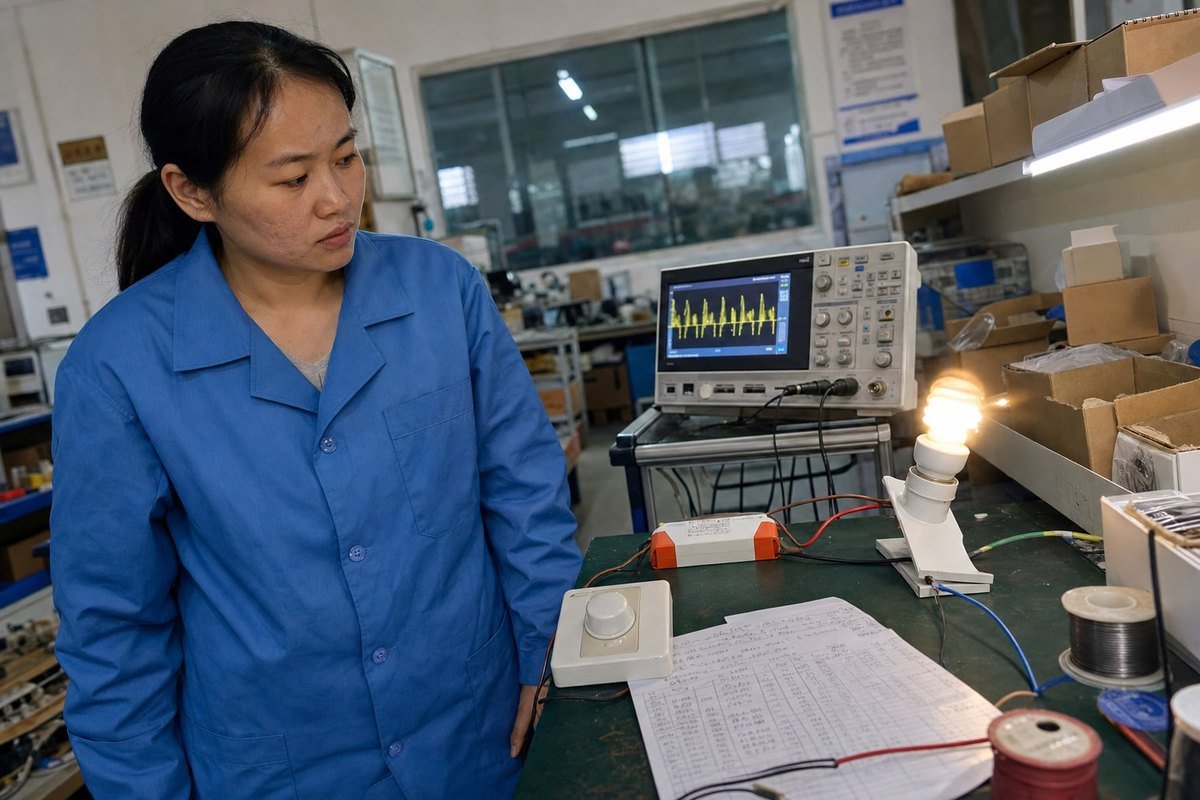
جذر المشكلة هو فشل في التواصل بين جهازين مبنيين على افتراضات مختلفة. خافت TRIAC يؤدي خفت الطور المقطوع: يقطع جزءًا من كل نصف دورة تيار متردد ويوصل الباقي إلى الحمل. الفتيل المتوهج مقاوم بحت، لذا يسحب تيارًا سلسًا لحظة إطلاق الـ TRIAC. يقفل الـ TRIAC، ويبقى فوق تيار الإمساك 1, الخاص به، ويعمل كل شيء.
مشغل LED ذو التيار الثابت لا يتصرف مثل الفتيل إطلاقًا. فهو يصحح التيار المتردد المقطوع، ويشحن مكثف الإدخال 2 في دفعات حادة، ثم ينظم تيارًا ثابتًا إلى سلسلة الـ LED. بين دفعات الشحن تلك، يمكن أن ينهار التيار الذي يراه الخافت إلى لا شيء تقريبًا.
آلية الوميض خطوة بخطوة
- يقطع الخافت شكل الموجة ويطلق الـ TRIAC.
- يسحب مكثف إدخال المشغل دفقة تيار حادة.
- ثم ينخفض التيار عن تيار إمساك الـ TRIAC.
- يفك الـ TRIAC قفله مبكرًا أو يعيد التشغيل بشكل غير منتظم ضمن نفس نصف الدورة.
- يتراجع جهد إمداد المشغل الداخلي، وتُعاد ضبط دائرة التحكم IC، وينخفض تيار الخرج.
- يومض الـ LED أو ينبض—غالبًا كتأثير اصطرابي مرئي.
عوامل مساهمة ثانوية نراها في المختبر
بعيدًا عن عدم تطابق تيار الإمساك الأساسي، يتتبع مهندسونا الوميض بانتظام إلى هذه الأسباب الثانوية:
| السبب | ما يحدث | أين يظهر |
|---|---|---|
| رنين مرشح EMI | الارتفاع الحاد في جهد الـ TRIAC يثير مرشح الإدخال؛ التذبذب يطلق خطأً كشف الخفت | وميض عشوائي عند الخفت المتوسط |
| دائرة نزف ضعيفة | لا يتم سحب تيار كافٍ خلال وقت الإيقاف لإبقاء الـ TRIAC مقفلاً | وميض عند مستويات الخفت المنخفضة |
| نقص طاقة دائرة التحكم IC | زوايا توصيل قصيرة تجوّع إمداد الـ IC؛ يدخل المشغل وضع النشقة | رمش قرب الحد الأدنى للسطوع |
| إزاحة تيار مستمر في الشبكة | إطلاق غير متماثل بين نصفَي الدورة | تعديل مرئي بتردد 50/60 هرتز |
| كابلات خرج طويلة | سعة طفيلية تزعزع استقرار حلقة التيار عند دورات عمل منخفضة | تموج أثناء الخفت العميق |
حديث مشغلات التيار الثابت القابلة للخفت مع TRIAC—بما في ذلك الوحدات المدمجة التي نبنيها—تعالج هذه المشكلات بدوائر نزف نشطة، ومرشحات EMI مخمدة 3, ومنطق كشف طور مضبوط لأشكال الموجات المقطوعة. لكن حتى أفضل مشغل لا يمكنه إصلاح كل خافت، وهو ما يقودنا إلى التوافق.
كيف يمكنني اختيار مخفتات TRIAC متوافقة لتجنب الوميض في تصميمات مشغل LED ذات التيار الثابت (CC)؟
أسئلة التوافق تهيمن على المكالمات الفنية التي أتلقاها مع المشترين. عندما نشحن مشغلات إلى أوروبا، نسأل دائمًا عن ماركات الخافتات التي تحددها المشاريع—لأن توافق مفتاح الخافت يقرر النجاح أكثر من أي مواصفة مشغل واحدة.
اختر خافتات من قائمة التوافق المختبرة لدى مصنع المشغل، وطابق طوبولوجيا الحافة الأمامية مقابل الحافة الخلفية مع تصميم المشغل، وتحقق من أن الخافت مُقيَّم لأحمال LED، وأكد أن واط الـ LED المتصل يقع بشكل مريح ضمن نافذة الحمل الأدنى والأقصى للخافت.
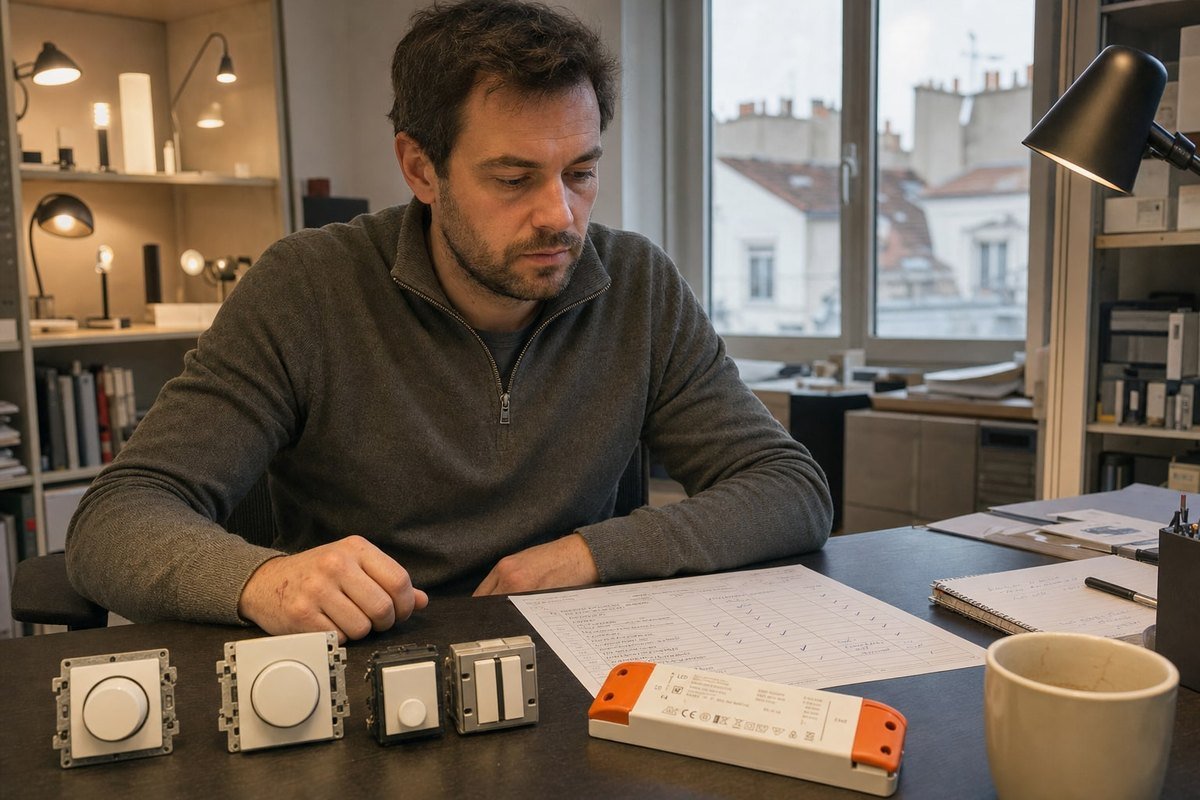
ليست كل خافتات الطور المقطوع تتصرف بنفس الطريقة، والانقسام الأول الذي يجب أن تفهمه هو الحافة الأمامية مقابل الحافة الخلفية.
الطور الأمامي مقابل الطور العكسي: اعرف طوبولوجيتك
خافتات الطور الأمامي (الحافة الأمامية، القائمة على TRIAC) تقطع بداية كل نصف دورة. الجهد ينطلق فجأة، مما يخلق ارتفاعات التيار الافتتاحية 4 ويمكن أن تثير رنين مرشح EMI. تقطع مخفتات الطور العكسي (الحافة الخلفية، القائمة على MOSFET) نهاية نصف الدورة. يرتفع الجهد بلطف، وهو أكثر ملاءمة لمدخلات السائق السعوية—لكن سائقًا مضبوطًا لاكتشاف الطور الأمامي قد يقرأ إشارة الطور العكسي بشكل خاطئ تمامًا.
| الميزة | الطور الأمامي (الحافة الرائدة) | الطور العكسي (الحافة الخلفية) |
|---|---|---|
| جهاز التبديل | ترياك | MOSFET/IGBT |
| ارتفاع الجهد | مفاجئ، حاد dV/dt | تدريجي، ناعم |
| تيار الإمساك المطلوب | نعم، حاسم | لا يوجد |
| متطلب الحد الأدنى للحمل | غالبًا 25–60 واط | عادةً أقل بكثير |
| الأفضل مع | سائقون بدوائر نزف قوية | مدخلات سائق LED سعوية |
| نمط الفشل النموذجي | وميض، انقطاع عند التعتيم المنخفض | سوء اكتشاف إذا كان السائق يتوقع حافة رائدة |
قائمة تحقق عملية للاختيار
من خبرتنا في التصدير، هذا هو التسلسل الذي أوصي به للمشترين مثلك:
- ابدأ بقائمة التوافق. نختبر سائقينا ضد نماذج مخفتات شائعة وننشر النتائج. زوج مُختبر يزيل معظم التخمين.
- تحقق من تصنيف LED للمخفت. غالبًا ما تذكر مخفتات المصابيح المتوهجة القديمة متطلب حمل أدنى يتراوح بين 25 واط و60 واط. قد لا تلبي ثلاث وحدات LED بقدرة 8 واط هذا المتطلب.
- خفّض تصنيف المخفت لأحمال LED. مخفت متوهج بقدرة 400 واط غالبًا ما يتعامل مع حوالي 10% فقط من ذلك في واط LED بسبب ارتفاعات التيار الافتتاحية.
- طابق البنية. تأكد مما إذا كان سائقك يتوقع إشارات الطور الأمامي أم إشارات الطور العكسي 5 قبل تحديد وحدة التحكم الجدارية.
- اسأل عن منحنى التعتيم. سائق ومخفت بمنحنيات غير متطابقة قد لا يومضان، لكنهما سيخفتان بشكل سيء—حركة ميتة في الأعلى، قطع مفاجئ في الأسفل.
نصيحة إضافية من أرض مصنعنا: إذا كان مشروع يخلط أنواع تركيبات على دائرة مخفت واحدة، اختبر الحمل المختلط الكامل، ليس تركيبة واحدة في كل مرة. التفاعلات بين السائقين على نفس خط قطع الطور تسبب وميضًا لا تكشفه اختبارات الوحدة الواحدة أبدًا.

ما هي مشكلات الحد الأدنى للحمل أو تيار الإمساك التي يجب أن أتحقق منها لمنع الوميض؟
هناك مقايضة نزنها في كل تصميم سائق: مقدار تيار النزف الذي نحرقه. قليل جدًا، وينقطع TRIAC عند التعتيم المنخفض. كثير جدًا، وتتأثر الكفاءة ويسخن السائق. تحقيق هذا التوازن الصحيح هو حيث يصبح تصميم سائق CC TRIAC صعبًا حقًا.
تحقق من أن حمل LED الإجمالي يلبي متطلب الحمل الأدنى للمخفت، وأن تيار دخل السائق يبقى فوق تيار إمساك TRIAC في جميع زوايا التوصيل، وأن دائرة النزف تحافظ على تيار الإقفال خلال المللي ثانية الحرجة بعد إطلاق TRIAC.
عتبتا تيار مرتبطتان لكنهما مختلفتان تحكمان سلوك TRIAC، والخلط بينهما يسبب أخطاء تصميم.
تيار الإقفال مقابل تيار الإمساك
تيار الإقفال هو ما يحتاجه TRIAC مباشرة بعد التشغيل للبقاء في وضع التشغيل بمجرد انتهاء نبضة البوابة. تيار الإمساك هو القيمة الأصغر التي يحتاجها طوال التوصيل للبقاء في وضع التشغيل. تختلف مواصفات تيار الإقفال والإمساك حسب طراز TRIAC 6, ، لكن القيم النموذجية تتراوح من بضعة ملي أمبير إلى أكثر من 50 ملي أمبير. مصباح متوهج يتجاوز كليهما فورًا. سائق LED مخفت قد يفشل في أي منهما—فشل الإقفال يسبب إطلاقًا خاطئًا مباشرة بعد التشغيل، بينما فشل الإمساك يسبب انقطاعًا مبكرًا لاحقًا في نصف الدورة.
الرياضيات المهمة عند التعتيم المنخفض
يزداد الوميض سوءًا عند التعتيم العميق لسبب طاقة بسيط. عند زاوية توصيل قصيرة، يتلقى السائق فقط شريحة رقيقة من كل نصف دورة. طاقة أقل لكل دورة تعني متوسط تيار دخل أقل، وهو بالضبط عندما يكون TRIAC أكثر عرضة لفقدان تيار إمساكه. لهذا السبب فإن العرض المميز لعدم التوافق هو عدم استقرار تحت حوالي 20% سطوع بينما السطوع الكامل يبدو مثاليًا.
| التحقق من البند | ما يجب التحقق منه | علامة تحذير |
|---|---|---|
| الحمل الأدنى للمخفت | إجمالي واط LED مقابل مواصفة المخفت | الحمل تحت الحد الأدنى المذكور |
| تيار إمساك الترياك | تيار دخل السائق عند أدنى تعتيم | ينخفض التيار إلى ما دون ~10–50 مللي أمبير |
| نوع دائرة النزف | نشط (مبدّل) مقابل سلبي (مقاومي) | نزف سلبي مع مواصفة تعتيم عميق |
| السلوك الحراري | توقيت النزف عند درجة حرارة التشغيل | الوميض الظاهر فقط بعد الإحماء |
| مسار تيار التسرب | إعادة تشغيل السائق مع الخافت عند الحد الأدنى | وميض بطيء للإيقاف والتشغيل عند الاقتراب من الإطفاء |
لماذا غيّرت النزفات النشطة قواعد اللعبة
استخدمت التصاميم القديمة نزفًا مقاوميًا ثابتًا أهدر الطاقة عند كل مستوى تعتيم. تستخدم تصاميمنا الحالية دوائر نزف نشطة تسحب تيارًا إضافيًا فقط خلال النافذة الهشة بعد إطلاق الترياك وعند زوايا التوصيل المنخفضة. أحد الدروس التي تعلمناها بالطريقة الصعبة: ينحرف توقيت النزف مع درجة الحرارة. السائق الذي يجتاز اختبار المقعد البارد يمكن أن يومض بعد ثلاثين دقيقة داخل تركيبات سقف دافئة. نختبر الآن السائقين بالغمر الحراري عند درجة حرارة مرتفعة قبل الموافقة على أي تصميم تعتيم، لأن الانحراف الحراري في النزف هو أحد أخفى مصادر الوميض في الميدان.
كيف أقوم باختبار واستكشاف مشاكل الوميض وإصلاحها قبل الإنتاج الضخم؟
سألني مشترٍ ذات مرة لماذا نصر على اختبار مسح كامل للخافت عندما “عملت العينة بالفعل” في مكتبه. بعد شهرين، واجهت دفعة إنتاجه علامة خافت مختلفة في الموقع—وأنقذت بيانات المسح لدينا المشروع. الاختبار قبل الإنتاج الضخم هو تأمين رخيص.
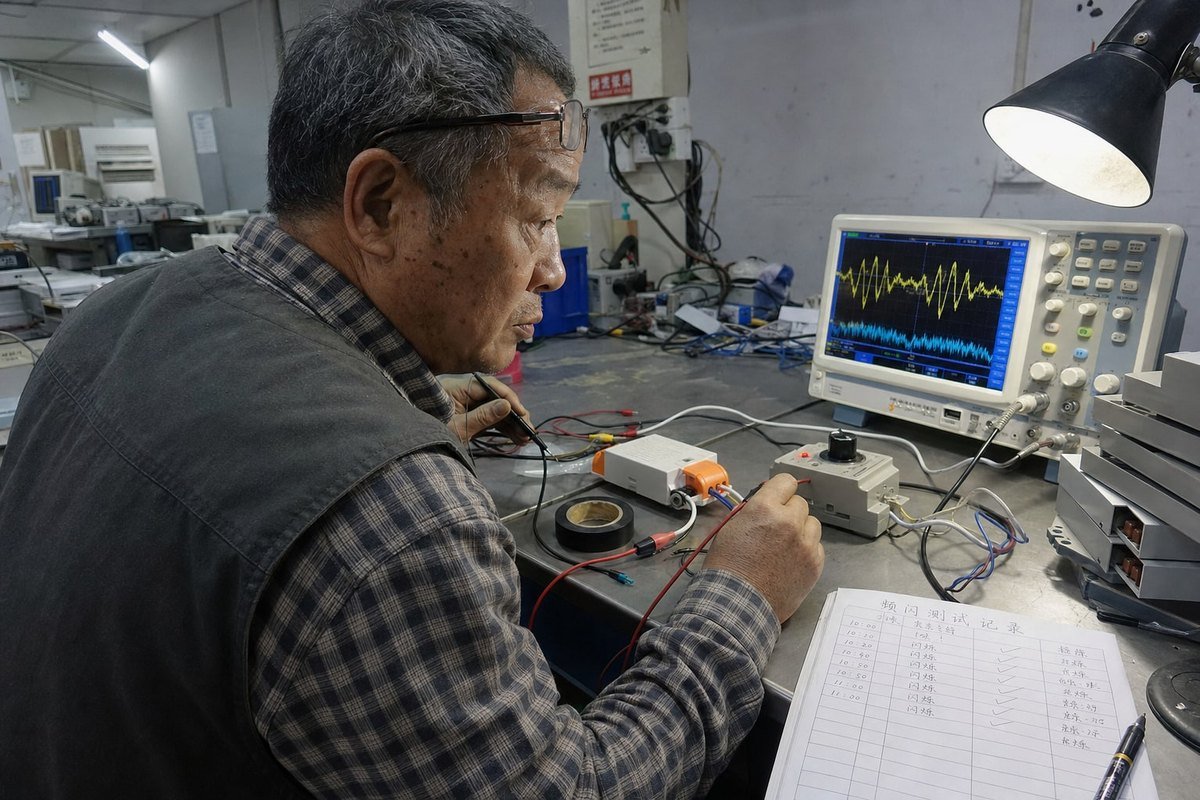
اختبر كل زوج من السائق والمخفت عبر نطاق التعتيم الكامل باستخدام راسم إشارة على تيار الإدخال ومقياس وميض على مخرجات الضوء. تحقق من التثبيت المستقر عند الحد الأدنى للتعتيم، وافحص سلوك التسخين، وامسح عدة علامات تجارية للمخفتات، وتأكد من عدم وجود إعادة تشغيل متقطعة عند أي زاوية توصيل.
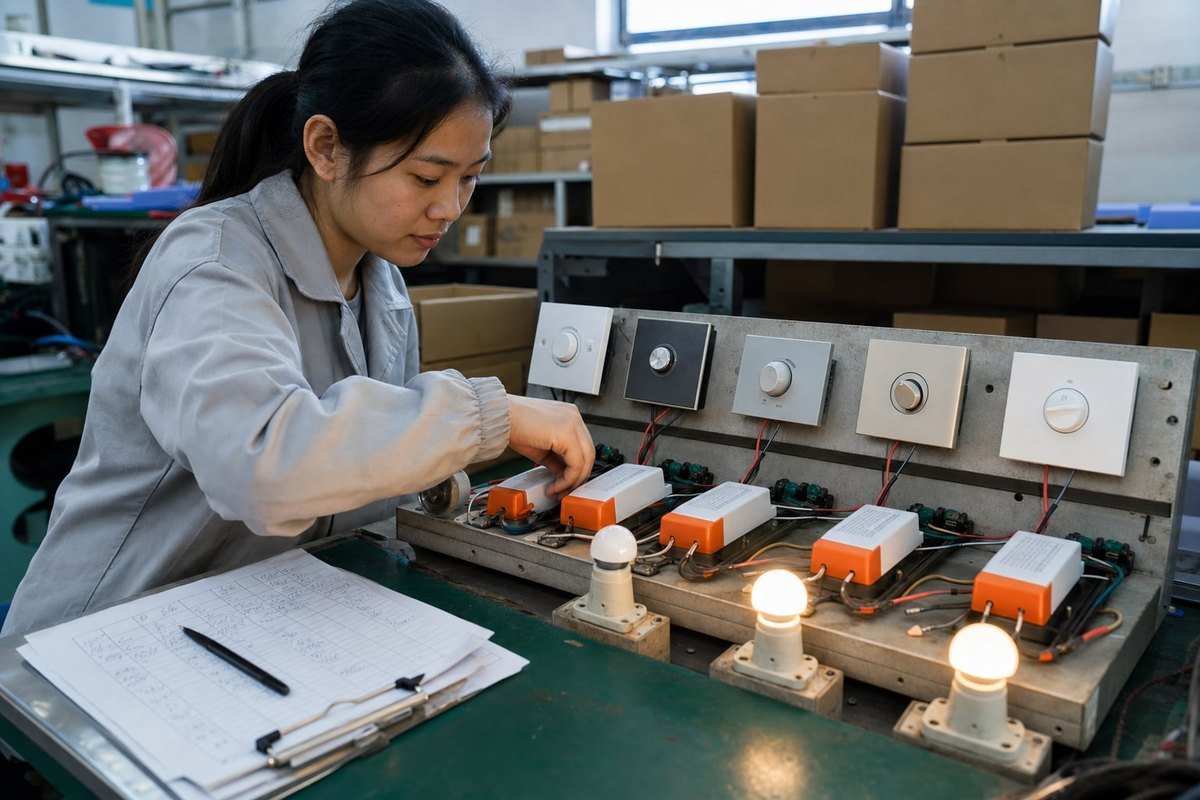
دعني أشاركك سير العمل الذي نتبعه في مختبر مراقبة الجودة لدينا، معدّلًا بحيث يمكنك تشغيله قبل الموافقة على دفعة إنتاج.
بروتوكول اختبار ما قبل الإنتاج من سبع خطوات
- ضع الاقتران الدقيق على المقعد. اختبر طراز الخافت المحدد، وطراز السائق، وحمل LED الذي سيستخدمه المشروع. البدائل تخفي المشاكل.
- امسح نطاق التعتيم الكامل ببطء. انتقل من 100% إلى الحد الأدنى خلال 30 ثانية. راقب اللمعان أو الوميض أو المناطق الميتة—خاصة في الربع السفلي من الحركة.
- افحص تيار الدخل. ضع مسبار تيار 7 على دخل التيار المتردد. ابحث عن انقطاع مبكر للترياك (انهيار التيار في منتصف نصف الدورة) وعن إطلاق مزدوج ناتج عن رنين ترشيح التداخل الكهرومغناطيسي.
- قس وميض الضوء مباشرة. استخدم مقياس وميض أو كاميرا عالية معدل الإطارات لتحديد نسبة الوميض و مؤشر الوميض 8 عند عدة مستويات تعتيم. يمكن أن يكون التأثير الاصطرابي غير مرئي للعين المجردة لكنه واضح للكاميرا أو للأشخاص الحساسين.
- نفذ غمرًا حراريًا. شغّل عند الحد الأدنى من التعتيم داخل غلاف عند درجة حرارة محيطة واقعية لمدة ساعة على الأقل. أعد فحص الاستقرار عند الحرارة.
- اختبر الحد الأدنى والأقصى لعدد التركيبات. سائق واحد على خافت يتصرف بشكل مختلف عن عشرة. اختبر كلا الطرفين المتطرفين للدائرة المخطط لها.
- تحقق من حالة الإطفاء. مع إيقاف الخافت تمامًا، تأكد من بقاء LED مظلمًا. الوميض الشبح أو النبض الدوري يشير إلى تيار تسرب يشحن مكثف السائق ببطء ويطلق إعادة تشغيل دورية.
قراءة الأعراض
تشير توقيعات الوميض المختلفة إلى أسباب مختلفة. الوميض فقط بالقرب من الحد الأدنى للسطوع يعني عادةً عدم تطابق تيار الإمساك أو نطاق التعتيم—وليس مشكلة أسلاك. الوميض عند جميع المستويات يشير إلى عدم تطابق طوبولوجي أو تذبذب مرشح. النبض مع إيقاف الخافت يعني تسربًا. الوميض بعد الإحماء يشير إلى انحراف حراري. ولا تنسَ الرؤية المتوازنة: بعض الوميض الميداني يعود إلى تقلبات الجهد، أو أسلاك محايدة مرتخية، أو دوائر مشتركة مع قواطع AFCI/GFCI تتفاعل مع الضوضاء التوافقية. استبعد تلك قبل إلقاء اللوم على زوج السائق-الخافت.
خاتمة
الوميض مع سائقات TRIAC ذات التيار الثابت نادرًا ما يكون عيبًا في LED. إنه عدم تطابق خافت-سائق يمكنك منعه بمطابقة الطوبولوجيا، وتصميم واعٍ للنزف، واختبار ما قبل الإنتاج المنضبط. إذا كنت تريد مساعدة في اقتران السائقين والخافتات لمشروعك القادم، فإن فريقنا في boqi سعيد بمشاركة بيانات التوافق لدينا.
الحواشي
- يصف الحد الأدنى من التيار المطلوب لإبقاء الترياك في حالة التوصيل. ↩︎
- وثائق فنية حول مكونات المكثفات المسؤولة عن سحب التيار النبضي في سائقات LED. ↩︎
- إدخال ويكيبيديا موثوق يشرح التداخل الكهرومغناطيسي وتقنيات القمع. ↩︎
- مصدر ويكيبيديا موثوق يعرّف تيار الاندفاع وتأثيره على المكونات الكهربائية. ↩︎
- نظرة عامة تقنية على تقنية التعتيم بحافة الإيقاف المستخدمة لأحمال LED السعوية. ↩︎
- يشرح المكون شبه الموصل الأساسي المستخدم في دوائر التعتيم بقطع الطور. ↩︎
- دليل قائد الصناعة إلى الأدوات المستخدمة لقياس أشكال موجات تيار الدخل في استكشاف الأخطاء. ↩︎
- مورد حكومي يعرّف مقاييس قياس وتحديد كمية وميض الضوء في أنظمة LED. ↩︎