Skip to content










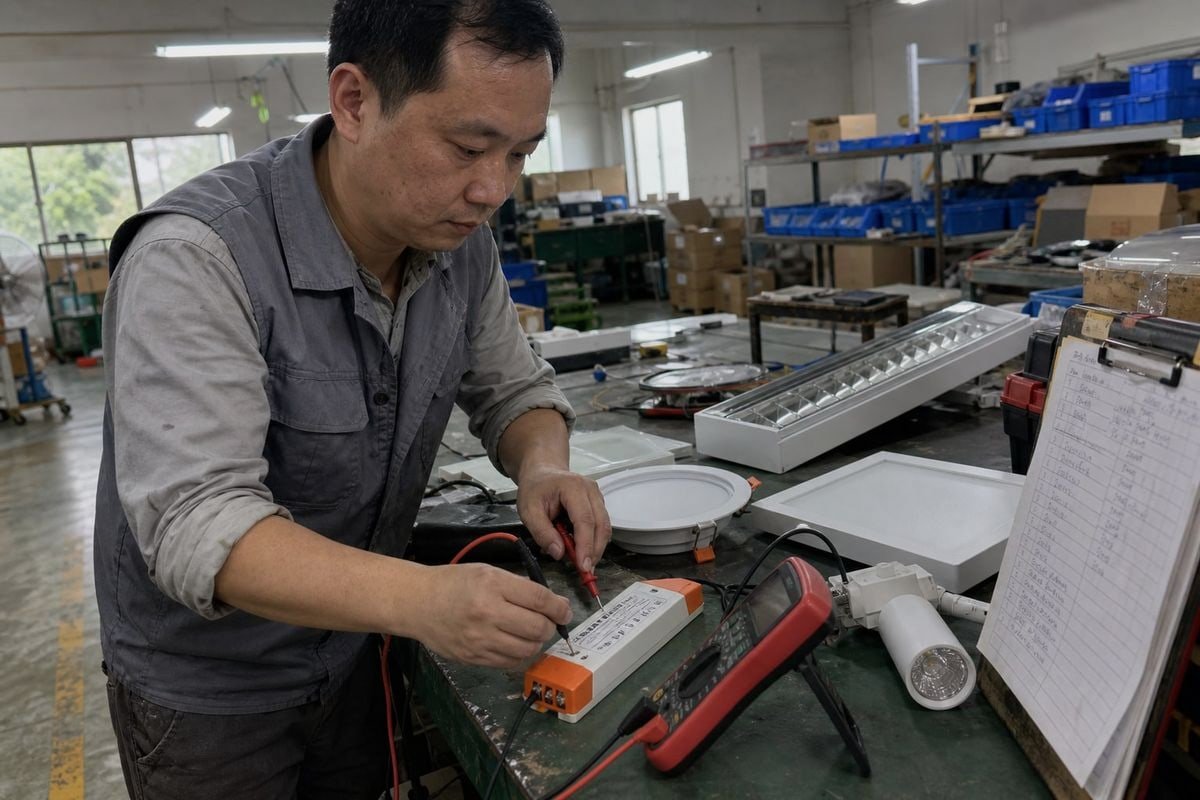
[ไดรเวอร์กระแสคงที่ 0–10V](https://bo-qi.com/how-to-choose-between-constant-current-and-constant-voltage-0-10v-led-drivers/) มักจะเสียในหน้างานบ่อยเกินกว่าที่ควรจะเป็น บนสายการผลิตของเราที่ boqi เราพบสาเหตุหลักซ้ำๆ เดิมๆ คือ ผู้ซื้อจับคู่วัตต์ แต่ไม่สนใจจุดทำงานของ LED และทั้งโปรเจกต์ก็ประสบปัญหา [ไฟกระพริบ ไฟดับ หรือโมดูลเสียหาย](https://bo-qi.com/?p=6205) วิธีแก้คือต้องรู้ให้ชัดเจนว่าไดรเวอร์ประเภทนี้เหมาะกับที่ไหนและจะระบุสเปกอย่างไร.
ไดรเวอร์กระแสคงที่ 0–10V มักใช้ในระบบไฟ LED เชิงพาณิชย์และสถาปัตยกรรมที่ต้องการกระแส LED ที่เสถียรพร้อมการควบคุมการหรี่แสงแบบแอนะล็อก การใช้งานทั่วไป ได้แก่ ดาวน์ไลท์ แผงไฟ โทรฟเฟอร์ ไฟเส้นตรง ไฟราง ไฟไฮเบย์ในโรงงานอุตสาหกรรม และไฟภายนอกอาคารที่เชื่อมต่อกับระบบควบคุมอาคาร.
นั่นคือคำตอบสั้นๆ ด้านล่างนี้ ผมจะอธิบายการใช้งานจริง วิธีเลือกไดรเวอร์ที่เหมาะสม ประสิทธิภาพการหรี่แสงที่ควรคาดหวัง และใบรับรองใดบ้างที่สำคัญจริงๆ.
ฉันสามารถใช้ไดรเวอร์กระแสคงที่ 0-10V สำหรับโปรเจกต์ใดได้บ้าง?
วิศวกรฝ่ายจัดซื้อจากสิงคโปร์เคยขอให้ผมเสนอราคาไดรเวอร์รุ่นเดียวสำหรับดาวน์ไลท์ โทรฟเฟอร์ และแถบ LED รวมกัน สองในสามรายการนั้นเหมาะสม แต่แถบ LED ไม่เหมาะ.
ไดรเวอร์กระแสคงที่ 0–10V เหมาะกับดาวน์ไลท์ LED โคมไฟฝังฝ้า แผงไฟ ไฟเส้นตรง โทรฟเฟอร์ ไฟราง โคมไฟไฮเบย์และโลว์เบย์ และไฟสถาปัตยกรรม เหมาะกับทุกโปรเจกต์ที่โมดูล LED แบบ COB หรือ SMD ต้องการกระแสที่ควบคุมได้และการหรี่แสงแบบแอนะล็อกที่ง่ายผ่านระบบควบคุมอาคาร.
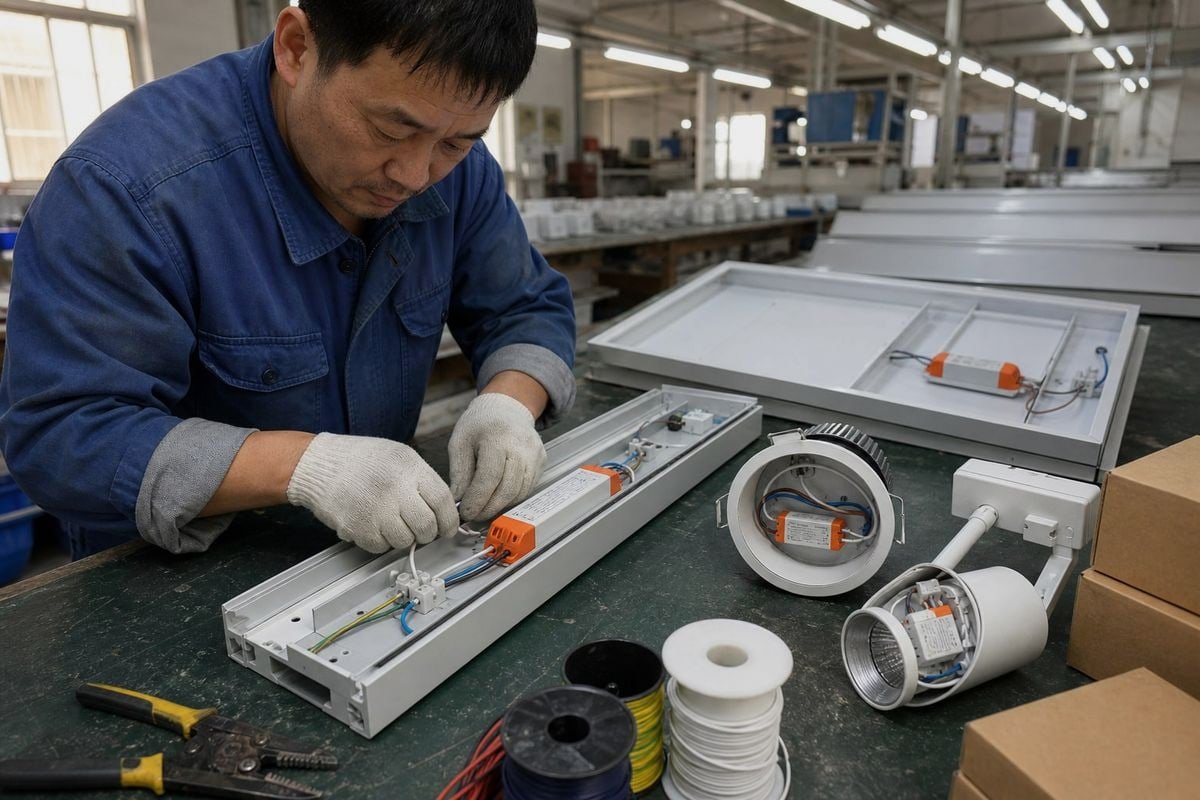
รูปแบบเบื้องหลังการใช้งานทั้งหมดนี้เหมือนกัน คือ โคมไฟใช้โมดูล LED ที่ออกแบบมาให้ทำงานที่กระแสที่กำหนด และโปรเจกต์ต้องการการหรี่แสงที่ผสานกับระบบอัตโนมัติของอาคารได้ง่าย สัญญาณ 0–10V คืออินเทอร์เฟซควบคุม ไม่ใช่เอาต์พุต LED เอง ไดรเวอร์จะควบคุมกระแส เช่น 700 mA ในช่วงแรงดัน DC 18–42 V ในขณะที่สัญญาณแรงดันต่ำบอกให้จ่ายกระแสเท่าใด.
การใช้งานตามภาคส่วน
| การใช้งาน | เหตุผลที่ใช้ไดรเวอร์กระแสคงที่ 0–10V |
|---|---|
| ดาวน์ไลท์ LED | กระแสที่เสถียรสำหรับโมดูล COB/SMD และการหรี่แสงแบบแอนะล็อกที่นุ่มนวล |
| แผงไฟและโทรฟเฟอร์ | ความสว่างที่สม่ำเสมอในสำนักงานและอาคารสถาบัน |
| ไฟเส้นตรง LED | เหมาะกับโคมไฟเส้นตรงในสำนักงาน ร้านค้า และสถาปัตยกรรม |
| ไฟไฮเบย์ / โลว์เบย์ | รองรับการเชื่อมต่อเซนเซอร์ตรวจจับการเคลื่อนไหวและการหรี่แสงตามแสงธรรมชาติ |
| ไฟราง | ช่วยให้ การหรี่แสงแบบแอนะล็อกแบบรวมศูนย์ 1 ของหัวไฟหลายดวง |
| ไฟในร้านค้าและพิพิธภัณฑ์ | กระแสคงที่ป้องกันการเปลี่ยนสีระหว่างรอบการหรี่แสง |
| ไฟลานจอดรถและทางเดินภายนอก | ทำงานร่วมกับเซนเซอร์ตรวจจับการเคลื่อนไหวและโฟโตเซลล์สำหรับไฟรักษาความปลอดภัย |
| ไฟสถาปัตยกรรมภายนอกและการล้างผนัง | รักษาความเข้มแสงให้สม่ำเสมอบนพื้นผิวอาคาร |
| ไฟในโรงแรม | การหรี่แสงตามฉากแบบรวมศูนย์ผ่านแผงควบคุมไฟ |
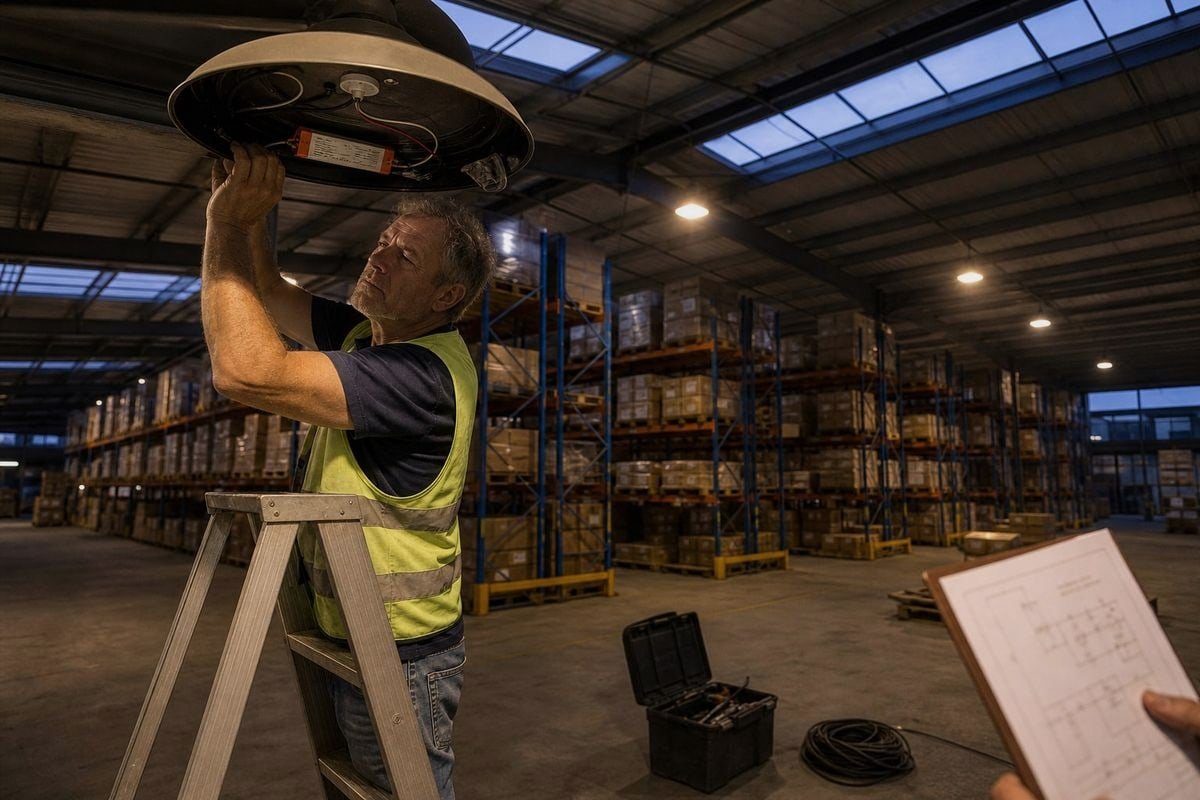
สำนักงานเชิงพาณิชย์เป็นกรณีคลาสสิก เซนเซอร์เก็บแสงธรรมชาติส่งสัญญาณ 0–10V และไดรเวอร์ตอบสนองโดยลดกระแส ตัดพลังงานใกล้หน้าต่าง คลังสินค้าใช้ตรรกะเดียวกันกับการแบ่งโซนตามการตรวจจับการเคลื่อนไหวบนโคมไฟไฮเบย์ โปรเจกต์ภายนอก — ลานจอดรถ ไฟถนน ไฟอุโมงค์ — พึ่งพารูปแบบนี้เพราะการหรี่แสงแบบแอนะล็อกแบบรวมศูนย์เดินสายง่ายและบำรุงรักษาง่าย เราส่งไดรเวอร์ LED สถาปัตยกรรมจำนวนมากไปยังโปรเจกต์ประเภทนี้ทั่วยุโรปและเอเชียตะวันออกเฉียงใต้.
แล้วที่ไหนที่ไม่เหมาะ? แถบ LED 12 V หรือ 24 V เป็นโหลดแรงดันคงที่ ต้องใช้แหล่งจ่ายไฟ CV บวกกับ ตัวควบคุม PWM 2, ไม่ใช่ไดรเวอร์ CC นี่คือความไม่ตรงกันที่พบบ่อยที่สุดที่เราจับได้จากคำถามที่เข้ามา.
ฉันจะเลือกไดรเวอร์กระแสคงที่ 0-10V ที่เหมาะสมสำหรับการใช้งานระบบแสงสว่างของฉันได้อย่างไร?
บทเรียนที่แพงที่สุดที่วิศวกรของเราเห็นผู้ซื้อเรียนรู้คือ “ไดรเวอร์ 700 mA” ตามชื่อ ไม่ได้หมายความว่าเหมาะกับโมดูล LED 700 mA โดยอัตโนมัติ.
จับคู่สามพารามิเตอร์: กระแสเอาต์พุตของไดรเวอร์ ช่วงแรงดันกระแสคงที่ และความต้องการแรงดันไปข้างหน้าของโมดูล LED ช่วงแรงดันของไดรเวอร์ต้องครอบคลุมแรงดันทำงานของโมดูลที่กระแสเต็ม จากนั้นยืนยันประเภทอินเทอร์เฟซ 0–10V ระยะเผื่อวัตต์ และสภาพแวดล้อมการติดตั้ง.
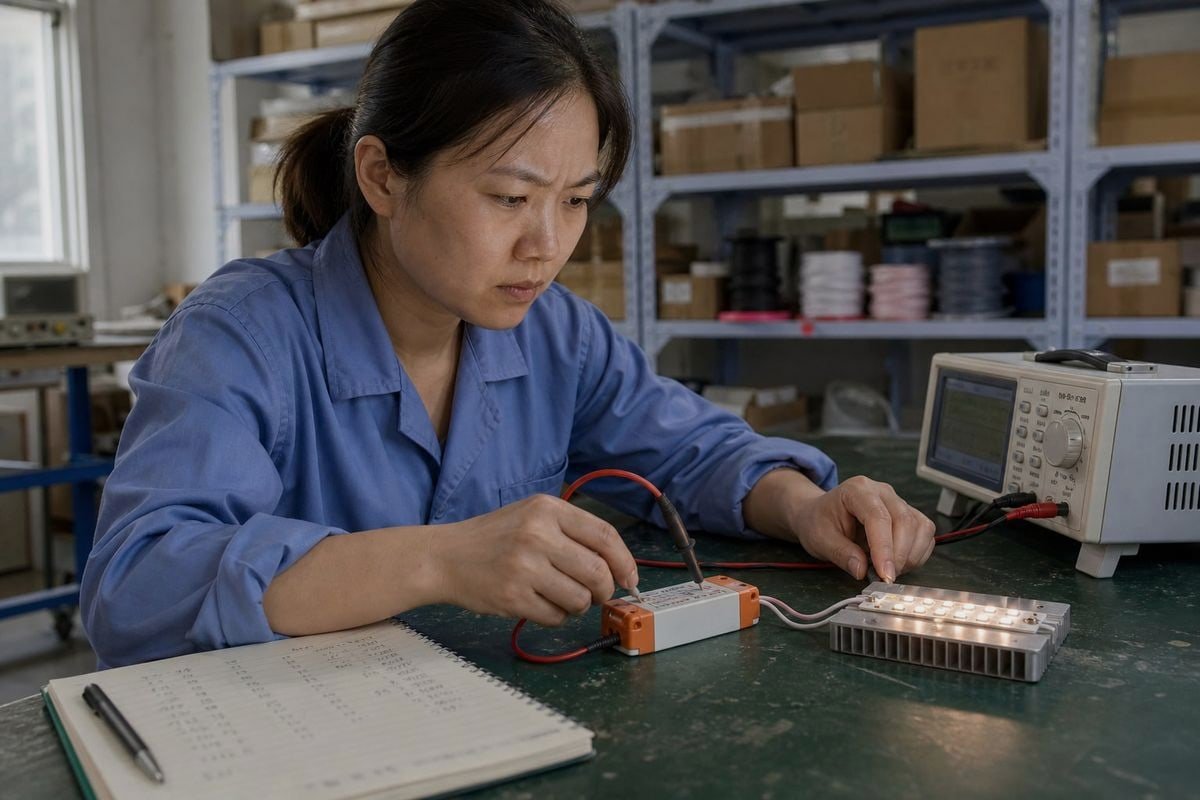
นี่คือเหตุผลที่กระแสอย่างเดียวไม่พอ สมมติว่าโมดูล LED ของคุณต้องการ 700 mA ที่ประมาณ 36 V ไดรเวอร์ที่ระบุ 700 mA ที่ 18–42 V DC ใช้ได้ เพราะ 36 V อยู่ในช่วง แต่ไดรเวอร์ที่ระบุ 700 mA ที่ 18–34 V ใช้ไม่ได้ แม้กระแสจะตรงกัน เพราะไดรเวอร์ไม่ถึง แรงดันไปข้างหน้า 3, ของโมดูล จึงทำให้โหลดขาดพลังงาน ความไม่ตรงกันนี้เป็นสาเหตุทั่วไปของความเสียหายในหน้างาน และมองไม่เห็นในสเปกชีตถ้าคุณอ่านแค่บรรทัดกระแส.
ลำดับการเลือกง่ายๆ
- ยืนยันจุดทำงานของโมดูล LED. ดูแรงดันไปข้างหน้าและกระแสจากดาตาชีตของโมดูล ไม่ใช่จากวัตต์ทางการตลาดของโคมไฟ.
- เลือกพิกัดกระแส. ขั้นทั่วไปคือ 350 mA, 500 mA, 700 mA และ 1,050 mA.
- ตรวจสอบช่วงแรงดัน. แรงดันไปข้างหน้าของโมดูลต้องอยู่ในช่วงกระแสคงที่ของไดรเวอร์ โดยมีระยะเผื่อสำหรับการเปลี่ยนแปลงตามอุณหภูมิ.
- ตรวจสอบด้านควบคุม. ยืนยันว่าระบบควบคุมของโคมไฟคาดหวังพฤติกรรมกระแสซิงก์และซอร์สบนสายดิมหรือไม่ และว่าคุณต้องการ 0–10V หรือ 1–10V.
- จับคู่กับสภาพแวดล้อม. โคมไฟโทรเฟอร์ภายในอาคารสามารถใช้โครงสร้างพื้นฐานได้ โคมไฟพื้นที่กลางแจ้งต้องใช้ตัวเรือนที่มีระดับ IP ที่เหมาะสม.
ข้อมูลอ้างอิงด่วน
| พารามิเตอร์ | ตัวอย่าง | สิ่งที่ผิดพลาดหากละเลย |
|---|---|---|
| กระแสเอาต์พุต | 700 มิลลิแอมป์ | LED ถูกขับเกิน อายุการใช้งานสั้นลง |
| ช่วงแรงดันไฟฟ้า CC | 18–42 V DC | ไดรเวอร์ไม่สามารถถึงแรงดันไปข้างหน้าของโมดูลได้ |
| จุดทำงานของโมดูล | 700 mA ที่ ~36 V | ไฟกระพริบ ดับกลางคัน โมดูลเสียในสนาม |
| ประเภทอินเทอร์เฟซ 0–10V | ซิงก์เทียบกับซอร์ส | สายดิมไม่ตอบสนองต่อคอนโทรลเลอร์ |
เมื่อเราปรับเทียบไดรเวอร์ LED แบบดิม 0–10V ก่อนจัดส่ง เราทดสอบกับโหลด LED จริงที่ด้านบนและด้านล่างของช่วงแรงดันไฟฟ้า เพราะนั่นคือจุดที่การออกแบบที่บกพร่องมักล้มเหลว ถามซัพพลายเออร์ของคุณว่าพวกเขาทำแบบเดียวกันหรือไม่.
ไดรเวอร์กระแสคงที่ 0-10V สามารถตอบสนองความต้องการดิมของโครงการฉันได้หรือไม่?
มีการแลกเปลี่ยนที่เราพูดคุยกับลูกค้าตัวแทนจำหน่ายเกือบทุกราย: การดิม 0–10V นั้นง่ายและแข็งแกร่ง แต่ “ง่าย” ก็หมายความว่ามาตรฐานปล่อยให้พฤติกรรมหลายอย่างไม่ถูกกำหนด.
ใช่ สำหรับโครงการเชิงพาณิชย์ส่วนใหญ่ — ไดรเวอร์กระแสคงที่ 0–10V ให้การดิมแบบแอนะล็อกที่ราบรื่นลงไปจนถึงระดับต่ำด้วยประสิทธิภาพไร้การกระพริบเมื่อออกแบบมาอย่างดี แต่คุณต้องระบุระดับดิมขั้นต่ำ ความสามารถดิมถึงปิด เส้นโค้งการดิม และความเข้ากันได้กับระบบควบคุม เพราะมาตรฐาน 0–10V ไม่ได้กำหนดสิ่งเหล่านี้.
สมมติฐานทั่วไปคืออินพุต 5 V เท่ากับความสว่างที่รับรู้ได้ 50% ไม่เป็นเช่นนั้น ความสัมพันธ์ระหว่างแรงดันควบคุมและเอาต์พุตขึ้นอยู่กับการออกแบบไดรเวอร์ และเปอร์เซ็นต์เอาต์พุตไฟฟ้าไม่เหมือนกับความสว่างที่มองเห็นได้จริง ตาของมนุษย์ตอบสนองแบบลอการิทึม ดังนั้นเส้นโค้งไดรเวอร์เชิงเส้นอาจรู้สึกฉับพลันที่ปลายต่ำ นั่นคือเหตุผลที่เราเสนอตัวเลือกเส้นโค้งทั้งเชิงเส้นและลอการิทึมในช่วงไดรเวอร์แบบดิมของเรา และเหตุใดโครงการที่จริงจังจึงระบุเส้นโค้งเป็นลายลักษณ์อักษร.
สิ่งที่ต้องระบุสำหรับการดิมเชิงพาณิชย์
- ประเภทอินเทอร์เฟซ 0–10V รวมถึงพฤติกรรมกระแสซิงก์และซอร์ส
- ระดับดิมขั้นต่ำ เช่น 10%, 5% หรือ 1%
- ความสามารถดิมถึงปิด หรือว่าสายสวิตช์จัดการการปิดเต็มรูปแบบ
- เส้นโค้งการดิม — เชิงเส้นหรือลอการิทึม
- ความแม่นยำของกระแสเอาต์พุตตลอดช่วงการดิม
- ลักษณะการกระพริบและ PWM ที่ระดับเอาต์พุตต่ำ
- พลังงานสแตนด์บายเมื่อดิมถึงขั้นต่ำหรือปิด
- ความเข้ากันได้กับระบบควบคุมแสงที่ตั้งใจไว้
สองจุดสมควรได้รับความสนใจเป็นพิเศษ ประการแรก ไดรเวอร์บางตัวดิมภายในโดยใช้การมอดูเลตความกว้างพัลส์ที่ระดับต่ำ PWM ที่ใช้งานไม่ดีทำให้เกิด การกระพริบที่มองเห็นได้บนกล้อง 4 และอาจสำคัญในโครงการดูแลสุขภาพที่มุ่งแสงที่เป็นมิตรต่อจังหวะชีวภาพ ขอข้อมูลการกระพริบ ไม่ใช่แค่การอ้างว่า “ไร้การกระพริบ” ประการที่สอง ตัวแปร 0–10V และ 1–10V มีพฤติกรรมแตกต่างกันที่ปลายล่างของช่วง ระบบ 1–10V บางครั้งถูกเลือกใช้เมื่อต้องรักษาระดับแสงขั้นต่ำและหลีกเลี่ยงการปิดโดยไม่ตั้งใจ จากประสบการณ์ของเราในการส่งออกไปเยอรมนีและสหราชอาณาจักร บริษัทวิศวกรรมขอพฤติกรรมเหล่านี้ในเอกสารประกวดราคาเพิ่มขึ้น — และไดรเวอร์ที่ระบุเพียง “การดิม 0–10V” โดยไม่มีรายละเอียดจะถูกปฏิเสธ.
สำหรับโครงการที่ต้องการการระบุที่อยู่หรือการวินิจฉัยของโคมไฟแต่ละดวง DALI เป็นเครื่องมือที่ดีกว่า และเราสร้าง ไดรเวอร์แบบดิม DALI ด้วยเหตุผลนั้นโดยเฉพาะ แต่ 0–10V ยังคงโดดเด่นในงานปรับปรุงและสิ่งอำนวยความสะดวกที่สำคัญ บางส่วนเพราะลูปแอนะล็อกง่ายๆ สามารถสำรองโปรโตคอลดิจิทัลเป็นระบบปลอดภัยได้.

ฉันควรตรวจสอบใบรับรองใดบ้างก่อนจัดหาไดรเวอร์กระแสคงที่ 0-10V?
คำถามเกี่ยวกับการรับรองเกิดขึ้นในการโทรครั้งแรกเกือบทุกครั้งกับผู้ซื้อรายใหม่ และด้วยเหตุผลที่ดี — ไดรเวอร์ที่ไม่มีเครื่องหมายที่ถูกต้องสามารถหยุดการจัดส่งทั้งหมดที่ศุลกากรได้.
ตรวจสอบ CE สำหรับยุโรป SAA สำหรับออสเตรเลีย และรายงาน CB สำหรับการยอมรับหลายตลาด รวมถึงการจำแนกเอาต์พุต SELV สำหรับการติดตั้งแรงดันต่ำที่ปลอดภัย จับคู่การรับรองกับตลาดปลายทางของโครงการ และขอใบรับรองการทดสอบจริงเสมอแทนที่จะพึ่งพาโลโก้ที่พิมพ์เพียงอย่างเดียว.
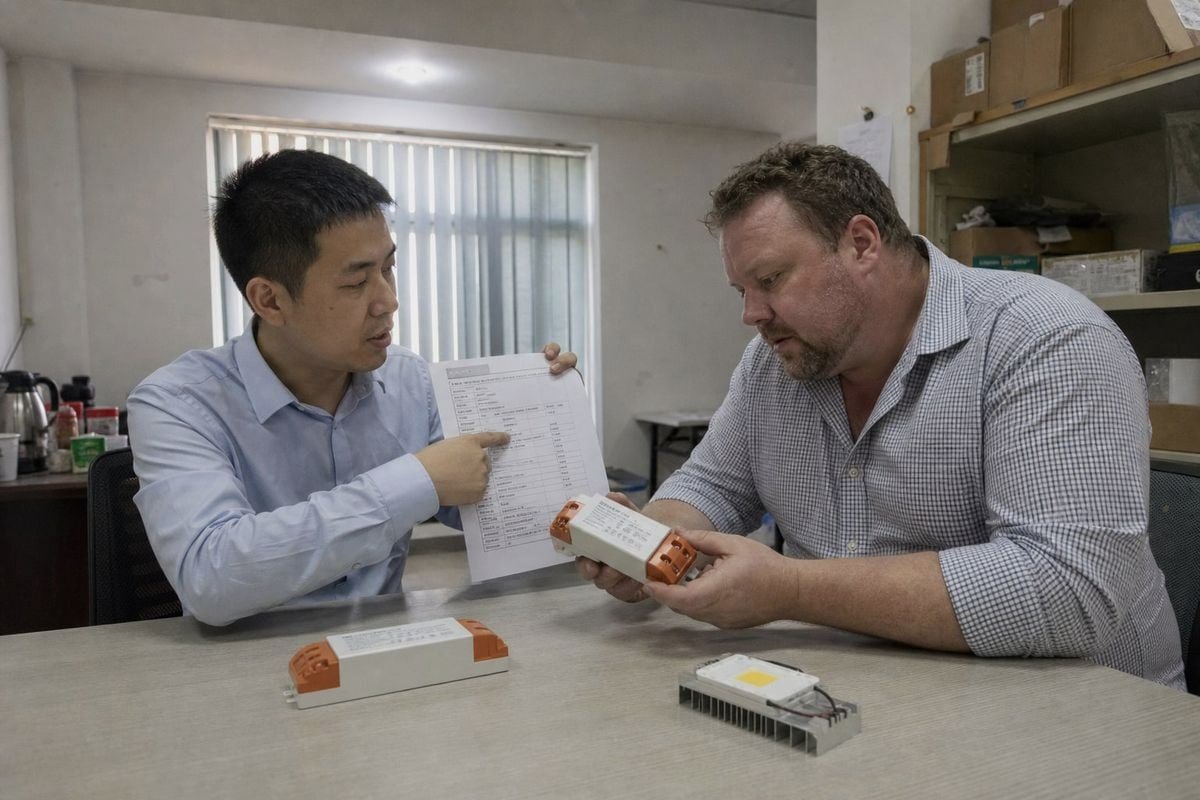
ดูฉลากบนไดรเวอร์ของเราแล้วคุณจะเห็นเครื่องหมาย CE, SAA, CB และ SELV พิมพ์อยู่ข้างหมายเลขรุ่นและพิกัดไฟฟ้า แต่ละเครื่องหมายมีเหตุผลที่แตกต่างกัน และแต่ละเครื่องหมายสำคัญต่อผู้ซื้อที่แตกต่างกัน.
แต่ละเครื่องหมายครอบคลุมอะไร
| การรับรอง | ตลาด / วัตถุประสงค์ | ทำไมมันสำคัญสำหรับโครงการของคุณ |
|---|---|---|
| CE | เขตเศรษฐกิจยุโรป | จำเป็นตามกฎหมายสำหรับการขายในสหภาพยุโรป ครอบคลุมคำสั่งด้านความปลอดภัยและ EMC |
| สมาคมนักวิเคราะห์หลักทรัพย์ | ออสเตรเลีย / นิวซีแลนด์ | การอนุมัติที่จำเป็นสำหรับผลิตภัณฑ์ไฟฟ้าในตลาดเหล่านี้ |
| ซีบี | ระหว่างประเทศ (โครงการ IECEE) | รายงานการทดสอบ CB ช่วยเร่งการอนุมัติระดับประเทศในหลายประเทศ |
| SELV | การจำแนกประเภทความปลอดภัยของเอาต์พุต | ยืนยันว่าเอาต์พุต LED เป็นแรงดันไฟฟ้าต่ำพิเศษที่ปลอดภัย ช่วยปกป้องผู้ติดตั้ง |
สำหรับโครงการในอเมริกาเหนือ การสนทนาที่เทียบเท่ากันเกี่ยวข้องกับการขึ้นทะเบียน UL หรือ ETL และมักมีการจำแนกประเภทแหล่งจ่ายไฟคลาส 2 ซึ่งจำกัดกำลังไฟเอาต์พุตเพื่อการเดินสายที่ง่ายขึ้นในอาคาร หากโคมไฟของคุณจัดส่งไปยังสหรัฐอเมริกา ควรหยิบยกเรื่องนี้ตั้งแต่เนิ่นๆ — เพราะมันเปลี่ยนการออกแบบไดรเวอร์ ไม่ใช่แค่เอกสารเท่านั้น.
คำเตือนเชิงปฏิบัติสองประการจากประสบการณ์การส่งออกของเราในยุโรป ออสเตรเลีย และเอเชียตะวันออกเฉียงใต้ ประการแรก โลโก้ที่พิมพ์นั้นถูก แต่ใบรับรองไม่ถูก ขอหมายเลขใบรับรองและตรวจสอบกับผู้ออกใบรับรอง เราจัดเตรียมเอกสารครบถ้วนพร้อมทุกคำสั่งซื้อ เพราะบริษัทวิศวกรรมและโรงงานผลิตโคมไฟต้องการความสามารถในการตรวจสอบย้อนกลับนั้นเพื่อการลงนามอนุมัติโครงการของตนเอง ประการที่สอง ตรวจสอบว่าใบรับรองครอบคลุมรุ่นและพิกัดกระแสที่แน่นอนที่คุณซื้อ ไม่ใช่รุ่นที่คล้ายกันในตระกูลเดียวกัน รายงาน CB สำหรับรุ่น 30 วัตต์ไม่ครอบคลุมรุ่น 50 วัตต์โดยอัตโนมัติ ผู้ซื้อที่ข้ามการตรวจสอบนี้บางครั้งพบช่องว่างก็ต่อเมื่อทีมปฏิบัติตามข้อกำหนดของตัวแทนจำหน่ายตรวจสอบสินค้าที่จัดส่ง — และในเวลานั้นกำหนดเวลาโครงการก็ตกอยู่ในความเสี่ยงแล้ว.
บทสรุป
ไดรเวอร์กระแสคงที่ 0–10V จ่ายไฟให้กับระบบแสงสว่างเชิงพาณิชย์ อุตสาหกรรม และสถาปัตยกรรมแบบปรับแสงได้ จับคู่จุดทำงานของ LED ก่อน ระบุพฤติกรรมการปรับแสงอย่างชัดเจน และตรวจสอบการรับรอง — จากนั้นไดรเวอร์จะทำงานอย่างน่าเชื่อถือเป็นเวลาหลายปี.
เชิงอรรถ
- เว็บไซต์กระทรวงพลังงานสหรัฐอเมริกาให้ข้อมูลอ้างอิงที่เชื่อถือได้เกี่ยวกับเทคโนโลยีแสงสว่างและการควบคุมที่ประหยัดพลังงาน. ↩︎
- ภาพรวมทางเทคนิคของวิธีการควบคุม PWM ที่ใช้ในการใช้งาน LED แรงดันคงที่. ↩︎
- ข้อมูลอ้างอิงสถาบันมาตรฐานและเทคโนโลยีแห่งชาติสำหรับคุณลักษณะทางไฟฟ้าของเซมิคอนดักเตอร์. ↩︎
- สมาคมวิชาชีพที่ให้มาตรฐานสำหรับการกะพริบและการรบกวนทางไฟฟ้าในระบบแสงสว่าง. ↩︎