Skip to content










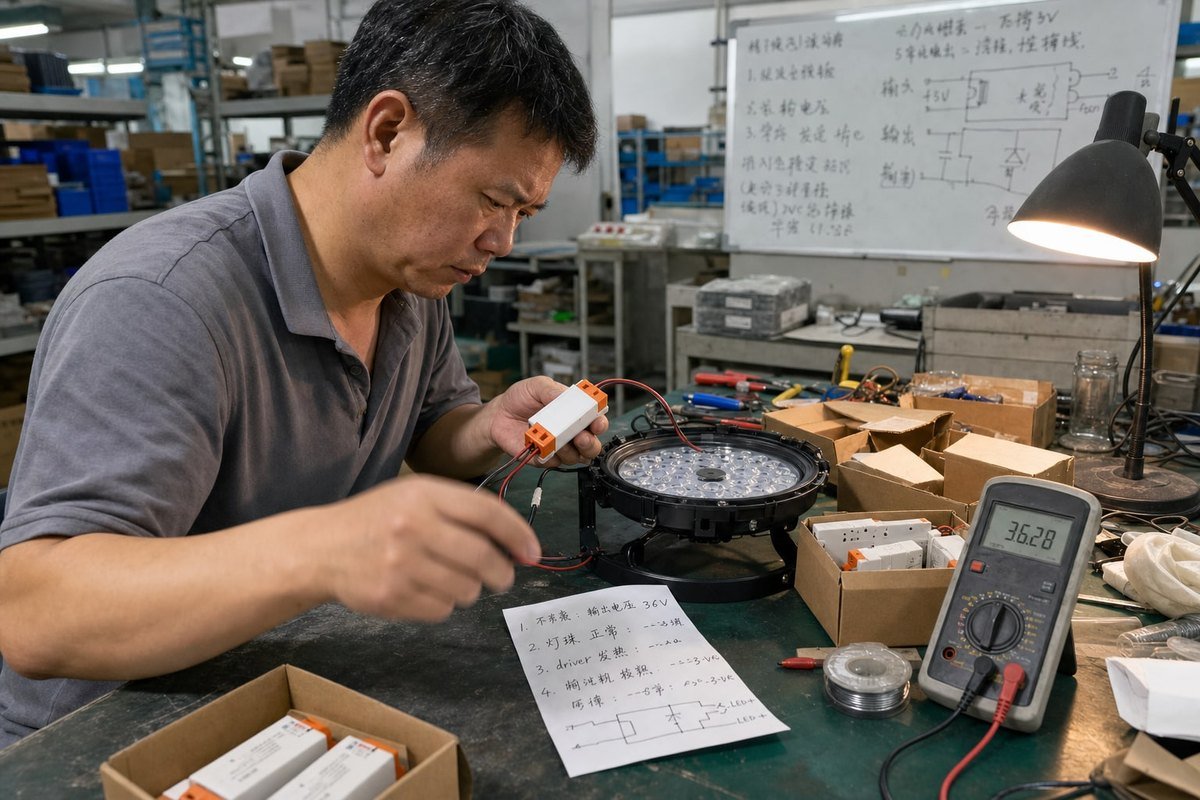
โคมไฟ CC ที่ไม่ติดนั้นน่าหงุดหงิดมาก ฉันเคยเห็นโคมไฟใหม่เอี่ยมไม่ติดตั้งแต่เปิดไฟครั้งแรก และความตื่นตระหนกที่ตามมานั้นเป็นเรื่องจริงมาก.
โคมไฟ CC ไม่ติดเมื่อหน้าต่างแรงดันเอาต์พุตของไดรเวอร์ LED กระแสคงที่ไม่ตรงกับแรงดันไปข้างหน้ารวมของโหลด LED หรือเมื่อมีข้อผิดพลาดในการเดินสาย วงจรเปิด ขั้วกลับ ไดเมอร์ TRIAC ที่เข้ากันไม่ได้ หรือคุณสมบัติป้องกันของไดรเวอร์บล็อกการสตาร์ท การจับคู่ไดรเวอร์ โหลด และไดเมอร์ช่วยแก้ไขกรณีส่วนใหญ่ได้.
ให้ฉันอธิบายแต่ละสาเหตุทีละขั้นตอน ฉันจะแสดงวิธีตรวจสอบโหลด การเดินสาย ไดเมอร์ และตัวไดรเวอร์เอง เมื่อจบ คุณจะมีเส้นทางการแก้ไขปัญหาที่ชัดเจน.
อะไรทำให้โคมไฟ LED กระแสคงที่ของฉันเสียหายระหว่างการเริ่มทำงาน?
ฤดูใบไม้ผลิที่แล้ว ผู้ซื้อในฝรั่งเศสส่งคืนไดรเวอร์ที่ “เสีย” ยี่สิบตัว เมื่อวิศวกรของเราทดสอบบนโต๊ะ ทุกตัวทำงานได้อย่างสมบูรณ์แบบ ปัญหาที่แท้จริงคือแรงดันไฟฟ้าไม่ตรงกันในการออกแบบโคมไฟของเขา.
โคมไฟ LED กระแสคงที่ส่วนใหญ่มักไม่ติดระหว่างการสตาร์ทเพราะแรงดันไปข้างหน้ารวมของสาย LED อยู่นอกช่วงแรงดันเอาต์พุตของไดรเวอร์ ทำให้เกิดการป้องกันแรงดันเกินหรือแรงดันต่ำ สาเหตุอื่นที่ทำให้สตาร์ทไม่ติด ได้แก่ วงจรเปิด ขั้วกลับ และการปิดเครื่องเนื่องจากความร้อนจากการจัดการความร้อนที่ไม่ดี.
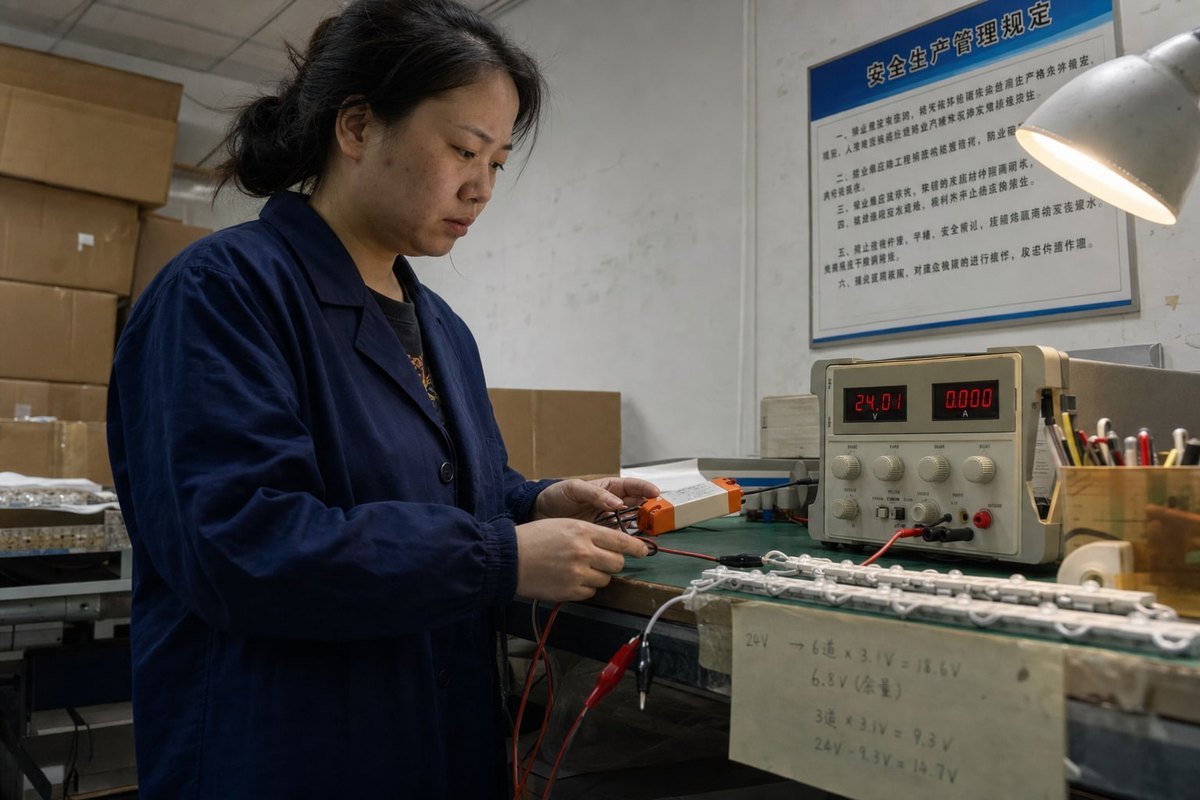
ก ไดรเวอร์ LED กระแสคงที่ 1 ไม่ทำงานเหมือนอะแดปเตอร์ไฟธรรมดา มันจ่ายกระแสคงที่และปล่อยให้แรงดันลอยอยู่ในหน้าต่างที่กำหนด หากสาย LED ของคุณต้องการแรงดันสูงหรือต่ำกว่าหน้าต่างนั้น ไดรเวอร์จะปฏิเสธที่จะสตาร์ท มันไม่ได้เสีย มันกำลังปกป้องตัวเองและโคมไฟของคุณ.
ปัญหาหน้าต่างแรงดันไปข้างหน้า
LED ทุกดวงมี แรงดันไปข้างหน้า 2. ในการเดินสายวงจรอนุกรม แรงดันเหล่านั้นรวมกัน ไดรเวอร์ที่ระบุ 25–42V ขับ LED สิบสองดวงที่ 3.0V ต่อดวงต้องจ่าย 36V ซึ่งพอดี แต่เพิ่ม LED อีกสามดวง คุณต้องใช้ 45V ซึ่งเกินเพดาน ไดรเวอร์มองว่านี่เป็นสภาวะวงจรเปิดและปิดเครื่อง.
| สภาวะผิดปกติ | สิ่งที่ไดรเวอร์เห็น | พฤติกรรมทั่วไป |
|---|---|---|
| แรงดันไปข้างหน้ารวมสูงเกินไป | ใกล้กับวงจรเปิด | ไม่มีเอาต์พุต หรือไฟกระพริบสั้นๆ แล้วดับ |
| แรงดันไปข้างหน้ารวมต่ำเกินไป | ใกล้กับวงจรลัด | โหมดสะอึกหรือปิดเครื่อง |
| LED หนึ่งดวงเสียในสาย | วงจรเปิดจริง | โคมไฟทั้งหมดไม่ติด |
| การเชื่อมต่อขั้วกลับ | เส้นทางกระแสถูกบล็อก | ไม่มีแสง อาจทำให้ไดรเวอร์เครียด |
| ตัวไดรเวอร์ร้อนเกินไป | ข้อผิดพลาดทางความร้อน | ตัดออก แล้วรีสตาร์ทเมื่อเย็น |
ทำไม LED ที่เสียหนึ่งดวงฆ่าทุกอย่าง
ในสายอนุกรม กระแสมีเส้นทางเดียว หาก LED ดวงเดียวเปิดวงจรล้มเหลว โคมไฟทั้งหมดจะมืด สิ่งนี้ทำให้ผู้ติดตั้งหลายคนสับสน เพราะไดรเวอร์และ 99% ของ LED ยังดีอยู่ จากประสบการณ์ของฉัน การตรวจสอบความต่อเนื่องของสายด้วยมัลติมิเตอร์ก่อนโทษไดรเวอร์ช่วยประหยัดเวลาได้หลายชั่วโมง.
การจัดการความร้อนที่สตาร์ท
การจัดการความร้อน ที่ไม่ดี 3 ไม่ค่อยบล็อกการสตาร์ทครั้งแรก แต่ทำให้โคมไฟปิดเครื่องในไม่กี่นาทีต่อมา แล้วปฏิเสธที่จะรีสตาร์ทจนกว่าเย็นลง เพดานปิดที่ไม่มีอากาศไหลเวียนเป็นผู้ต้องสงสัยหลัก.
ฉันจะตรวจสอบได้อย่างไรว่าไดรเวอร์ CC ของฉันตรงกับความต้องการโหลดของโคมไฟหรือไม่
ก่อนที่ไดรเวอร์ใดจะออกจากโรงงานของเรา เราทดสอบกับสภาวะโหลดต่ำสุดและสูงสุด ฉันมักจะบอกลูกค้าให้ตรวจสอบการจับคู่บนกระดาษก่อนเดินสายโคมไฟแม้แต่ดวงเดียว.
ตรวจสอบการจับคู่ในสามขั้นตอน: ยืนยันว่ากระแสเอาต์พุตที่ระบุของไดรเวอร์เท่ากับกระแสที่ระบุของสาย LED คำนวณแรงดันไปข้างหน้ารวมของสาย และตรวจสอบว่าแรงดันนั้นอยู่ในช่วงแรงดันเอาต์พุตของไดรเวอร์อย่างสบายๆ โดยควรอยู่ห่างจากทั้งสองขีดสุด.
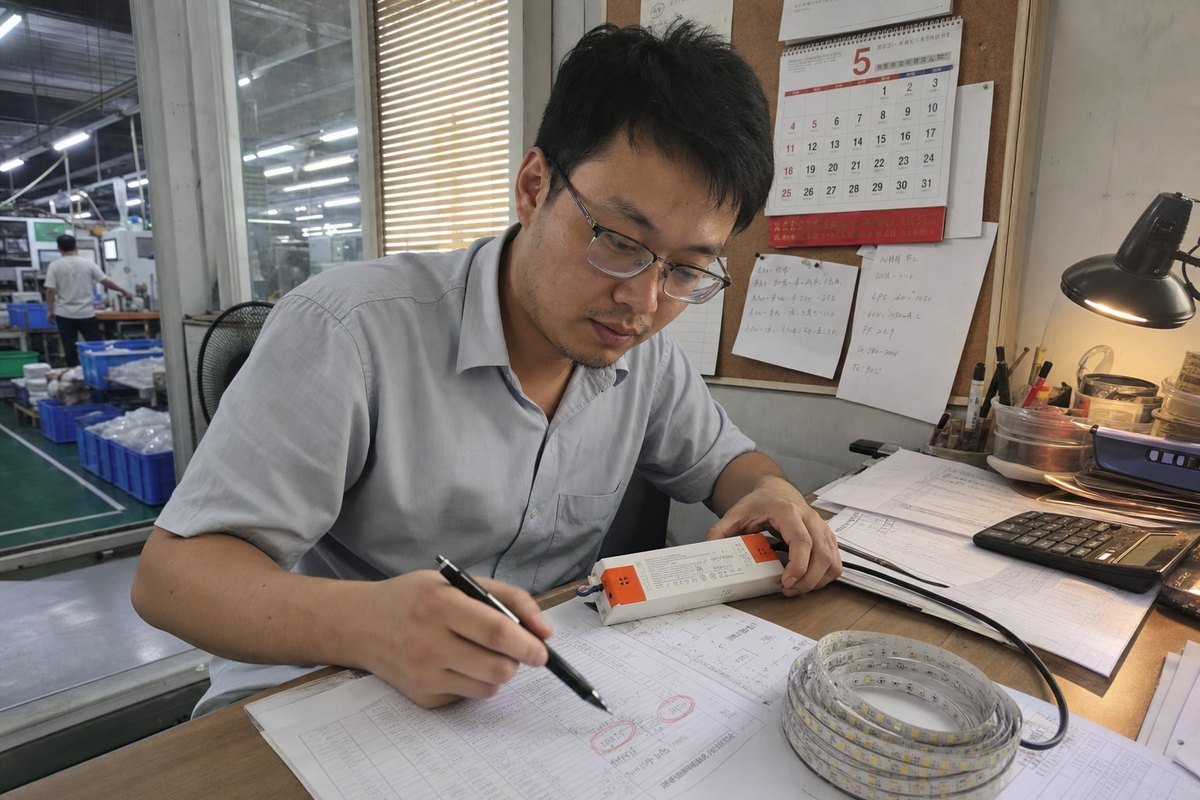
การจับคู่ไดรเวอร์กับโหลดเป็นคณิตศาสตร์ง่ายๆ แต่คนข้ามมัน แล้วสงสัยว่าทำไมโคมไฟไม่ติด ให้ฉันแบ่งกระบวนการเป็นรายการตรวจสอบที่ทำซ้ำได้ซึ่งคุณสามารถใช้กับไดรเวอร์ LED กระแสคงที่ใดก็ได้.
การจับคู่โหลดทีละขั้นตอน
- อ่านเอกสารข้อมูล LED. จดกระแสขับที่ระบุ (เช่น 700mA) และแรงดันไปข้างหน้าทั่วไปต่อ LED.
- นับจำนวน LED ในอนุกรม. คูณจำนวนด้วยแรงดันไปข้างหน้า นี่คือแรงดันเอาต์พุตขั้นต่ำที่คุณต้องการ.
- คิดเรื่องอุณหภูมิ. แรงดันไปข้างหน้าลดลงเล็กน้อยเมื่อ LED ร้อนขึ้น ใช้ค่าเย็นสำหรับการตรวจสอบสูงสุด.
- เปรียบเทียบกับฉลากไดรเวอร์. แรงดันไฟฟ้าที่คำนวณได้ต้องอยู่ภายในช่วงที่ไดรเวอร์ระบุไว้ เช่น 20–40V.
- เผื่อระยะปลอดภัย. ฉันแนะนำให้เว้นระยะ 10–15% จากทั้งขอบบนและขอบล่างของช่วง.
ตัวอย่างการคำนวณ
| พารามิเตอร์ | ค่า | หมายเหตุ |
|---|---|---|
| กระแสเอาต์พุตของไดรเวอร์ | 700mA | ต้องเท่ากับกระแสพิกัดของ LED |
| ช่วงแรงดันของไดรเวอร์ | 20–40V | จากฉลากผลิตภัณฑ์ |
| LED ต่ออนุกรม | 10 | การเดินสายวงจรอนุกรม |
| แรงดันไปข้างหน้าต่อ LED หนึ่งดวง | 1V | จากเอกสารข้อมูล LED |
| แรงดันไปข้างหน้ารวม | 31V | 10 × 3.1V — อยู่ในช่วงที่กำหนด |
โหลด 31V นี้อยู่ตรงกลางของช่วง 20–40V ได้อย่างเหมาะสม นั่นคือการจับคู่ที่ดี หากรวมแล้วได้ 41V ไดรเวอร์จะมองว่าเป็นวงจรเปิดและไม่ทำงาน.
อย่าลืมเรื่องแรงดันตกคร่อมสายเคเบิล
สาย DC ที่ยาวระหว่างไดรเวอร์และโมดูล LED ทำให้เกิดความต้านทานเพิ่มขึ้น แรงดันตกที่เกิดขึ้นสามารถผลักดันการออกแบบที่เกือบจะเกินขีดจำกัดให้เกินค่าแรงดันสูงสุดที่ไดรเวอร์รองรับได้ เมื่อเราออกแบบการติดตั้งแบบแยกตำแหน่ง เราจะรักษาระยะสาย DC ให้สั้นหรือเพิ่มขนาดเส้นลวด แผนภาพการเดินสายไฟ 5 ที่ระบุความยาวและขนาดของตัวนำไฟฟ้าช่วยป้องกันปัญหานี้ก่อนเริ่มการติดตั้ง.
ปัญหาการเดินสายไฟหรือความเข้ากันได้ของ Dimmer อาจทำให้โคมไฟ CC ของฉันไม่เปิดขึ้นมาได้หรือไม่?
ตัวแทนจำหน่ายคนหนึ่งเคยโทรหาฉันด้วยความมั่นใจว่าไดรเวอร์ TRIAC ของเราเสียตั้งแต่แกะกล่อง ช่างไฟฟ้าของเขาได้สลับขั้วเอาต์พุตบนทุกยูนิต การเดินสายใหม่สิบนาทีทำให้ทั้งโครงการกลับมาทำงานได้.
ใช่ การกลับขั้วที่เอาต์พุต DC การเชื่อมต่อขั้วหลวม การสลับสายอินพุตและเอาต์พุต และตัวหรี่ไฟที่ไม่เข้ากัน ล้วนป้องกันไม่ให้โคมไฟ CC เปิดทำงาน ตัวหรี่ไฟ TRIAC ที่ออกแบบมาสำหรับโหลดหลอดไส้มักไม่สามารถรักษากระแสไฟฟ้าให้เพียงพอสำหรับไดรเวอร์ LED ทำให้โคมไฟดับหรือกะพริบ.
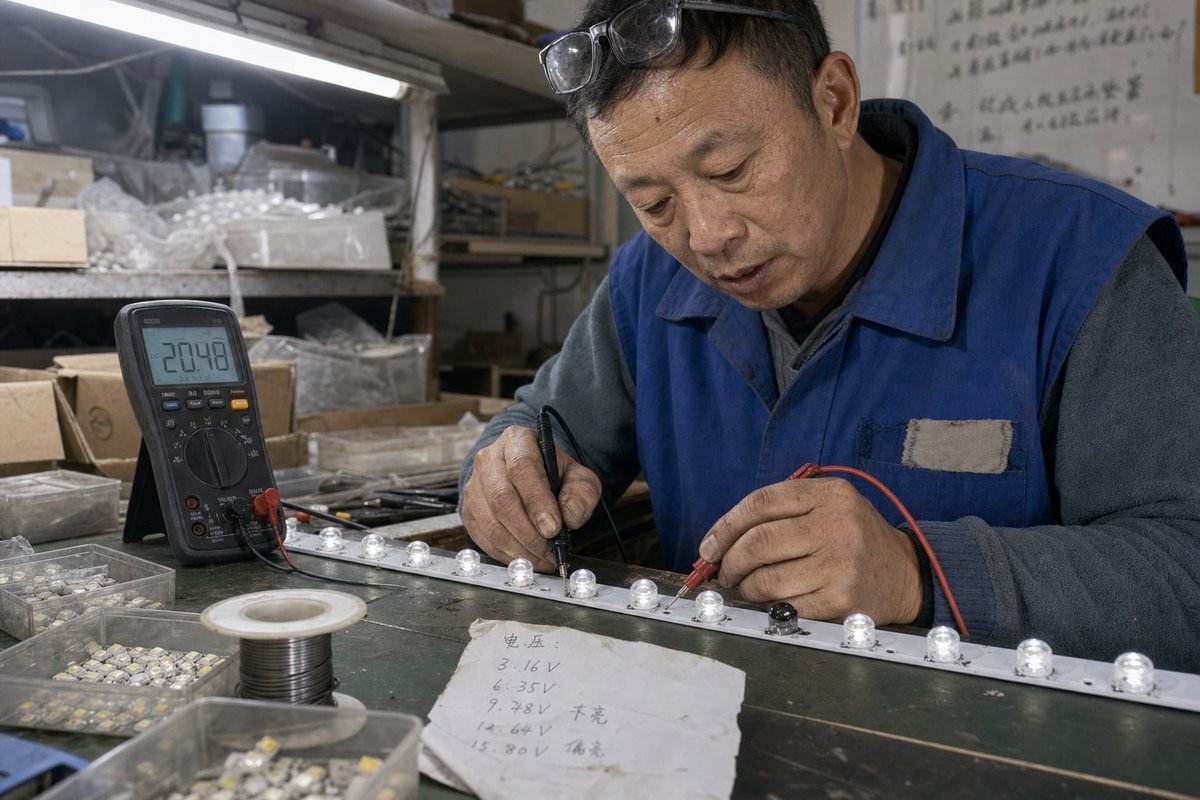
ข้อผิดพลาดในการเดินสายเป็นปัญหาภาคสนามที่ฉันพบบ่อยที่สุด และยังเป็นปัญหาที่ถูกที่สุดในการแก้ไข ความเข้ากันได้ของตัวหรี่ไฟมาเป็นอันดับสอง โดยเฉพาะในโครงการปรับปรุงที่ตัวหรี่ไฟติดผนังเก่ายังคงอยู่.
ข้อผิดพลาดในการเดินสายทั่วไป
LED เป็นไดโอด กระแสไฟฟ้าไหลในทิศทางเดียว เชื่อมต่อเอาต์พุตบวกของไดรเวอร์เข้ากับขั้วลบของ LED จะไม่มีอะไรเกิดขึ้น การสลับขั้วมักไม่ก่อให้เกิดความเสียหายถาวรกับไดรเวอร์ SELV ที่ดี แต่โคมไฟจะไม่ติดจนกว่าคุณจะแก้ไข ข้อผิดพลาดอื่นๆ ที่พบบ่อย ได้แก่:
- ขั้วต่อสกรูหลวมที่ทำให้เกิดวงจรเปิดเป็นช่วงๆ.
- สายไฟเมนต่อเข้ากับขั้วเอาต์พุต ซึ่งสามารถทำลายไดรเวอร์ได้ทันที.
- ไดรเวอร์สองตัวต่อเข้ากับชุด LED ชุดเดียวโดยไม่ได้ตั้งใจ ทำให้ทำงานขัดแย้งกัน.
- ไม่ปฏิบัติตามแผนภาพการเดินสายที่พิมพ์บนตัวไดรเวอร์.
ปฏิบัติตามแผนภาพการเดินสายบนฉลากเสมอ เราพิมพ์เครื่องหมายอินพุตและเอาต์พุตบนทุกยูนิตของ boqi ด้วยเหตุผลนี้โดยเฉพาะ.
พื้นฐานความเข้ากันได้ของตัวหรี่ไฟ
| ประเภทดิมเมอร์ | ทำงานกับไดรเวอร์ CC TRIAC หรือไม่? | อาการทั่วไปเมื่อไม่เข้ากัน |
|---|---|---|
| TRIAC แบบ Leading-edge (สำหรับหลอดไส้) | บางครั้ง | ไม่สตาร์ทเมื่อโหลดต่ำกว่าขั้นต่ำ |
| Trailing-edge (สำหรับ LED) | โดยปกติ ถ้าไดรเวอร์รองรับ | กระพริบหากไม่รองรับ |
| 0-10V แอนะล็อก | เฉพาะกับไดรเวอร์ 0-10V | สว่างเต็มที่หรือไม่มีเอาต์พุต |
| ตัวหรี่ไฟอัจฉริยะ Wi-Fi | เฉพาะจากรายการที่ทดสอบความเข้ากันได้แล้ว | หลุดสุ่ม ไม่สตาร์ท |
ก ตัวหรี่แสงแบบ TRIAC 6 ต้องการกระแสคงค้าขั้นต่ำเพื่อให้ยังนำไฟฟ้าอยู่ ไดรเวอร์ LED ที่มีประสิทธิภาพสูงบางตัวอาจดึงกระแสน้อยเกินไป ทำให้ตัวหรี่ไฟ ตัดไฟอย่างผิดปกติ หรือไม่ล็อกการทำงาน โคมไฟจึงดูเหมือนเสีย ตรวจสอบรายการตัวหรี่ไฟที่ทดสอบแล้วของผู้ผลิตไดรเวอร์ หรือระบุ ตัวขับ LED TRIAC แบบหรี่แสงได้ ออกแบบมาเพื่อความเสถียรภายใต้โหลดต่ำ.
ฉันควรทำตามขั้นตอนการแก้ไขปัญหาใดเมื่อโคมไฟระบบ CC ของฉันไม่ติดสว่าง
ตลอดหลายปีที่ให้การสนับสนุนผู้ติดตั้งทั่วยุโรป ฉันได้ปรับปรุงลำดับการวินิจฉัยง่ายๆ ซึ่งเริ่มจากการตรวจสอบที่ง่ายที่สุดไปหายากที่สุด เพื่อให้คุณไม่ต้องเปิดกล่องรวมสายก่อนตรวจสอบเบรกเกอร์.
ปฏิบัติตามลำดับนี้: ตรวจสอบไฟหลักที่เบรกเกอร์และสวิตช์, หลีกเลี่ยงตัวหรี่ไฟใดๆ, ยืนยันการเดินสายอินพุตและเอาต์พุตที่ถูกต้องตามแผนภาพ, วัดสายไฟ LED เพื่อหาวงจรเปิดหรือขั้วกลับ, ตรวจสอบแรงดันไฟฟ้าไปข้างหน้าทั้งหมดเทียบกับช่วงของไดรเวอร์, จากนั้นทดสอบไดรเวอร์กับโหลดที่รู้จักว่าดี.
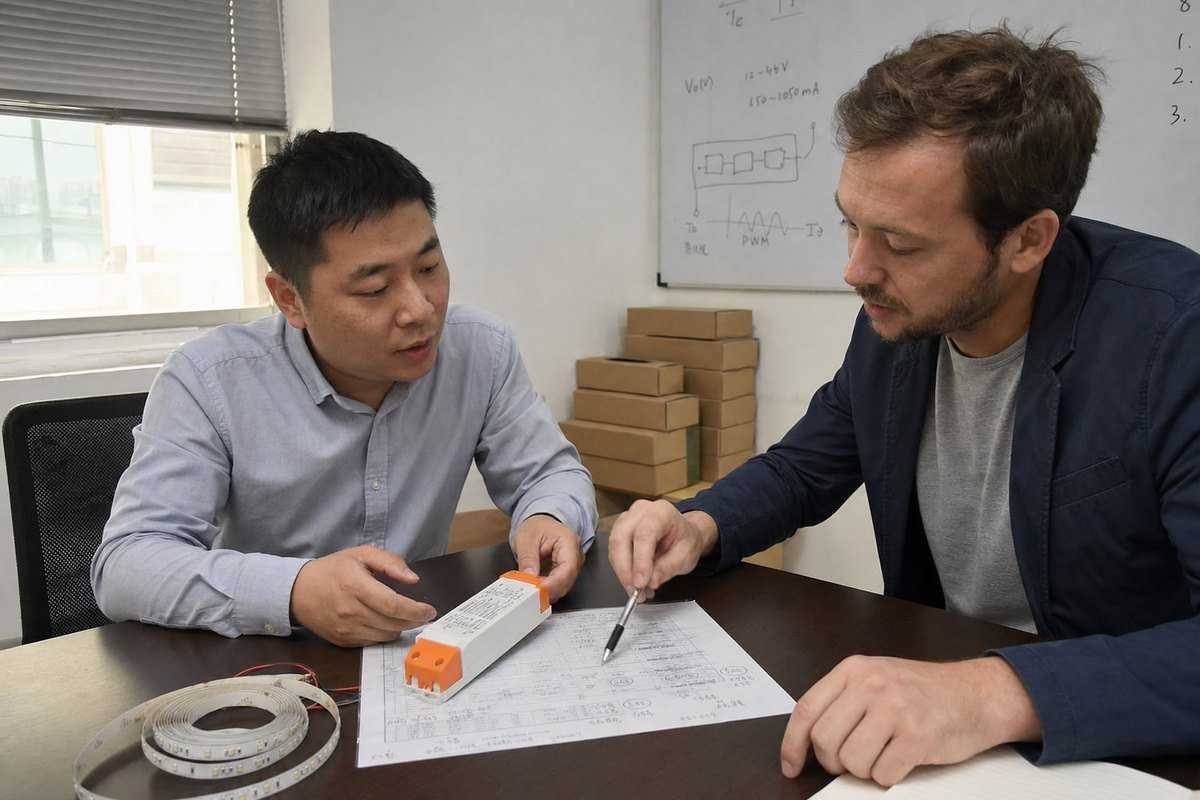
การแก้ไขปัญหาจะได้ผลดีที่สุดเมื่อทำเป็นผังขั้นตอน แต่ละขั้นตอนจะค้นหาข้อบกพร่องหรือตัดสาเหตุทั้งหมวดออกไป ทำตามลำดับและอย่าข้ามขั้นตอนเพียงเพราะดูเหมือนชัดเจนเกินไป จากประสบการณ์ของฉัน ครึ่งหนึ่งของสายเรียก “ตัวขับเสีย” ทั้งหมดจบลงที่ขั้นตอนที่หนึ่งหรือสอง.
ลำดับการวินิจฉัย
- ยืนยันกำลังไฟเข้า. ตรวจสอบเบรกเกอร์ อุปกรณ์ GFCI หรือ RCD 7, และสวิตช์ผนัง วัดแรงดันไฟหลักที่ขั้วอินพุตของตัวขับหากคุณมีคุณสมบัติเหมาะสม.
- ตัดตัวหรี่แสงออกจากสมการ. ต่อตัวขับเข้ากับไฟหลักเต็มรูปแบบชั่วคราว หากโคมไฟติดสว่าง แสดงว่าคุณมีปัญหาความเข้ากันได้ของตัวหรี่แสง ไม่ใช่ตัวขับ LED เสีย.
- ตรวจสอบการเชื่อมต่อทั้งหมด. มองหาขั้วหลวม สายที่เสียบแบบ backstabbed การกัดกร่อน และการสลับสายอินพุต/เอาต์พุต เปรียบเทียบทุกอย่างกับแผนภาพการเดินสายไฟ.
- ทดสอบโหลด LED. ใช้มัลติมิเตอร์ในโหมดไดโอดหรือแหล่งจ่ายไฟตั้งโต๊ะกระแสต่ำ การอ่านค่าแบบวงจรเปิดชี้ไปที่ LED เสียหรือรอยบัดกรีแตกในสายโซ่.
- คำนวณความสอดคล้องของโหลดใหม่. รวมแรงดันไปข้างหน้าของสายโซ่ รวมแรงดันตกคร่อมสายเคเบิล และยืนยันว่าอยู่ภายในช่วงของตัวขับ.
- ทดสอบสลับตัวขับ. เชื่อมต่อกับโมดูล LED ที่รู้จักว่าดีภายในช่วงพิกัด หากยังไม่มีเอาต์พุต ให้สงสัยว่าตัวขับเสียจริง ซึ่งมักเกิดจากตัวเก็บประจุเสื่อมสภาพหรือความร้อนสูงเกินไปต่อเนื่อง.
เมื่อใดควรหยุดและเปลี่ยน
หากตัวขับมีรอยไหม้ ตัวเครื่องโป่งพอง กลิ่นไหม้ หรือเบรกเกอร์ตัดซ้ำๆ ให้หยุดทดสอบและเปลี่ยนใหม่ พร้อมทั้งทบทวนการจัดการความร้อนรอบตำแหน่งติดตั้ง เพราะตัวขับใหม่ที่ถูกความร้อนซ้ำจะเสียในลักษณะเดียวกัน ปัญหาที่ไม่สามารถอธิบายได้ในวงจรหลายโคมควรให้ช่างไฟฟ้าที่มีคุณสมบัติจัดการ เนื่องจากปัญหาสายกลางซ่อนเร้นหรือปัญหาจุดเชื่อมต่อสามารถเลียนแบบความเสียหายของตัวขับได้.

บทสรุป
โคมไฟระบบ CC ที่มืดส่วนใหญ่ไม่ใช่ตัวขับเสีย จับคู่แรงดันไปข้างหน้ากับช่วงของตัวขับ ตรวจสอบการเดินสายไฟและขั้ว ยืนยันความเข้ากันได้ของตัวหรี่แสง และแก้ไขปัญหาตามลำดับเพื่อการสตาร์ทที่เชื่อถือได้.
เชิงอรรถ
- เอกสารอ้างอิงทางเทคนิคที่เชื่อถือได้สำหรับการออกแบบวงจร LED กระแสคงที่และการทำงานของตัวขับ. ↩︎
- อธิบายแนวคิดแรงดันไปข้างหน้าของ LED ซึ่งเป็นศูนย์กลางของการอภิปรายการจับคู่โหลดกับตัวขับ. ↩︎
- แนวคิดพื้นฐานเกี่ยวกับการจัดการความร้อนในอุปกรณ์อิเล็กทรอนิกส์สนับสนุนการอภิปรายเรื่องการปิดเครื่องในบทความ. ↩︎
- IEC กำหนดมาตรฐานการเดินสายไฟฟ้าที่เกี่ยวข้องกับการออกแบบวงจรอนุกรมในโคมไฟ LED. ↩︎
- NEMA ให้มาตรฐานการเดินสายไฟฟ้าที่เกี่ยวข้องกับการปฏิบัติตามแผนภาพการเดินสายไฟของผู้ผลิต. ↩︎
- ความรู้พื้นฐานเกี่ยวกับเทคโนโลยี TRIAC ชี้แจงว่าทำไมกระแสคงค้างจึงส่งผลต่อความเข้ากันได้ของตัวหรี่แสง. ↩︎
- อำนาจของ NFPA เกี่ยวกับอุปกรณ์ความปลอดภัยไฟฟ้าเช่น GFCI/RCD ที่อ้างอิงในขั้นตอนการแก้ไขปัญหา. ↩︎