Przejdź do treści


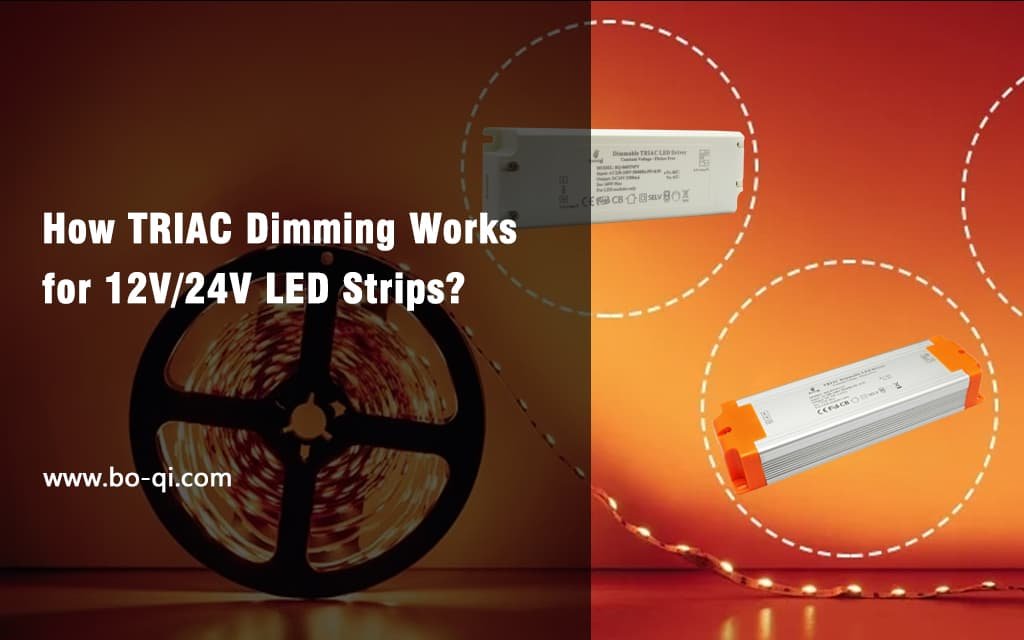
Dimming LED lights bring warmth and flexibility to rooms. TRIAC dimmable LED drivers shine among dimming tech. They change light brightness but keep energy use low. This guide shows how to connect these drivers. We aim to make your lights not just bright or dim, but perfect for every moment. Simple steps and clear tips will help you get there. With these drivers, your space will glow just right, saving power too. Let’s make your lighting both stunning and smart.
Wprowadzenie do ściemnialnych sterowników LED TRIAC
Przyciemnianie świateł does more than just lower brightness. It crafts the ideal mood. TRIAC, short for Triode for Alternating Current, is a switch for dimming. It makes dimming smooth, saves energy, and works with many dimmer switches. With TRIAC dimmable LED drivers, you control light precisely. You save on bills and fit the dimmer or switch you already have. This technology lets you adjust lighting to suit any time or feeling. It’s not just about making a room darker. It’s about enhancing the space with the right light level. This way, you would feel just right, any time of the day at home.
Zrozumienie podstaw ściemniania TRIAC
TRIAC dimming controls the power of LED lights, adjusting their brightness. It’s different from other methods because it works with alternating current (AC), making it compatible with many household dimmers. The key components include the TRIAC switch, a driver circuit, and the LED light source.
Jak działa ściemnianie TRIAC: Involves a small device called TRIAC, which stands for Triode for Alternating Current. This device controls the amount of electricity that flows to your LED lights. By adjusting this flow, it can make your lights brighter or dimmer. Imagine turning a dial that decides how much water flows through a hose; that’s how TRIAC adjusts light.
Elementy ściemnianego sterownika LED TRIAC: Include the TRIAC itself, a control circuit that tells the TRIAC how to adjust the light, and the power supply that feeds electricity to the LEDs. Together, they form a team that controls your lighting, ensuring it’s just right for any moment.
TRIAC a inne technologie ściemniania: Chociaż istnieje wiele sposobów przyciemniania światła, TRIAC wyróżnia się prostotą i kompatybilnością. W przeciwieństwie do innych metod, które mogą wymagać specjalnego okablowania lub żarówek, TRIAC współpracuje ze standardową konfiguracją elektryczną. Być może znasz podobne ściemnianie zwane ściemnianiem z obcięciem fazy. Istnieją 2 rodzaje kontroli, np
Sterowanie fazą naprzód (krawędź natarcia).
Sterowanie fazą odwróconą (elektroniczne niskie napięcie).
Forward Phase (Leading Edge) Controls and Reverse Phase (Electronic Low Voltage) Controls are two main types of dimming methods used in lighting systems. Let’s break down these concepts into simpler terms.
Sterowanie fazą do przodu, also known as Leading Edge, are mostly produced based on Triac dimming technology, which works by chopping off the start of the electricity wave. Think of it as snipping the beginning of a piece of string. This method is common and works well with many types of lights, especially incandescent and halogen bulbs. It’s like turning down the volume on your radio with a simple knob. Nowadays, most TRIAC dimmable LED Drivers are leading edge type.

Sterowanie fazą odwróconą, which can be called trailing edge, are mostly produced based on MOSFETS. On the other hand, cut off the end of the electricity wave. Imagine cutting the end of the string instead. This technique is also called Electronic Low Voltage (ELV) and is better suited for low voltage lights, like some LEDs. It’s more like using a sophisticated slider to adjust the sound precisely, providing smoother dimming for sensitive lighting.

Obie metody mają swoje miejsce w projektowaniu oświetlenia, oferując różne sposoby osiągnięcia idealnej atmosfery i efektywności energetycznej w domach i firmach.
Przygotowanie do okablowania
Before starting, gather your tools and materials. You’ll need wire cutters, screwdrivers, electrical tape, and the TRIAC dimmable LED driver. Safety first: turn off power at the circuit breaker. Check your LED driver’s specifications to match your lighting needs.
Okablowanie sterownika LED z możliwością ściemniania TRIAC
Ze ściemniaczem z odcięciem fazy (ściemniacz zbocza narastającego lub ściemniacza zbocza tylnego)
1. Podłączenie sterownika do zasilania: Start by connecting the driver’s input wire neutral (N) to your power source neutral (N). This usually involves matching the live (L), neutral (N), and earth (E) wires.
2. Mocowanie źródła światła LED: Next, connect the driver’s output wires to your LED light. Ensure the positive (+) and negative (-) wires match up.
3. Integracja ściemniacza TRIAC: Finally, wire the dimmer switch live (L) to the power source live (L) and the dimmer’s other terminal links to the driver live (L). The wiring diagram is as follows.
Dzięki temu możesz kontrolować jasność światła LED.

Ze ściemniaczem zbocza narastającego i tylnego
1. Podłącz główne zasilanie: Zacznij od podłączenia głównego zasilania do ściemniacza LED. Zwykle wiąże się to z podłączeniem przewodu fazowego (L) i neutralnego (N) do zacisków INPUT ściemniacza.
2. Podłącz sterownik LED: Integrate your TRIAC dimmer by connecting its OUTPUT terminal to the driver’s INPUT terminal. This setup allows the dimmer to regulate the power flowing to the driver and, subsequently, the LED lights.
3. Zamocuj diody LED: Finally, connect your LED lights to the driver. Ensure the positive (+) and negative (-) wires match the driver’s output terminals. The wiring diagram is as follows.
4. Zabezpiecz połączenia: Użyj taśmy elektrycznej, aby zakryć odsłonięte przewody lub zaciski, zapewniając bezpieczne połączenie.

Test Your Setup: With everything connected, it’s time to power up and test. Gradually adjust the dimmer to see if the LED lights respond as expected.
Testowanie i rozwiązywanie problemów
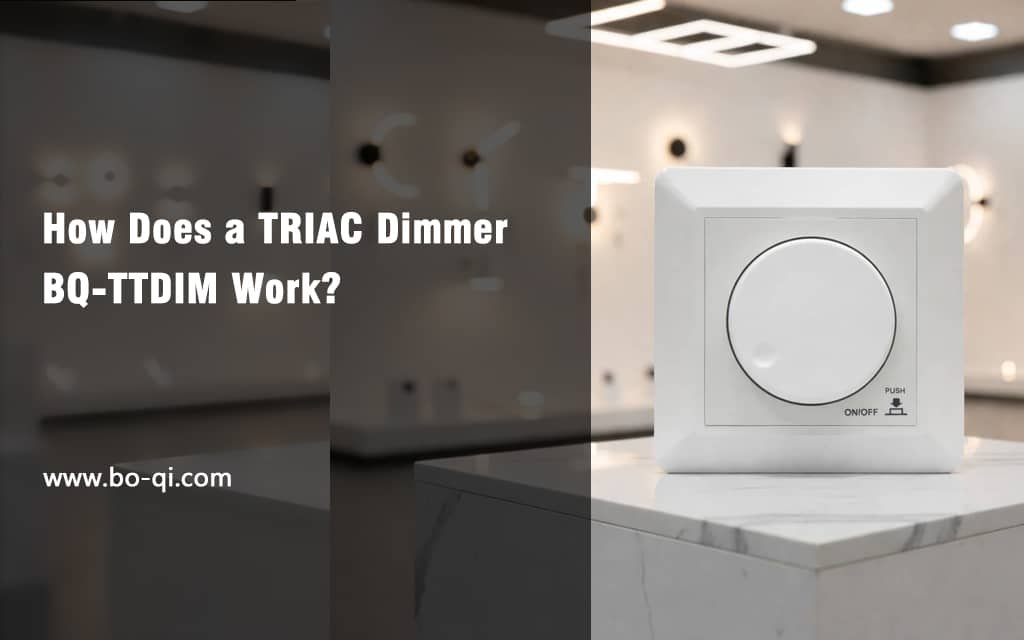
After wiring, it’s time to test. Turn the power back on and adjust the dimmer. If the light doesn’t turn on or flickers, check your connections. Make sure all wires are secure and correctly matched. After that, the light is still flickering, check the compatibility between the dimmer and LED driver. It’s better to prefer our Ściemniacz zbocza narastającego i opadającego, BQ-TTLDIM który jest kompatybilny ze ściemnialnymi sterownikami LED 99% TRIAC dostępnymi na rynku.

| Typ projektu własnego prywatnego modelu: | Ściemniacz LED Triac dla krawędzi natarcia i krawędzi spływu |
| Model: | BQ-TTLDIM |
| Napięcie wejściowe: | 100 ~ 240 V AC |
| Napięcie wyjściowe: | 100 ~ 240 V AC |
| Prąd wyjściowy: | Maks. 1,25A |
| Moc wyjściowa: | 5-300 W |
| Sygnał wejściowy: | Pokrętło obrotowe+2,4 GHz* |
| Zakres ściemniania: | 0-100% |
| Certyfikaty | CE EMC LVD SAA |
| Wymiar: | 86X86X22mm |
| Gwarancja: | 5 lat |
Inne rzeczy warte uwagi
Zaawansowane konfiguracje okablowania
W przypadku bardziej złożonych konfiguracji, takich jak wiele sterowników lub stref oświetleniowych, należy dokładnie zaplanować okablowanie. Upewnij się, że każdy sterownik jest kompatybilny i prawidłowo podłączony do swojej strefy kontrolnej. Systemy inteligentnego domu mogą wymagać dodatkowych konfiguracji w celu zapewnienia bezproblemowej integracji.
Konserwacja i pielęgnacja
Utrzymuj sterownik LED w doskonałym stanie, regularnie sprawdzając połączenia i odkurzając komponenty. Jeśli napotkasz problemy, konsultacja ze specjalistą jest często najbezpieczniejszym wyborem.
Względy prawne i regulacyjne
Okablowanie elementów elektrycznych musi być zgodne z lokalnymi przepisami i normami. Zapewniają one bezpieczeństwo i niezawodność. Zawsze sprawdzaj, czy sterownik LED z funkcją ściemniania TRIAC i instalacja spełniają te wymagania.
Efektywność energetyczna i zrównoważony rozwój
Przyciemnianie TRIAC nie tylko poprawia jakość oświetlenia, ale także przyczynia się do oszczędności energii. Dostosowując poziom oświetlenia, zużywasz tylko tyle energii, ile potrzebujesz, zmniejszając tym samym swój ślad węglowy.
Wniosek
Wiring a TRIAC dimmable LED driver might seem daunting, but with the right tools and a step-by-step approach, it’s achievable. This technology offers a blend of efficiency, control, and ambiance, making it a smart choice for any lighting project.
Często zadawane pytania
Co to jest ściemnianie TRIAC?
It’s a method of adjusting LED light brightness using a TRIAC switch, suitable for many home dimmers.
Czy mogę samodzielnie podłączyć sterownik LED z funkcją ściemniania TRIAC?
Tak, mając podstawową wiedzę elektryczną i dokładne przestrzeganie wskazówek bezpieczeństwa, możesz podłączyć ściemnialny sterownik LED TRIAC.
What are common troubleshooting steps of the TRIAC dimmable LED driver’s wiring?
Check connections, ensure compatibility, and consult the driver’s manual. Sometimes, replacing the dimmer with a compatible model is necessary.
Jak zapewnić kompatybilność ściemnialnego sterownika LED TRIAC ze ściemniaczem TRIAC?
Dopasuj specyfikacje sterownika LED do źródła światła i ściemniacza. Poszukaj sterowników przeznaczonych do ściemniania TRIAC.
Jakie są zalety ściemnialnego sterownika LED TRIAC?
Sterowniki LED z możliwością przyciemniania TRIAC zapewniają płynne przyciemnianie, energooszczędność i często są kompatybilne z istniejącymi ściemniaczami domowymi.
Jak mogę zintegrować ściemnianie TRIAC z systemem inteligentnego domu?
Wybierz ściemniacz TRIAC kompatybilny z inteligentnym domem lub podłącz się za pośrednictwem inteligentnego koncentratora domowego obsługującego przyciemnianie.