Ir al contenido


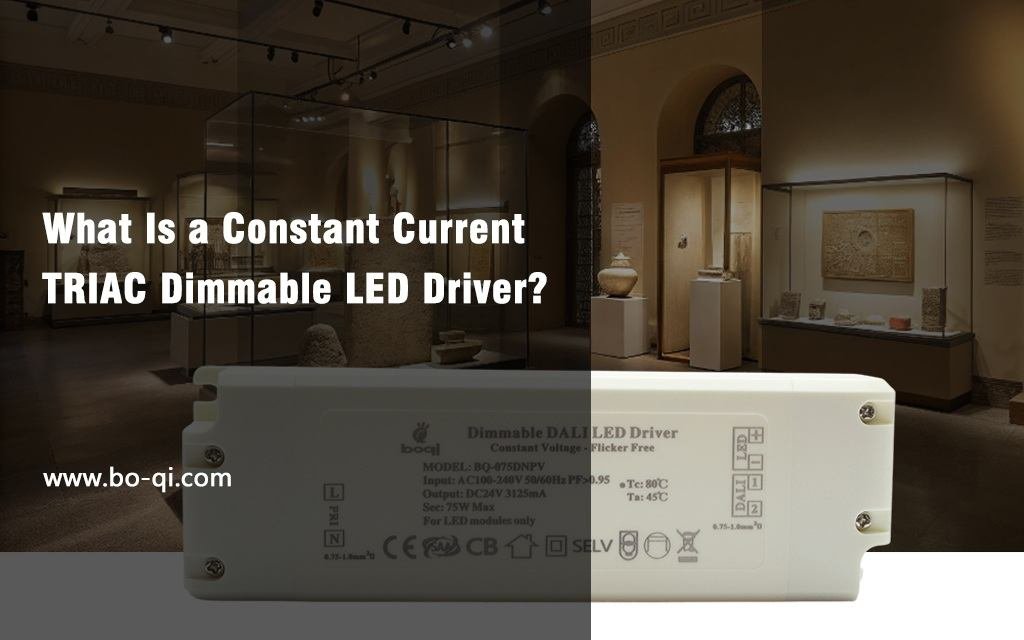
Las luces LED regulables aportan calidez y flexibilidad a las estancias. Los controladores LED regulables TRIAC destacan entre las tecnologías de regulación. Cambian el brillo de la luz pero mantienen un bajo consumo de energía. Esta guía muestra cómo conectar estos controladores. Nuestro objetivo es que sus luces no sean sólo brillantes o tenues, sino perfectas para cada momento. Unos pasos sencillos y unos consejos claros te ayudarán a conseguirlo. Con estos controladores, su espacio brillará a la perfección y, además, ahorrará energía. Hagamos que su iluminación sea impresionante e inteligente.
Introducción a los controladores LED regulables TRIAC
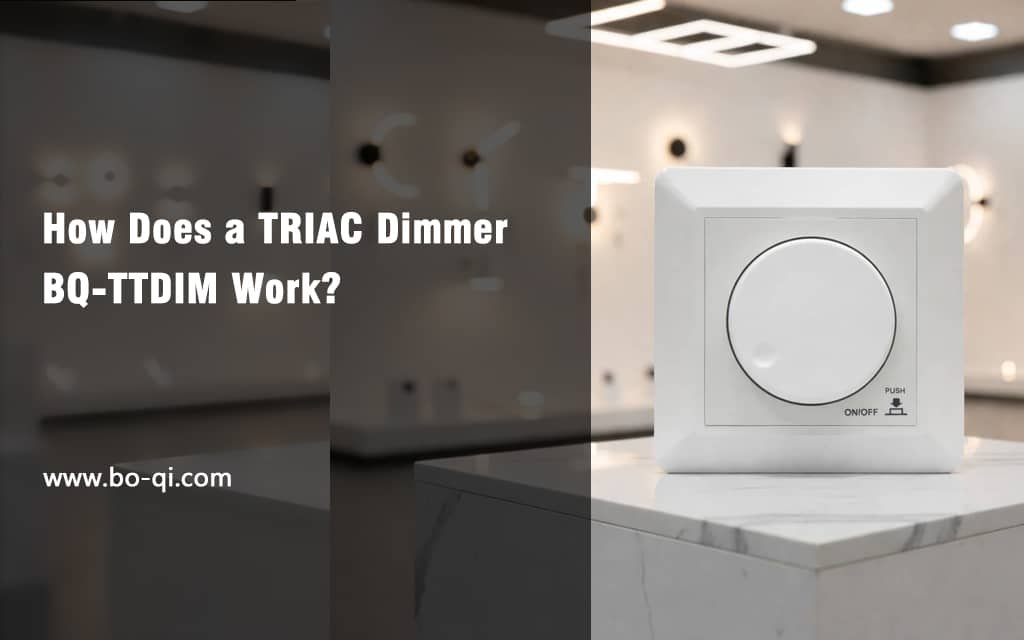
Luces atenuadas hace algo más que bajar la luminosidad. Crea el ambiente ideal. TRIAC, abreviatura de Triode for Alternating Current (triodo de corriente alterna), es un interruptor de atenuación. Facilita la regulación, ahorra energía y funciona con muchos interruptores reguladores. Con los controladores LED regulables TRIAC, controlará la luz con precisión. Ahorra en facturas y se adapta al regulador o interruptor que ya tiene. Esta tecnología le permite ajustar la iluminación para adaptarse a cualquier momento o sensación. No se trata sólo de oscurecer una habitación. Se trata de realzar el espacio con el nivel de luz adecuado. De este modo, se sentirá a gusto en cualquier momento del día en casa.
Comprender los conceptos básicos de la atenuación TRIAC
La regulación TRIAC controla la potencia de las luces LED, ajustando su brillo. Se diferencia de otros métodos porque funciona con corriente alterna (CA), lo que lo hace compatible con muchos reguladores domésticos. Los componentes clave son el interruptor TRIAC, un circuito controlador y la fuente de luz LED.
Cómo funciona la atenuación TRIAC: Implica un pequeño dispositivo llamado TRIAC, que significa Triodo para Corriente Alterna. Este dispositivo controla la cantidad de electricidad que fluye a sus luces LED. Al ajustar este flujo, puede hacer que las luces sean más brillantes o más tenues. Imagínese girar un dial que decide la cantidad de agua que fluye a través de una manguera; así es como TRIAC ajusta la luz.
Componentes de un controlador LED regulable TRIAC: Incluyen el propio TRIAC, un circuito de control que indica al TRIAC cómo ajustar la luz y la fuente de alimentación que suministra electricidad a los LED. Juntos, forman un equipo que controla tu iluminación, garantizando que sea la adecuada en cada momento.
TRIAC frente a otras tecnologías de atenuación: Si bien existen muchas formas de atenuar las luces, TRIAC destaca por su sencillez y compatibilidad. A diferencia de otros métodos que pueden necesitar cableado o bombillas especiales, TRIAC funciona con su configuración eléctrica estándar. Quizás conozca una atenuación similar llamada atenuación de corte de fase. Hay 2 tipos de controles, como
Controles de fase de avance (borde de ataque)
Controles de fase inversa (bajo voltaje electrónico).
Los controles de fase directa y los controles de fase inversa (baja tensión electrónica) son dos tipos principales de métodos de regulación utilizados en los sistemas de iluminación. Desglosemos estos conceptos en términos más sencillos.
Controles de fase directatambién conocidas como Leading Edge, se fabrican en su mayoría a partir de la tecnología de regulación Triac, que funciona cortando el inicio de la onda eléctrica. Es como cortar el principio de una cuerda. Este método es común y funciona bien con muchos tipos de luces, especialmente con bombillas incandescentes y halógenas. Es como bajar el volumen de tu radio con un simple mando. Hoy en día, la mayoría de los Drivers LED regulables TRIAC son del tipo de vanguardia.

Controles de fase inversaque pueden denominarse de flanco de bajada, se fabrican sobre todo a base de MOSFETS. Por otro lado, corta el extremo de la onda eléctrica. Imagínese cortar el extremo de la cuerda en su lugar. Esta técnica también se denomina baja tensión electrónica (ELV) y es más adecuada para luces de bajo voltaje, como algunos LED. Es más como utilizar un sofisticado control deslizante para ajustar el sonido con precisión, proporcionando una atenuación más suave para la iluminación sensible.

Ambos métodos tienen su lugar en el diseño de iluminación y ofrecen diferentes formas de lograr el ambiente perfecto y la eficiencia energética en hogares y empresas.
Preparación para el cableado
Antes de empezar, reúne tus herramientas y materiales. Necesitarás alicates, destornilladores, cinta aislante y el controlador LED regulable TRIAC. Lo primero es la seguridad: desconecta la alimentación en el disyuntor. Comprueba que las especificaciones del controlador LED se ajustan a tus necesidades de iluminación.
Cableado del controlador LED regulable TRIAC
Con atenuador de corte de fase (atenuador de borde de ataque o atenuador de borde de salida)
1. Conexión del controlador a la alimentación: Empiece por conectar el neutro (N) del cable de entrada del conductor al neutro (N) de su fuente de alimentación. Para ello, suele ser necesario hacer coincidir los cables de corriente (L), neutro (N) y tierra (E).
2. Colocación de la fuente de luz LED: A continuación, conecte los cables de salida del controlador a su luz LED. Asegúrese de que los cables positivo (+) y negativo (-) coinciden.
3. Integración del atenuador TRIAC: Por último, conecte el conductor (L) del regulador a la fuente de alimentación y el otro terminal del regulador al conductor (L). El diagrama de cableado es el siguiente.
Esto le permite controlar el brillo de su luz LED.

Con atenuador de borde anterior y posterior
1. Conecte la alimentación principal: Comience conectando la alimentación principal a su atenuador LED. Por lo general, esto implica conectar los cables vivos (L) y neutros (N) a los terminales de ENTRADA de su atenuador.
2. Conecte el controlador LED: Integre su dimmer TRIAC conectando su terminal de SALIDA al terminal de ENTRADA del driver. Esta configuración permite que el dimmer regule la potencia que fluye al driver y, posteriormente, a las luces LED.
3. Conecte las luces LED: Por último, conecte las luces LED al controlador. Asegúrese de que los cables positivo (+) y negativo (-) coinciden con los terminales de salida del driver. El diagrama de cableado es el siguiente.
4. Asegure las conexiones: Utilice cinta aislante para cubrir los cables o terminales expuestos, garantizando una conexión segura.

Pruebe su configuración: Con todo conectado, es hora de encender y probar. Ajuste gradualmente el regulador para ver si las luces LED responden como se espera.
Pruebas y solución de problemas
Después de cablear, es hora de probar. Vuelve a encender la luz y ajusta el regulador. Si la luz no se enciende o parpadea, compruebe las conexiones. Asegúrese de que todos los cables están bien conectados y correctamente emparejados. Si la luz sigue parpadeando, compruebe la compatibilidad entre el regulador y el controlador LED. Es mejor preferir nuestro Atenuador de borde anterior y posterior, BQ-TTLDIM que es compatible con los controladores LED regulables TRIAC 99% del mercado.

| Tipo de diseño de modelo privado propio: | Atenuador LED Triac para borde de ataque y borde de salida |
| Modelo: | BQ-TTLDIM |
| Voltaje de entrada: | 100 ~ 240 VCA |
| Tensión de salida: | 100 ~ 240 VCA |
| Corriente de salida: | Máximo 1,25 A. |
| Potencia de salida: | 5-300W |
| Señal de entrada: | Perilla giratoria+2,4 GHz* |
| Rango de atenuación: | 0-100% |
| Certificados | CE EMC LVD SAA |
| Dimensión: | 86X86X22mm |
| Garantía: | 5 años |
Otras cosas a tener en cuenta
Configuraciones de cableado avanzadas
Para configuraciones más complejas, como múltiples controladores o zonas de iluminación, planifique su cableado con cuidado. Asegúrese de que cada controlador sea compatible y esté correctamente conectado a su zona de control. Los sistemas domésticos inteligentes pueden requerir configuraciones adicionales para una integración perfecta.
Mantenimiento y cuidado
Mantenga su controlador LED en óptimas condiciones revisando periódicamente las conexiones y quitando el polvo de los componentes. Si tiene problemas, consultar a un profesional suele ser la opción más segura.
Consideraciones legales y regulatorias
El cableado de los componentes eléctricos debe cumplir con los códigos y estándares locales. Estos garantizan seguridad y confiabilidad. Siempre verifique que su controlador LED regulable TRIAC y su instalación cumplan con estos requisitos.
Eficiencia Energética y Sostenibilidad
La atenuación TRIAC no solo mejora su experiencia de iluminación sino que también contribuye al ahorro de energía. Al ajustar los niveles de luz, utilizas solo la energía que necesitas, lo que reduce tu huella de carbono.
Conclusión
El cableado de un driver LED regulable TRIAC puede parecer desalentador, pero con las herramientas adecuadas y un enfoque paso a paso, es factible. Esta tecnología ofrece una mezcla de eficiencia, control y ambiente, por lo que es una opción inteligente para cualquier proyecto de iluminación.
Preguntas frecuentes
¿Qué es la atenuación TRIAC?
Es un método para ajustar el brillo de la luz LED mediante un interruptor TRIAC, adecuado para muchos reguladores domésticos.
¿Puedo conectar yo mismo un controlador LED regulable TRIAC?
Sí, con conocimientos eléctricos básicos y un cuidadoso cumplimiento de las pautas de seguridad, puede conectar un controlador LED regulable TRIAC.
¿Cuáles son los pasos habituales para solucionar problemas del cableado del controlador LED regulable TRIAC?
Compruebe las conexiones, asegúrese de la compatibilidad y consulte el manual del controlador. A veces, es necesario sustituir el regulador de intensidad por un modelo compatible.
¿Cómo puedo garantizar la compatibilidad del controlador LED regulable TRIAC con el atenuador TRIAC?
Haga coincidir las especificaciones de su controlador LED con su fuente de luz y su regulador de intensidad. Busque controladores diseñados para atenuación TRIAC.
¿Cuáles son los beneficios del controlador LED regulable TRIAC?
Los controladores LED regulables TRIAC ofrecen una atenuación suave, eficiencia energética y, a menudo, son compatibles con los atenuadores domésticos existentes.
¿Cómo puedo integrar la atenuación TRIAC con mi sistema de hogar inteligente?
Elija un atenuador TRIAC compatible con el hogar inteligente o conéctese a través de un concentrador de hogar inteligente que admita atenuación.