Skip to content


Dimming LED lights bring warmth and flexibility to rooms. TRIAC dimmable LED drivers shine among dimming tech. They change light brightness but keep energy use low. This guide shows how to connect these drivers. We aim to make your lights not just bright or dim, but perfect for every moment. Simple steps and clear tips will help you get there. With these drivers, your space will glow just right, saving power too. Let’s make your lighting both stunning and smart.
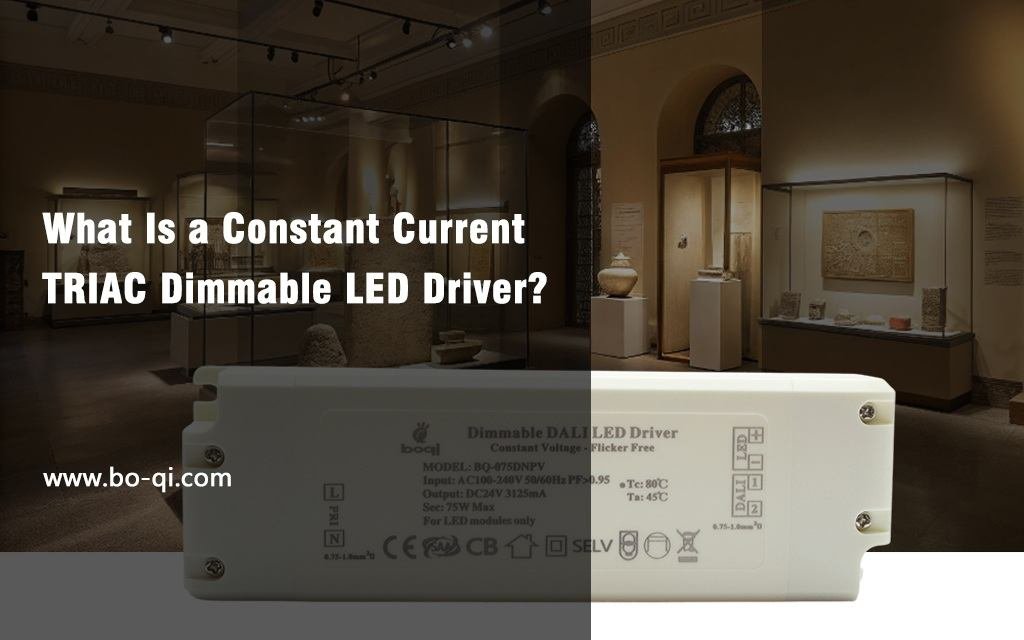
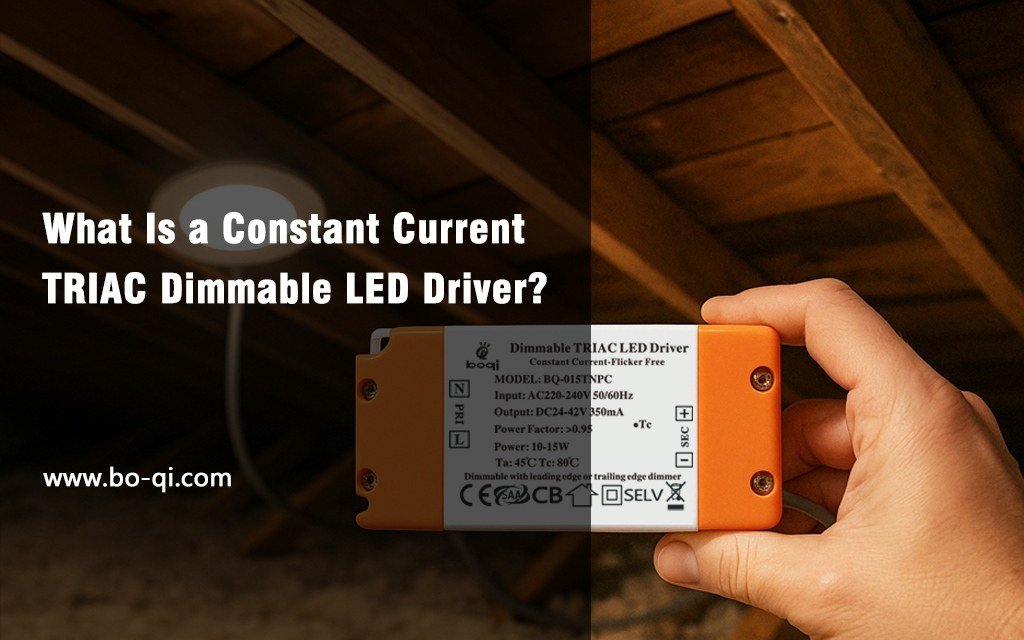
Introduction to TRIAC Dimmable LED Drivers
Dimming lights does more than just lower brightness. It crafts the ideal mood. TRIAC, short for Triode for Alternating Current, is a switch for dimming. It makes dimming smooth, saves energy, and works with many dimmer switches. With TRIAC dimmable LED drivers, you control light precisely. You save on bills and fit the dimmer or switch you already have. This technology lets you adjust lighting to suit any time or feeling. It’s not just about making a room darker. It’s about enhancing the space with the right light level. This way, you would feel just right, any time of the day at home.
Understanding the Basics of TRIAC Dimming
TRIAC dimming controls the power of LED lights, adjusting their brightness. It’s different from other methods because it works with alternating current (AC), making it compatible with many household dimmers. The key components include the TRIAC switch, a driver circuit, and the LED light source.
How TRIAC Dimming Works: Involves a small device called TRIAC, which stands for Triode for Alternating Current. This device controls the amount of electricity that flows to your LED lights. By adjusting this flow, it can make your lights brighter or dimmer. Imagine turning a dial that decides how much water flows through a hose; that’s how TRIAC adjusts light.
Components of a TRIAC Dimmable LED Driver: Include the TRIAC itself, a control circuit that tells the TRIAC how to adjust the light, and the power supply that feeds electricity to the LEDs. Together, they form a team that controls your lighting, ensuring it’s just right for any moment.
TRIAC vs. Other Dimming Technologies: While there are many ways to dim lights, TRIAC stands out for its simplicity and compatibility. Unlike other methods that might need special wiring or bulbs, TRIAC works with your standard electrical setup. You may know, of a similar dimming called phase cut dimming. There are 2 kinds of controls of it, like
Forward Phase (Leading Edge) Controls
Reverse Phase (Electronic Low Voltage) Controls.
Forward Phase (Leading Edge) Controls and Reverse Phase (Electronic Low Voltage) Controls are two main types of dimming methods used in lighting systems. Let’s break down these concepts into simpler terms.
Forward Phase Controls, also known as Leading Edge, are mostly produced based on Triac dimming technology, which works by chopping off the start of the electricity wave. Think of it as snipping the beginning of a piece of string. This method is common and works well with many types of lights, especially incandescent and halogen bulbs. It’s like turning down the volume on your radio with a simple knob. Nowadays, most TRIAC dimmable LED Drivers are leading edge type.

Reverse Phase Controls, which can be called trailing edge, are mostly produced based on MOSFETS. On the other hand, cut off the end of the electricity wave. Imagine cutting the end of the string instead. This technique is also called Electronic Low Voltage (ELV) and is better suited for low voltage lights, like some LEDs. It’s more like using a sophisticated slider to adjust the sound precisely, providing smoother dimming for sensitive lighting.

Both methods have their place in lighting design, offering different ways to achieve the perfect ambiance and energy efficiency in homes and businesses.
Preparation for Wiring
Before starting, gather your tools and materials. You’ll need wire cutters, screwdrivers, electrical tape, and the TRIAC dimmable LED driver. Safety first: turn off power at the circuit breaker. Check your LED driver’s specifications to match your lighting needs.
Wiring the TRIAC Dimmable LED Driver
With Phase Cut Dimmer (Leading Edge dimmer or Trailing Edge dimmer)
1. Connecting the Driver to Power: Start by connecting the driver’s input wire neutral (N) to your power source neutral (N). This usually involves matching the live (L), neutral (N), and earth (E) wires.
2. Attaching the LED Light Source: Next, connect the driver’s output wires to your LED light. Ensure the positive (+) and negative (-) wires match up.
3. Integrating the TRIAC Dimmer: Finally, wire the dimmer switch live (L) to the power source live (L) and the dimmer’s other terminal links to the driver live (L). The wiring diagram is as follows.
This allows you to control the brightness of your LED light.

With Leading And Trailing Edge Dimmer
1. Connect the Main Power: Start by connecting the main power to your LED dimmer. This usually involves connecting the live (L) and neutral (N) wires to the INPUT terminals on your dimmer.
2. Wire the LED Driver: Integrate your TRIAC dimmer by connecting its OUTPUT terminal to the driver’s INPUT terminal. This setup allows the dimmer to regulate the power flowing to the driver and, subsequently, the LED lights.
3. Attach the LED Lights: Finally, connect your LED lights to the driver. Ensure the positive (+) and negative (-) wires match the driver’s output terminals. The wiring diagram is as follows.
4. Secure the Connections: Use electrical tape to cover any exposed wires or terminals, ensuring a safe and secure connection.

Test Your Setup: With everything connected, it’s time to power up and test. Gradually adjust the dimmer to see if the LED lights respond as expected.
Testing and Troubleshooting
After wiring, it’s time to test. Turn the power back on and adjust the dimmer. If the light doesn’t turn on or flickers, check your connections. Make sure all wires are secure and correctly matched. After that, the light is still flickering, check the compatibility between the dimmer and LED driver. It’s better to prefer our Leading and Trailing Edge dimmer, BQ-TTLDIM which is compatible with 99% TRIAC dimmable LED drivers in the market.

| Own Private Model Design Type: | Triac LED Dimmer for Leading edge & trailing edge |
| Model: | BQ-TTLDIM |
| Input Voltage: | 100 ~ 240 VAC |
| Output Voltage: | 100 ~ 240 VAC |
| Output Current: | Max 1.25A |
| Output Power: | 5-300W |
| Input Signal: | Rotary Knob+2.4GHz* |
| Dimming Range: | 0-100% |
| Certificates | CE EMC LVD SAA |
| Dimension: | 86X86X22mm |
| Warranty: | 5 Years |
Other Things To Note
Advanced Wiring Configurations
For more complex setups, like multiple drivers or lighting zones, plan your wiring carefully. Ensure each driver is compatible and correctly connected to its control zone. Smart home systems may require additional configurations for seamless integration.
Maintenance and Care
Keep your LED driver in top condition by regularly checking connections and dusting the components. If you encounter issues, consulting a professional is often the safest choice.
Legal and Regulatory Considerations
Wiring electrical components must comply with local codes and standards. These ensure safety and reliability. Always check that your TRIAC dimmable LED driver and installation meet these requirements.
Energy Efficiency and Sustainability
TRIAC dimming not only enhances your lighting experience but also contributes to energy savings. By adjusting light levels, you use only the energy you need, reducing your carbon footprint.
Conclusion
Wiring a TRIAC dimmable LED driver might seem daunting, but with the right tools and a step-by-step approach, it’s achievable. This technology offers a blend of efficiency, control, and ambiance, making it a smart choice for any lighting project.
FAQs
What is TRIAC dimming?
It’s a method of adjusting LED light brightness using a TRIAC switch, suitable for many home dimmers.
Can I wire a TRIAC dimmable LED driver myself?
Yes, with basic electrical knowledge and careful adherence to safety guidelines, you can wire a TRIAC dimmable LED driver.
What are common troubleshooting steps of the TRIAC dimmable LED driver’s wiring?
Check connections, ensure compatibility, and consult the driver’s manual. Sometimes, replacing the dimmer with a compatible model is necessary.
How do I ensure compatibility of TRIAC dimmable LED driver with TRIAC dimmer?
Match the specifications of your LED driver with your light source and dimmer switch. Look for drivers designed for TRIAC dimming.
What are the benefits of TRIAC dimmable LED driver?
TRIAC dimmable LED drivers offer smooth dimming, energy efficiency, and are often compatible with existing household dimmers.
How can I integrate TRIAC dimming with my smart home system?
Choose a smart home-compatible TRIAC dimmer or connect through a smart home hub that supports dimming.