Skip to content


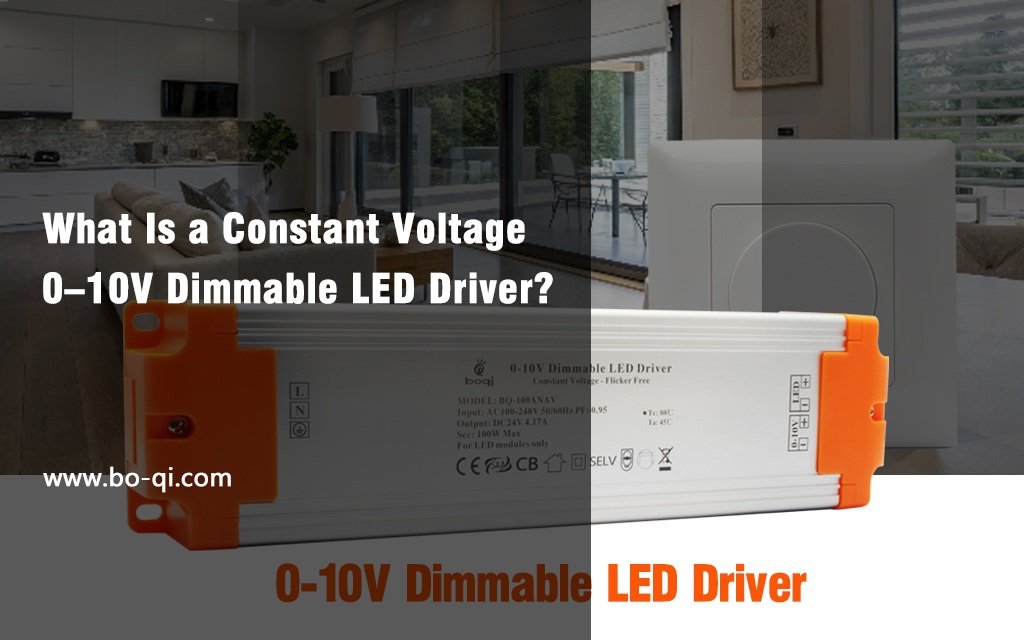
Introduction to 0-10V LED Drivers
In the world of LED lighting, having the right driver is key to a successful setup. Especially, a 0-10V LED driver stands out for its ability to dim lights smoothly and efficiently. This article dives into how to wire these drivers properly. By the end, you’ll know all the steps and tips to do it like a pro.
Understanding the Basics of LED Drivers
LED drivers are the heart of LED lighting systems. Some of them regulate power, ensuring LEDs function optimally. The 0-10V LED driver, in particular, allows for dimming lights, offering control over lighting intensity.
What is 0-10V Dimming?
Let’s delve into the mechanics of 0-10V dimming and its advantages.

How 0-10V Dimming Works
This dimming technique uses a low-voltage signal to control the light intensity. The voltage ranges from 0V (fully dimmed) to 10V (fully bright), allowing precise control over lighting levels. It’s simple. When you adjust the dimmer, it changes the voltage sent to your LEDs. Lower voltage means dimmer light, like the voltage is 0V, the light seems like be off, with no brightness.

The Benefits of Using 0-10V Dimming
0-10V dimming technology is a game-changer. It provides seamless control over light levels, enhancing ambiance and reducing energy consumption. It enhances energy efficiency and extends the lifespan of LED lights. It also improves the ambiance by allowing customizable lighting settings. And the 0-10V dimming can be integrated into the Lighting system. These features are crucial for both home and commercial settings.
Overview of 0-10V LED Driver Wiring
Wiring a 0-10V dimmable LED driver might seem complex. However, with the right knowledge and tools, it’s a straightforward process. This guide will walk you through each step, ensuring a successful installation.
Wiring this type of driver might seem tricky, but it’s quite straightforward. You’ll connect power wires and dimming wires, and ensure everything is safe and secure.
Preparation for Wiring
Before we dive in, it’s essential to gather the necessary tools and understand the safety measures.
Tools and Materials Needed
– Screwdrivers
– Wire strippers
– Electrical tape
– 0-10V LED driver and LED fixtures
Safety Precautions and Best Practices
Safety first! Always turn off the power at the circuit breaker before starting. Use insulated tools and wear protective gear to prevent accidents.
Identifying Your 0-10V LED Driver and Lighting Setup
Familiarize yourself with the LED driver and lighting fixtures. Knowing their specifications, different wires, and terminals helps in making the right connections. Such as
1. For 0-10V dimming, you need a separate wire just for dimming. This wire must have a clear positive and negative side.
2. The amount of signal current used by all the LED drivers together must be less than the signal current that the dimmer can load:
The total current of drivers (2mA * the number of drivers) should be less than the dimmer’s signal load current.
Note: According to IEC60929, every 0/1-10V LED driver signal interface must consume a signal current of ≤2mA.
Compatibility Considerations
Ensure your LED fixtures and dimmer switches are compatible with 0-10V dimming. This prevents issues like flickering or inadequate dimming range.
Wiring the 0-10V LED Driver
Now, let’s get to the main event: wiring your 0-10V LED driver.
Step-by-Step Wiring Guide
1. Disconnecting Power: Safety first. Ensure the power is off at the breaker.
2. Connecting the Power Wires: Connect the dimmers and driver’s input wires to your power source. Usually, this involves connecting brown to brown (live), blue to blue (neutral), and green to green/yellow (ground).
3. Wiring the Dimming Control Wires: Connect the dimming wires from the driver to the dimmer switch. There are two pairs of wires on one side: one for LED and one for DIM control. Ensure the correct DIM control wires and the positive (+) and negative (-) wires of the LED Driver match the light. Ensure a secure connection.
4. Attaching the LED Light: Connect the driver with the light, be careful to connect the the positive (+) and negative (-) wires. Ensure the wires from the LED driver are for light. Please see the 0-10V wiring diagram as follows.
5. Grounding the Driver: Always connect the ground wire to prevent electrical hazards.
6. Troubleshooting Common Wiring Issues: If you encounter problems like flickering, double-check your connections and compatibility.
7. Testing the Installation: Once everything is connected, turn the power back on and test the dimming functionality. Adjust as needed.

Advanced Wiring Considerations
Once you’ve mastered the basics, think about these next steps.
Daisy Chaining Multiple Drivers: For larger projects, you might need to daisy-chain multiple drivers or integrate them with advanced control systems. You can connect several drivers together if you have many lights. Just follow the same steps for each one.
Integrating with Control Systems: For smart homes or businesses, you can connect your 0-10V system to a central control. This lets you manage lights from anywhere.
Addressing Voltage Drop Concerns: In long wire runs, power can drop, dimming your lights, so the wire type, size, and how many lights you connect matter. It’s best to use copper wires that are 1.5mm thick. Keep the wire length under 100 meters to avoid signal loss. If needed, add a signal amplifier. Also, keep power and signal wires apart to stop power lines from messing with the signal.
Optimizing 0-10V Dimming Performance
Make your system even better with these tips.
Calibrating Dimming Levels
Adjust your dimmer to get the exact light levels you want. This might take a few tries, but it’s worth it.
Selecting Compatible Switches and Controls
Pick switches that work well with your 0-10V system. Some are designed especially for LED dimming.
Enhancing Efficiency and Lifespan
Use your dimmer to lower light levels when full brightness isn’t needed. This saves energy and keeps your LEDs going strong.
Maintenance and Troubleshooting
Keep your system running smoothly with these ideas.
Routine Maintenance Tips
Check your connections and clean your lights regularly. This helps prevent problems.
Identifying and Fixing Common Issues
Look out for flickering lights or ones that won’t dim. These can often be fixed by adjusting connections or replacing parts.
When to Seek Professional Help
If you’re stuck, don’t hesitate to call an electrician. It’s better to be safe than sorry.
Make sure your installation meets all local electrical codes. This keeps you and your property safe.
Understanding Electrical Codes and Standards
These rules ensure that electrical work is safe. Follow them closely, and check for updates.
Compliance with Local Regulations
Different places have different rules. Know yours to avoid problems.
Ensuring Safety and Efficiency
Safety is always the top priority. Efficient wiring also saves money and energy.
Case Studies and Real-World Applications
From cozy homes to bustling commercial spaces, 0-10V dimming is transforming lighting. These real-world applications showcase the versatility and efficiency of this technology.
Learn from others’ experiences with these examples.
Residential Lighting Projects
See how homeowners use 0-10V dimming to beautify their spaces.


Commercial and Industrial Installations
Businesses save big with efficient LED lighting. Dimming plays a big part.


Innovative Uses of 0-10V Dimming in Lighting Design
From art installations to high-tech offices, dimming adds a new dimension.


May Want To Know 0-10V Dimming Vs. TRIAC Dimming
When we talk about controlling the brightness of LED lights, 0-10V dimming and TRIAC dimming are two common methods. But they work in different ways. Let’s break it down simply.
0-10V Dimming is like using a dial to adjust your lights. You turn the dial, and the voltage changes from 0 to 10 volts. The lower the voltage, the dimmer the light. This method is smooth and gives you lots of control over the light level. It’s great for large spaces or places where you want precise control.
TRIAC Dimming, on the other hand, is more like flipping a switch quickly on and off. It cuts the power to the lights in rapid bursts to control brightness. This method is common in homes because it can work with existing light switches. However, it might not be as smooth as 0-10V dimming, and sometimes it can make lights flicker or buzz.
In short, 0-10V dimming offers smooth, precise control, making it ideal for professional settings. TRIAC dimming is more suited for home use but might come with flickering issues. Both have their places depending on what you need from your lighting.
Conclusion
Wiring a 0-10V LED driver is a key skill in modern lighting installations. With this guide, you’re well-equipped to tackle your projects, enhancing ambiance and efficiency in any space. Remember, safety and compatibility are paramount. Happy wiring!
FAQs
What is the difference between 0-10V and PWM dimming?
0-10V uses a continuous voltage to control light intensity, while PWM dims lights by rapidly turning them on and off.
Can 0-10V dimming be used with any LED light?
Not all LED lights are compatible. Check the specifications before installation.
Is there a maximum length for a 0-10V signal wire? If yes, how far can it go?
Yes, use 1.5mm thick copper wires. Ensure the wire does not exceed 100 meters in length to prevent signal decay. If necessary, include a signal booster. In addition, separate the power wires from the signal ones to prevent interference from power lines to the signal.
How many units of 0-10V dimmable LED Drivers that one 0-10V dimmer can load?
1. According to IEC60929, every 0/1-10V LED driver signal interface must consume a signal current of ≤2mA.
2. The signal current flowing through the signal wire originates from the 0/1-10V LED dimmer. Each dimmer has a specific signal current. For more information, please consult the dimmer’s instructions.
For instance: A dimmer with a signal current output of 50mA can support up to 25 units LED drivers.
How do I address flickering issues with 0-10V dimming?
Ensure compatible dimmer switches are used and connections are secure.
Is it possible to retrofit existing lighting systems with 0-10V dimming?
Yes, but it may require replacing incompatible fixtures and switches.
How can I extend the life of my 0-10V LED driver?
Regular maintenance and ensuring proper load distribution are key.
What are the best practices for wiring 0-10V LED Driver in harsh environments?
Use weatherproof materials and follow local codes for outdoor installations.